
I started working on the empennage on February 27, 2026. Five months later, both the horizontal and vertical stabilizers are complete. The HS was finished on July 26 and the VS on July 29. I was working on both in parallel for most of that time.
It was slow going. I had to learn many small skills from scratch: reading a rivet gauge properly, setting rivets without smileys, drilling to the right depth, understanding edge distance. These are things that sound simple on paper but take real practice to get right consistently.
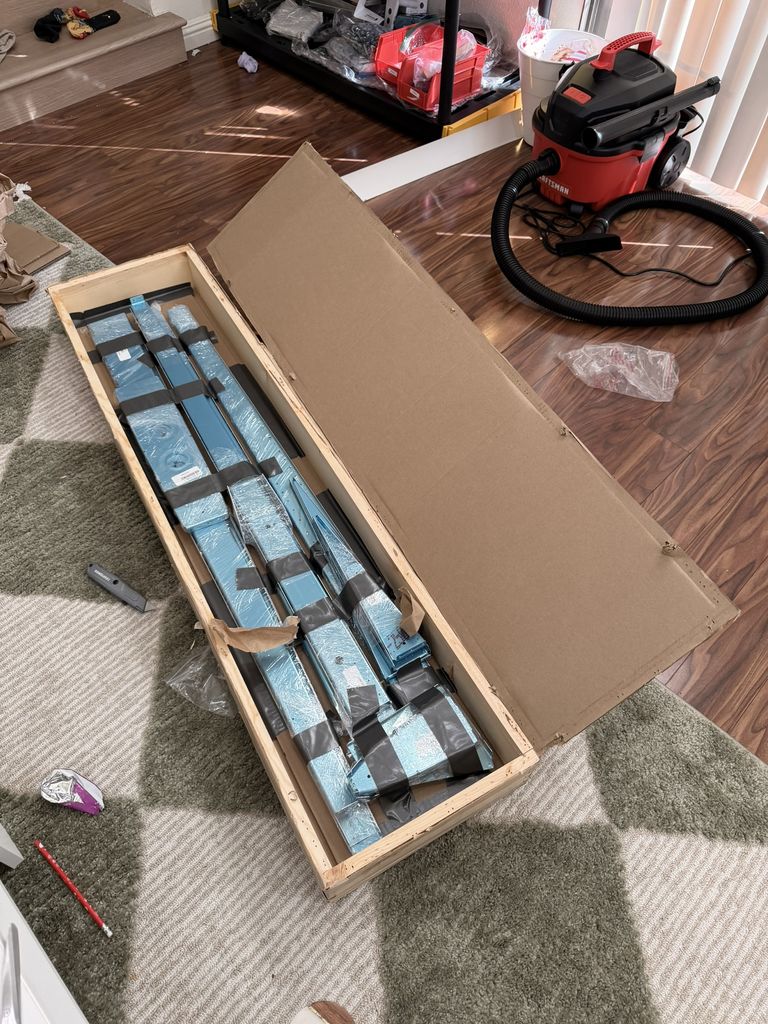
Where it all started. Empennage parts in the crate.
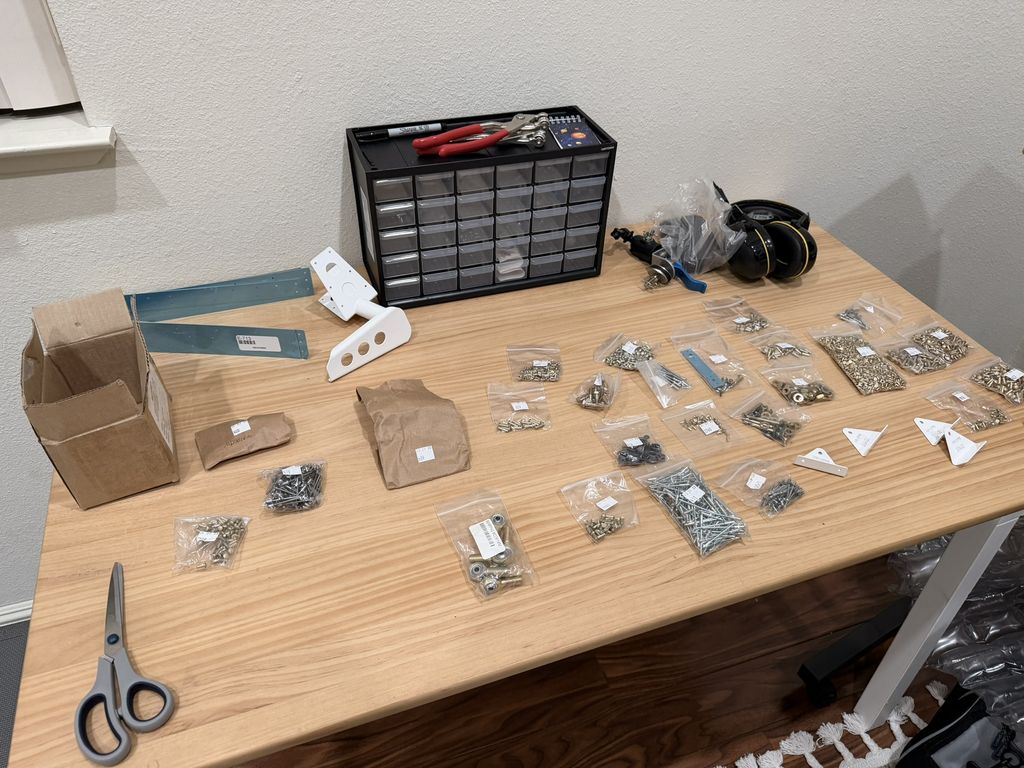
Inventorying the parts.
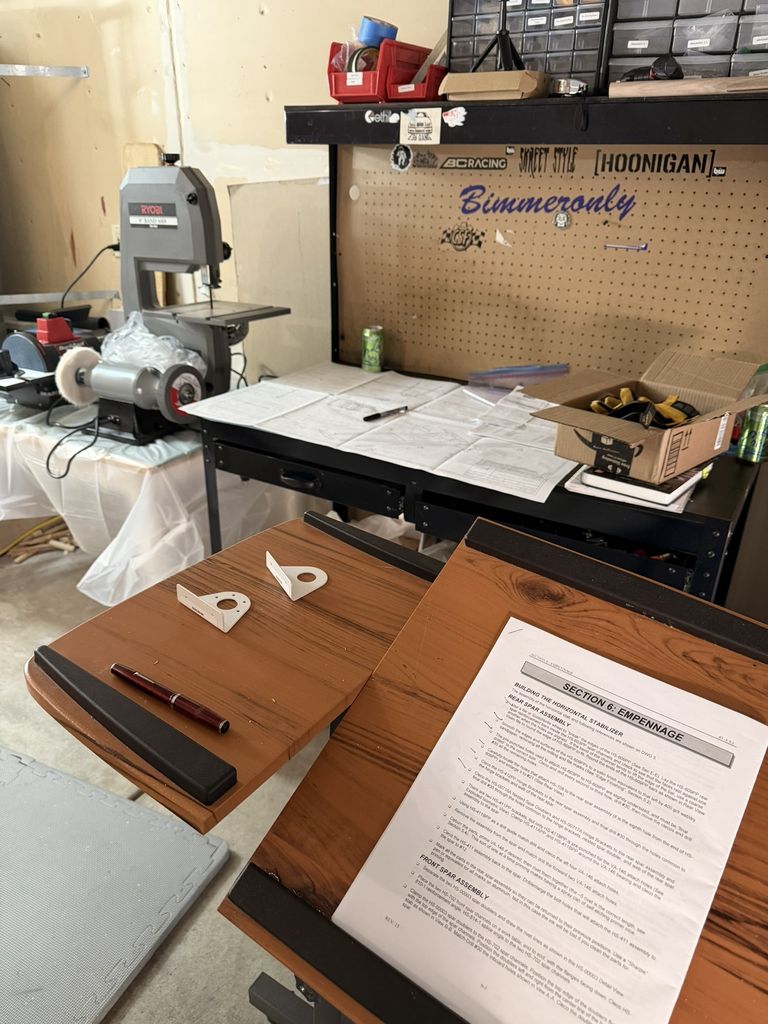
The instruction manual on the drafting table. This became the most-read document in the house.
Horizontal Stabilizer
I made many mistakes while drilling and had to enlarge holes, only to find out later that it would not help since I was off on edge distance. I had to reorder the HS-00005 ribs, HS-810-1 reinforcement angle, HS-814-1 splice angle, and the HS-702 front spar. Expensive lessons but necessary ones.
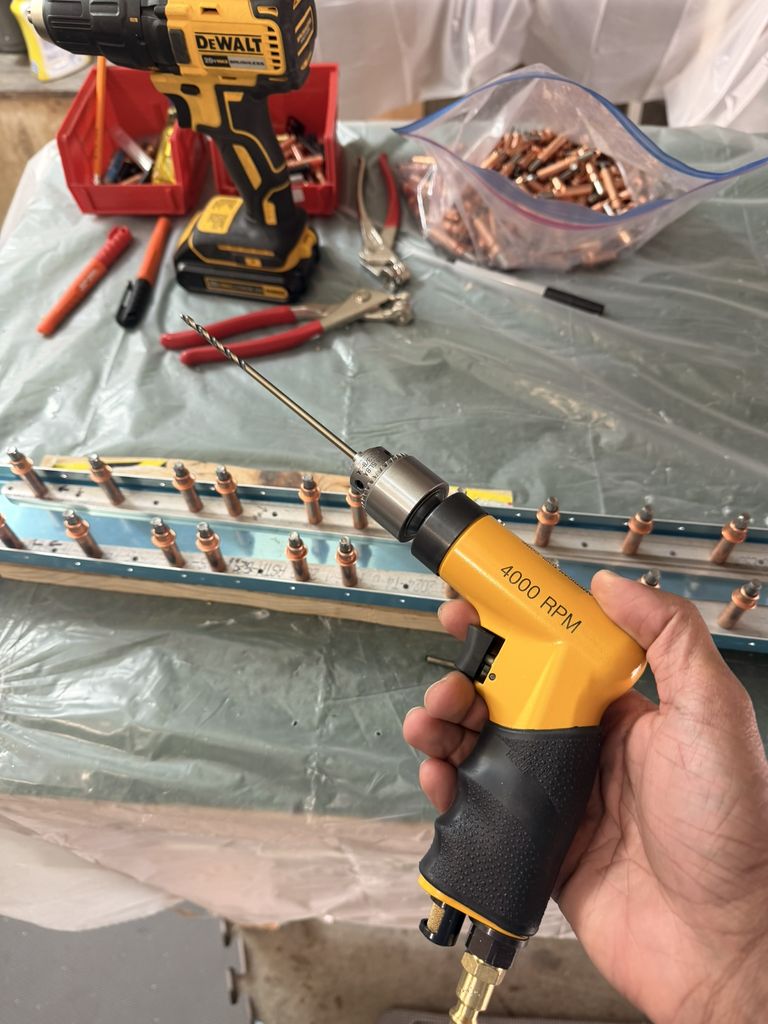
Pneumatic drill. The HS rear spar in the background.
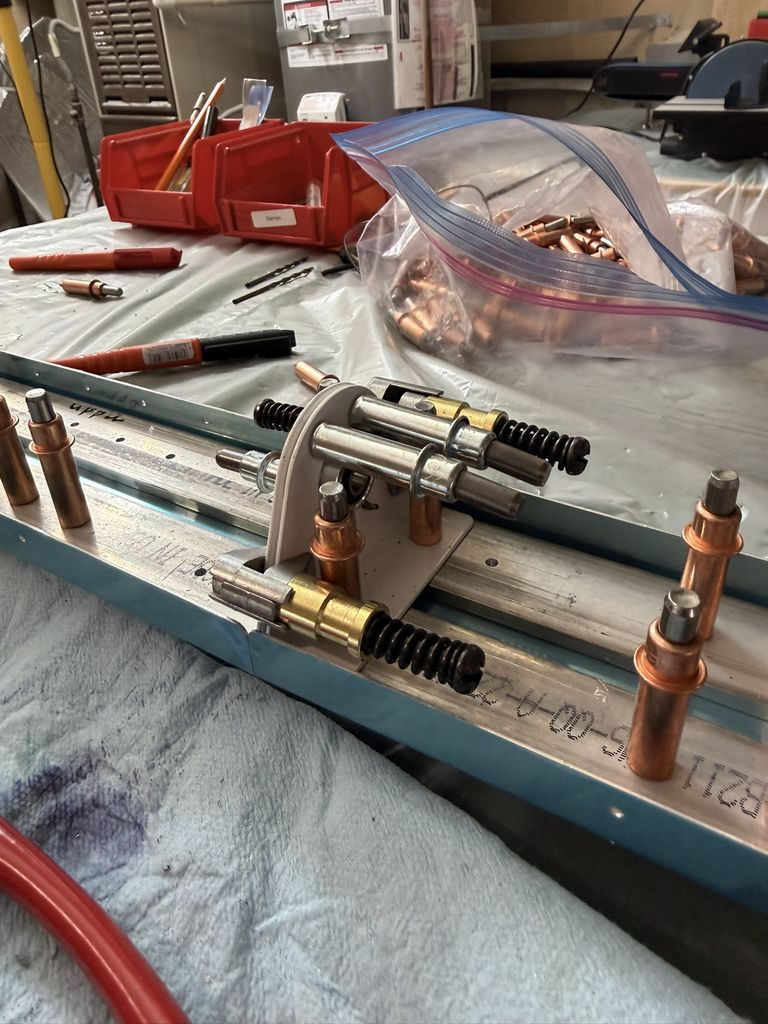
Rear spar assembly.
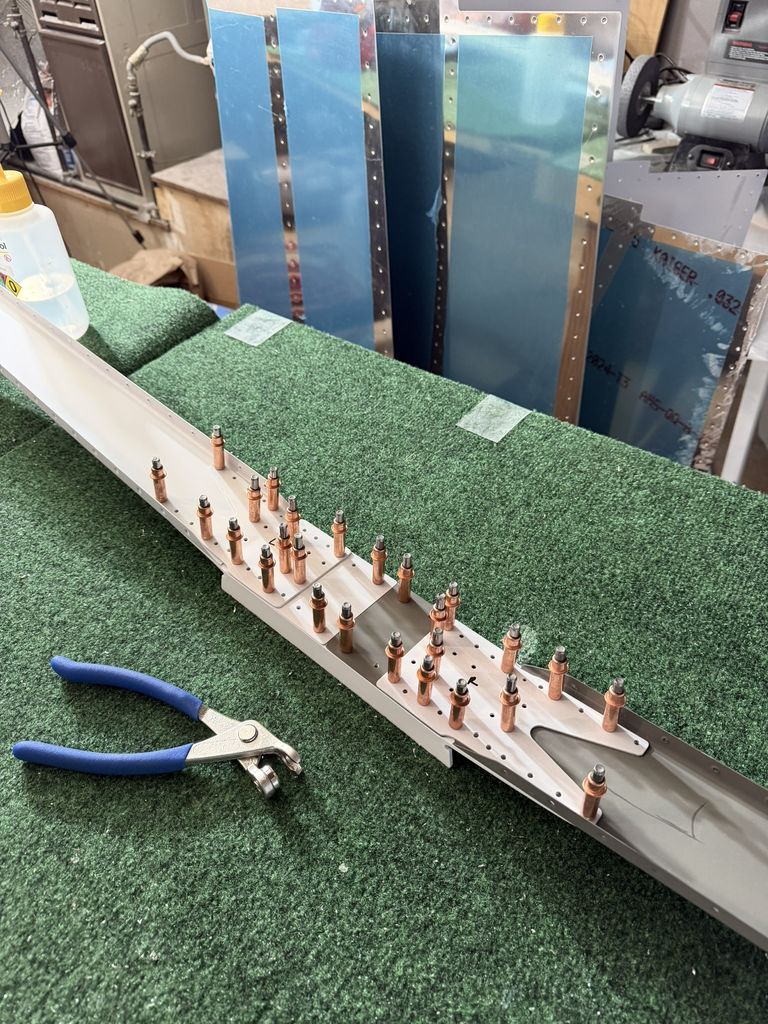
Front spar clecoed and ready for riveting. This was the second set of parts after the originals were scrapped.
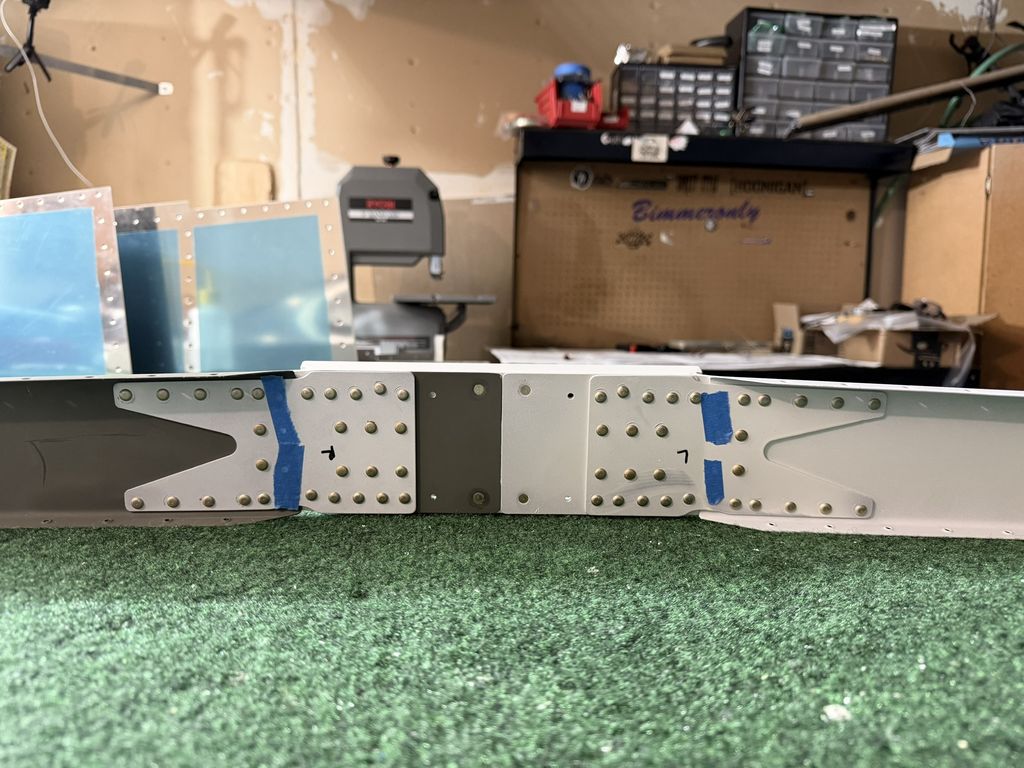
Front spar riveted. Got it right this time.
Priming
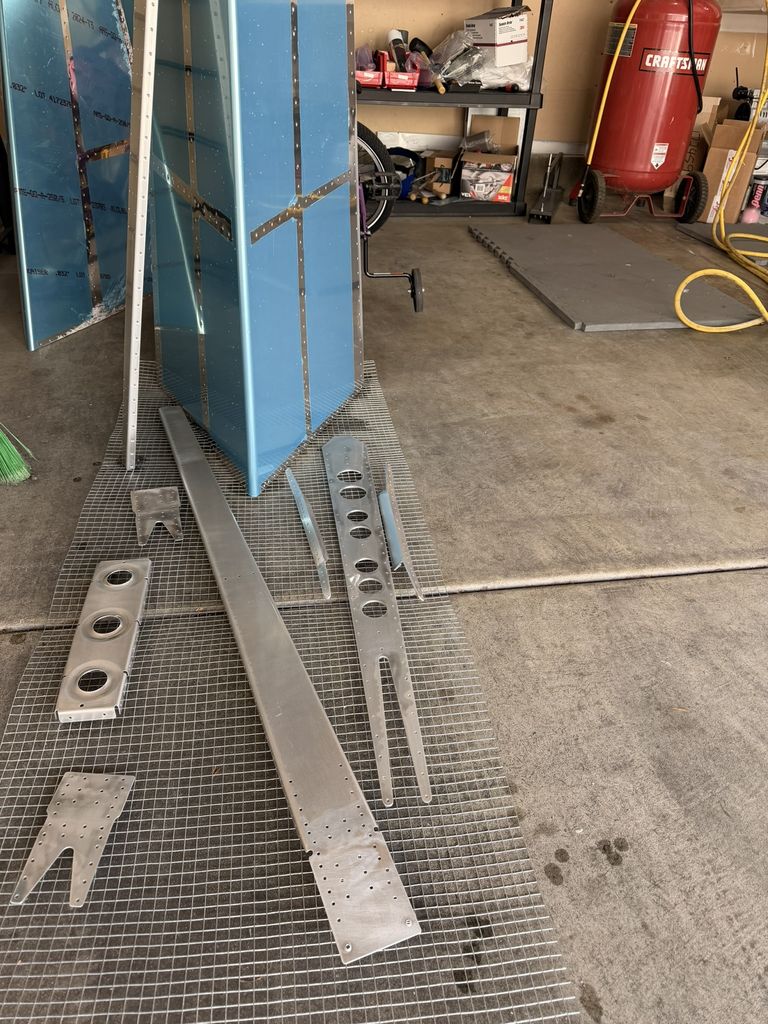
Parts etched with EkoEtch and waiting to dry.
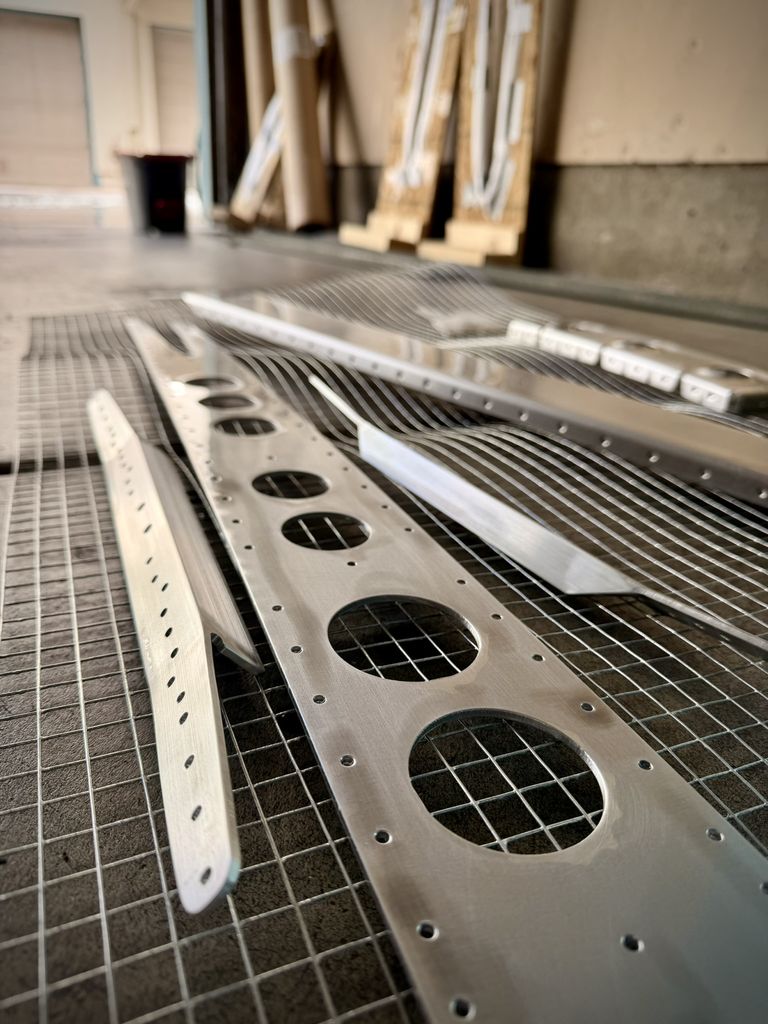
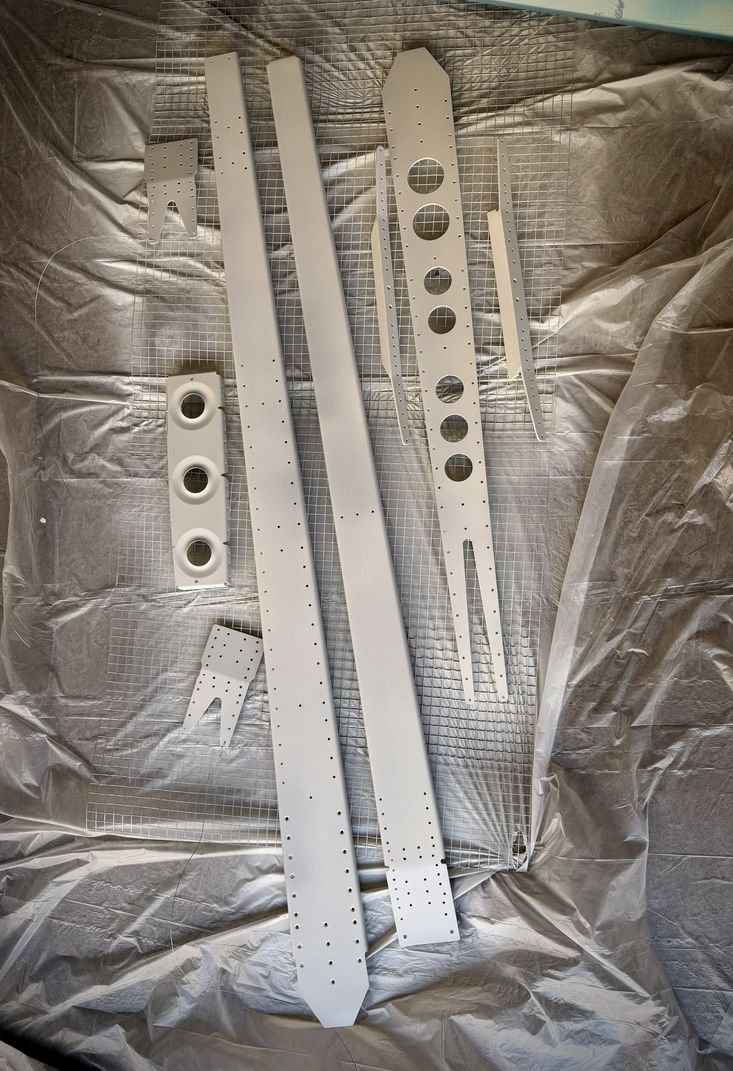
Parts primed with EkoPoxy.
Dimpling and the Injury
I have a C-frame dimpling tool that I used for the skins. It works but it is tricky to control. At one point I injured myself using it. I tell myself it was because I was under sedation after being discharged from a wisdom tooth removal surgery earlier that day. Either way, it drew blood and I had to stop.
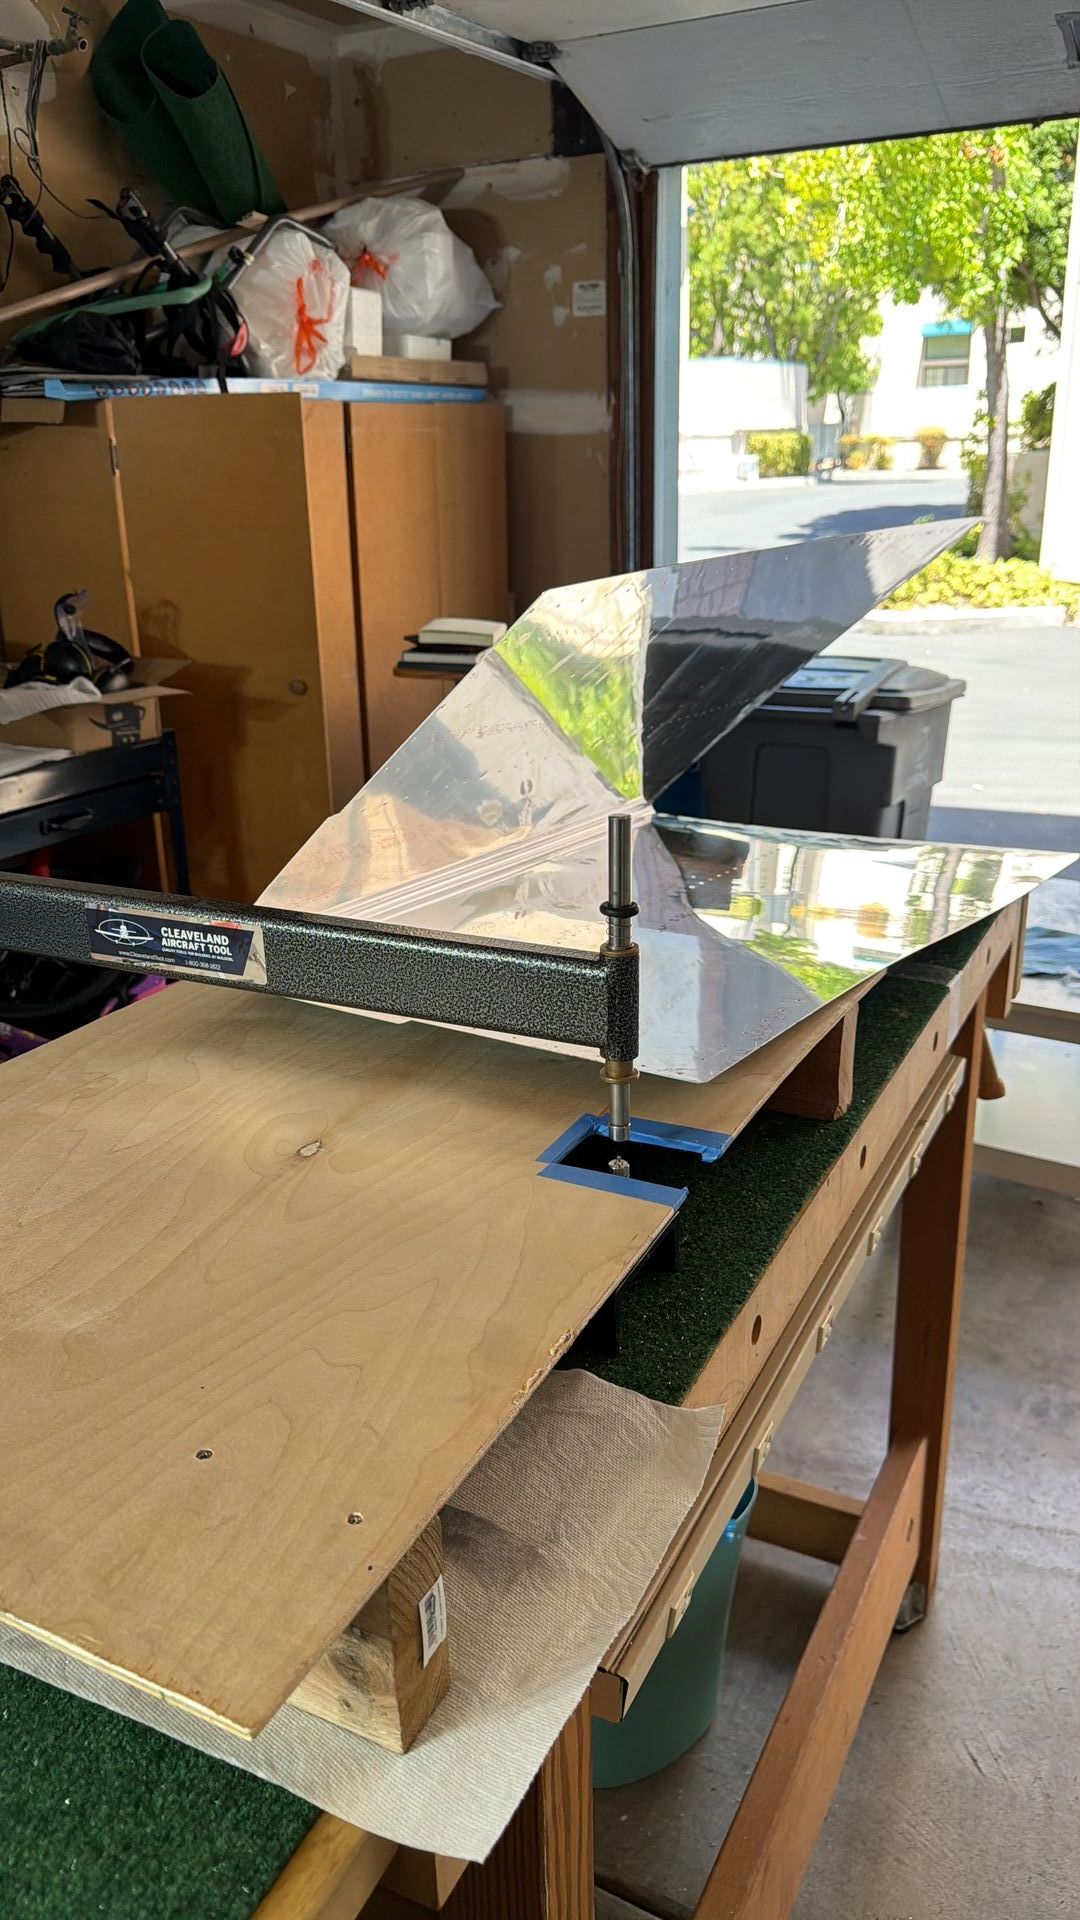
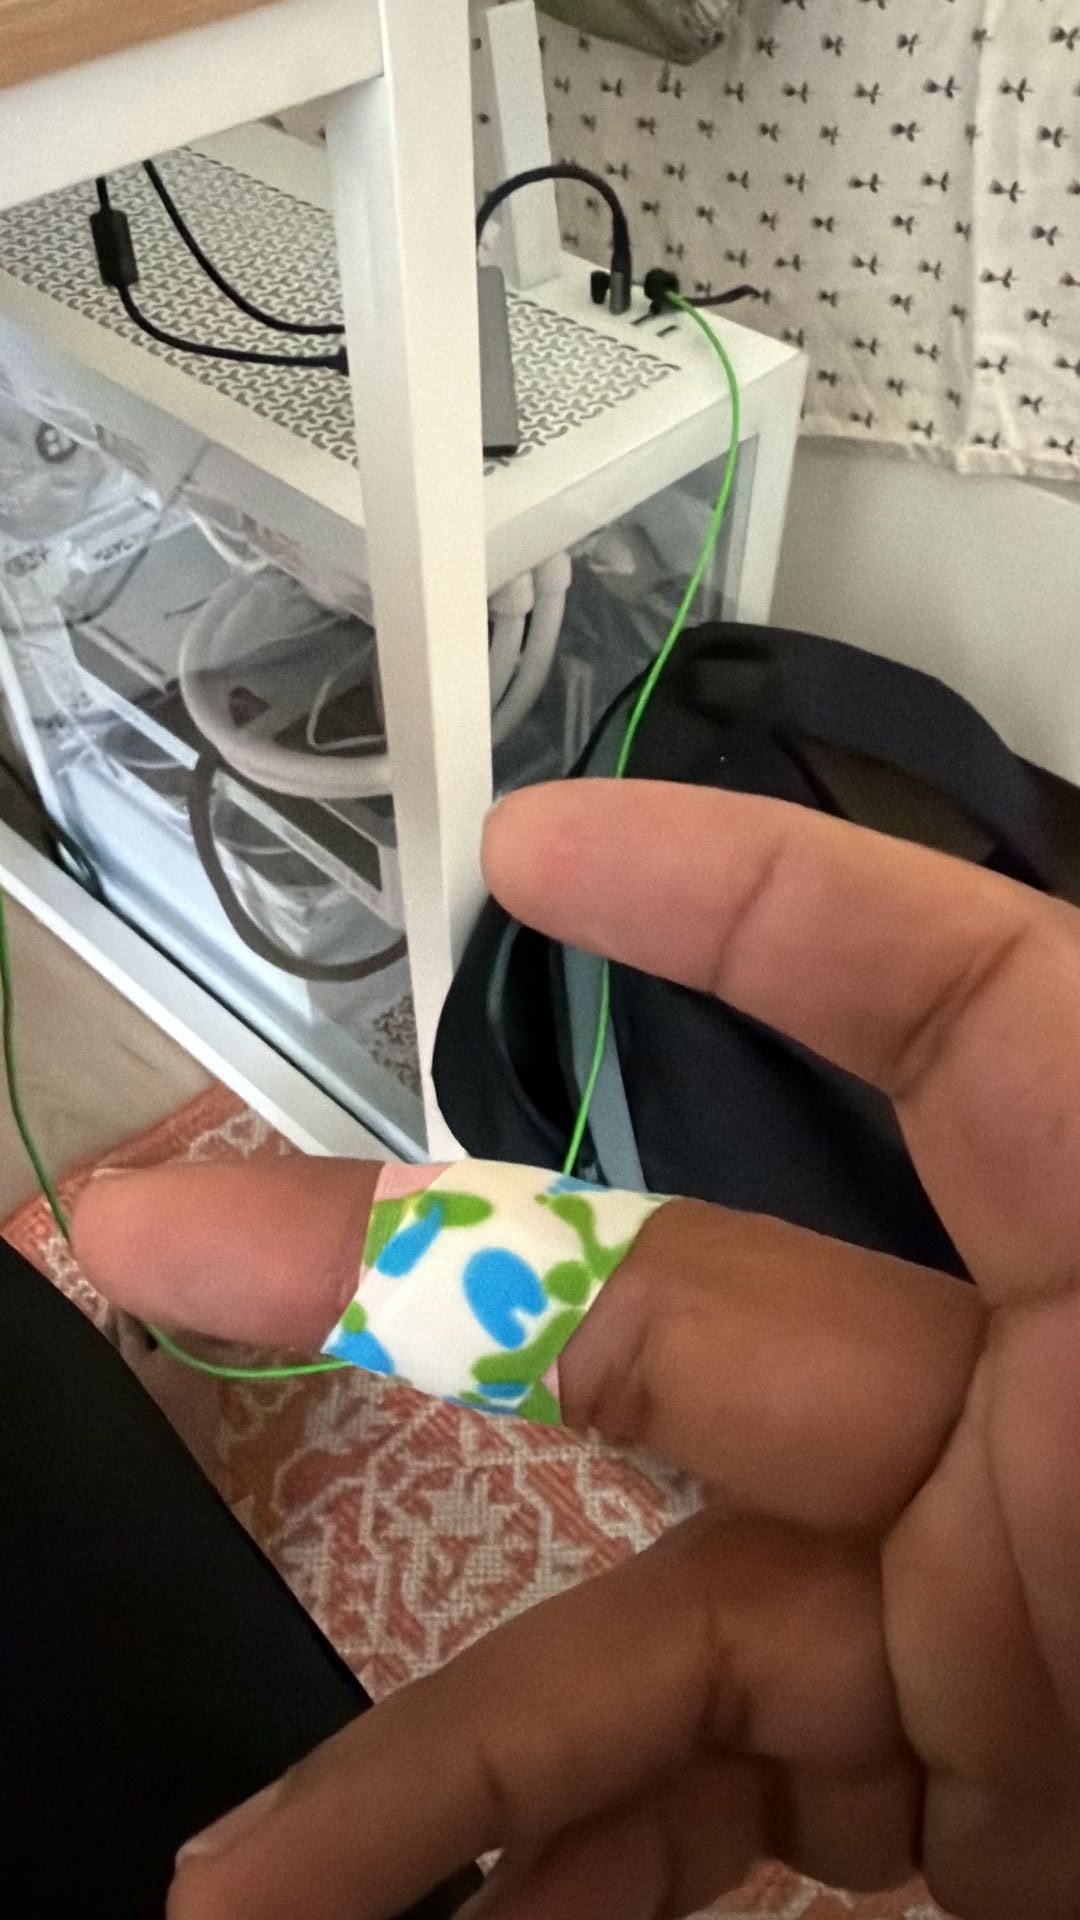
The C-frame dimpling tool, and the result of using it under sedation.
I asked Thomas if I could use the DRDT dimpling tool at Mathieu's hangar at KSQL (San Carlos Airport). Both of them helped me dimple the skins there. Much easier and safer than the C-frame for large skin panels.
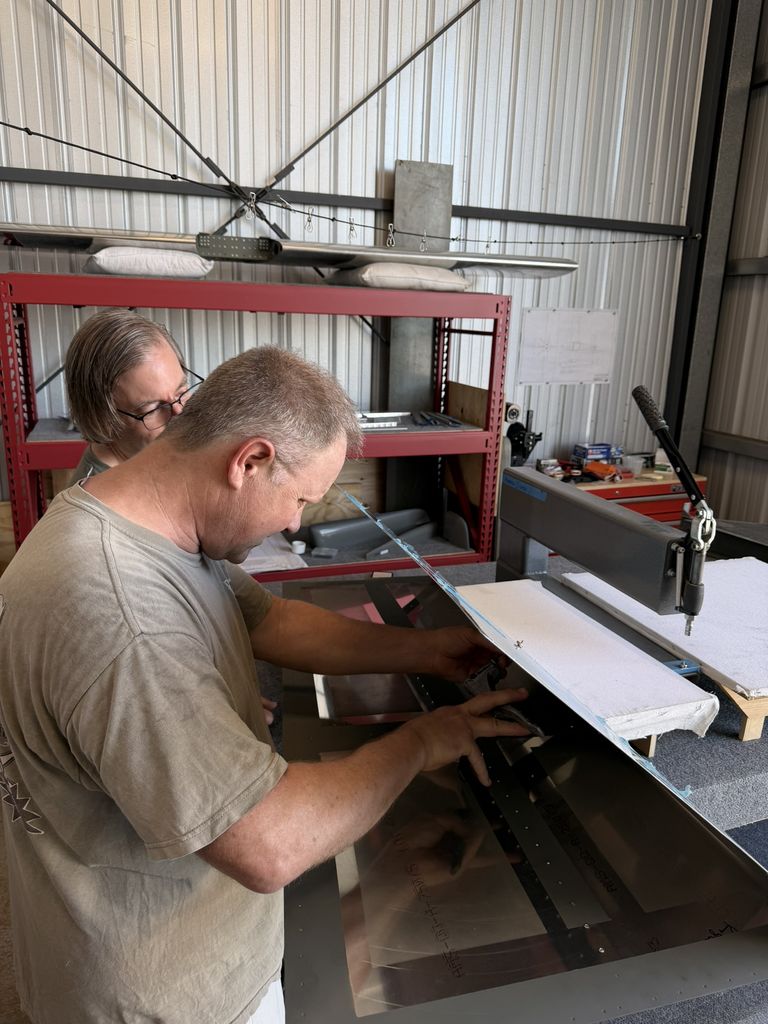
At KSQL. Thomas and Mathieu helping dimple the skins using the DRDT tool.
Assembly and Riveting
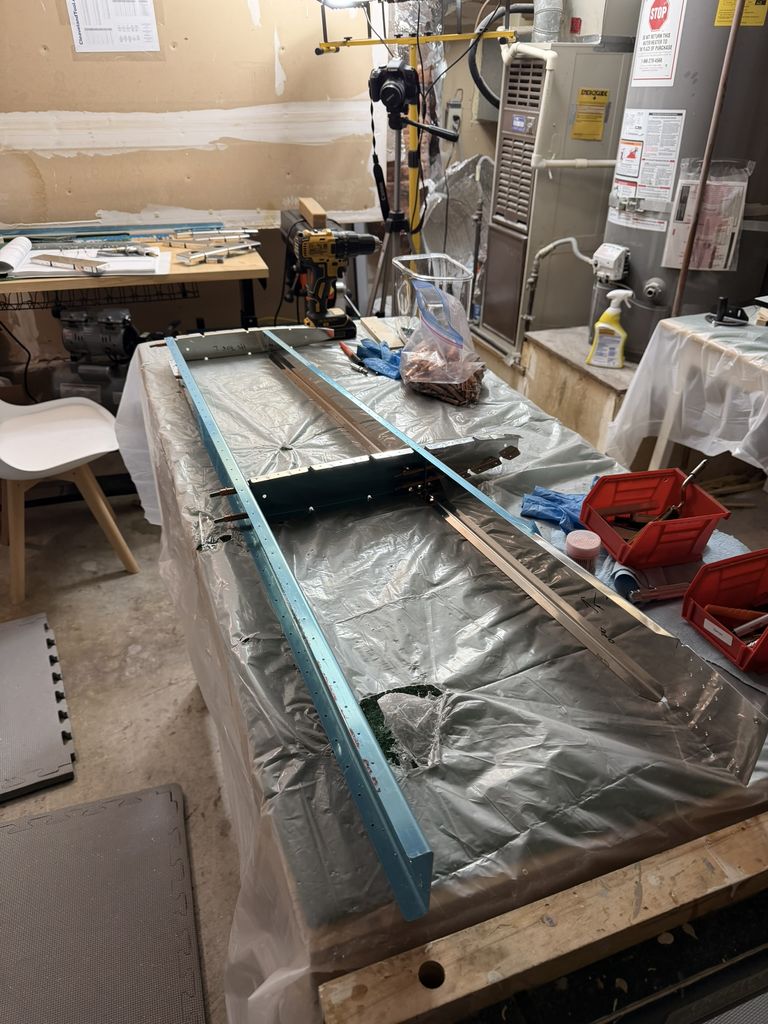
Horizontal stabilizer assembly coming together.
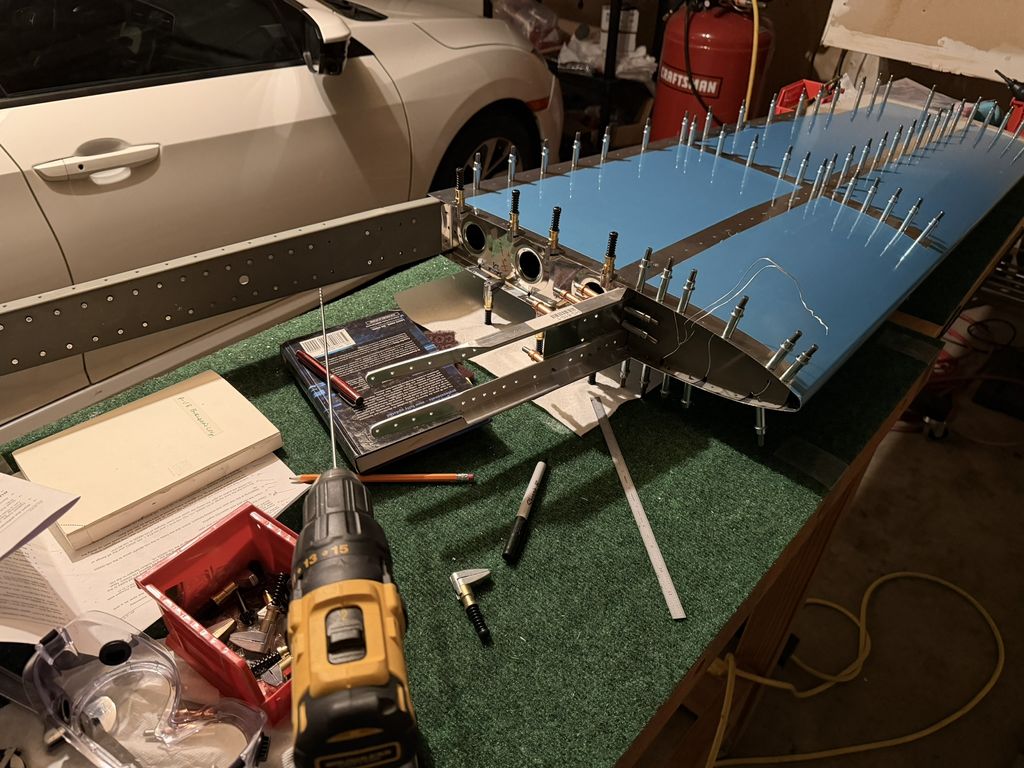
Skin on, spars in place.
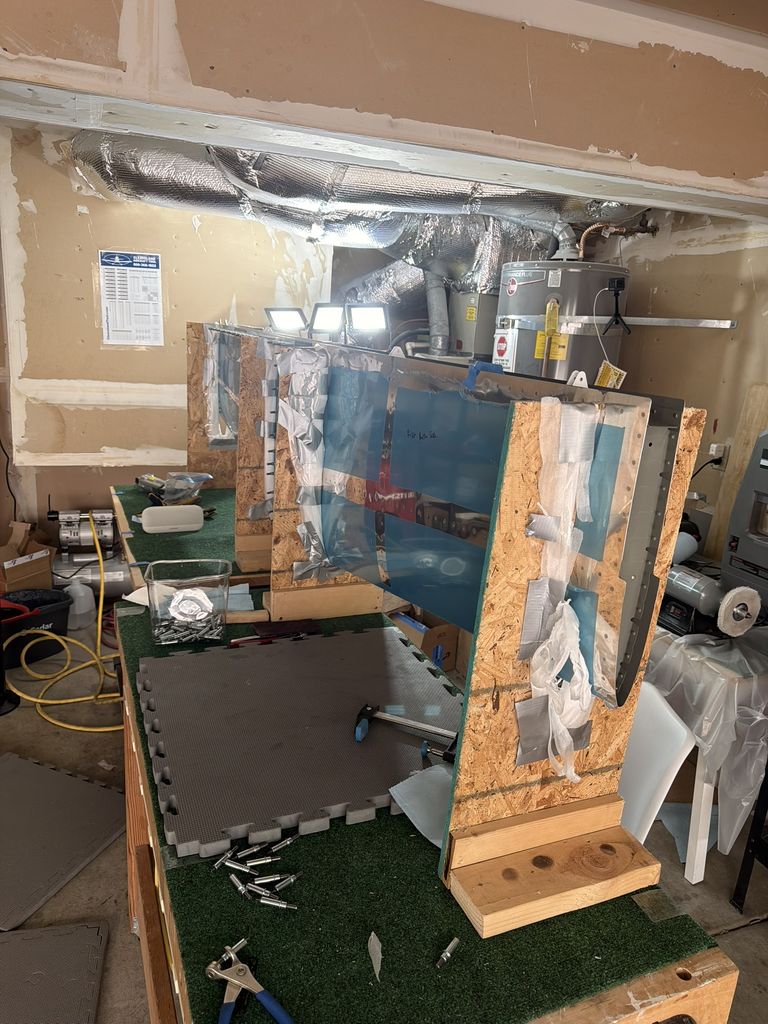
In the cradle for riveting.
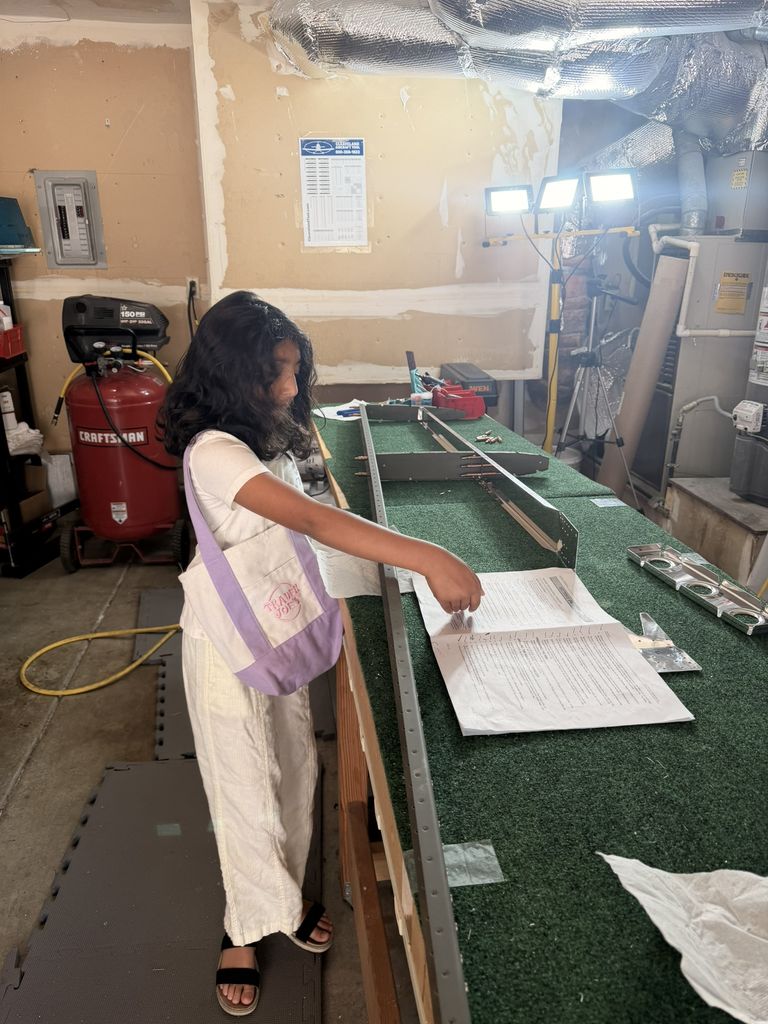
The little helper. She comes to the garage from time to time to assist with tasks.
Vertical Stabilizer
While waiting for the replacement HS parts, I started the vertical stabilizer. I messed up parts on this one too. I made a bad rivet and while drilling it out I damaged the rear spar assembly. I had to discard the entire rear spar assembly and reorder. Then later I noticed I had riveted the top hinges on wrong. By that point I had gotten enough practice drilling out rivets (especially on that discarded rear spar) that drilling out a bad rivet was no longer the ordeal it would have been a few months earlier.
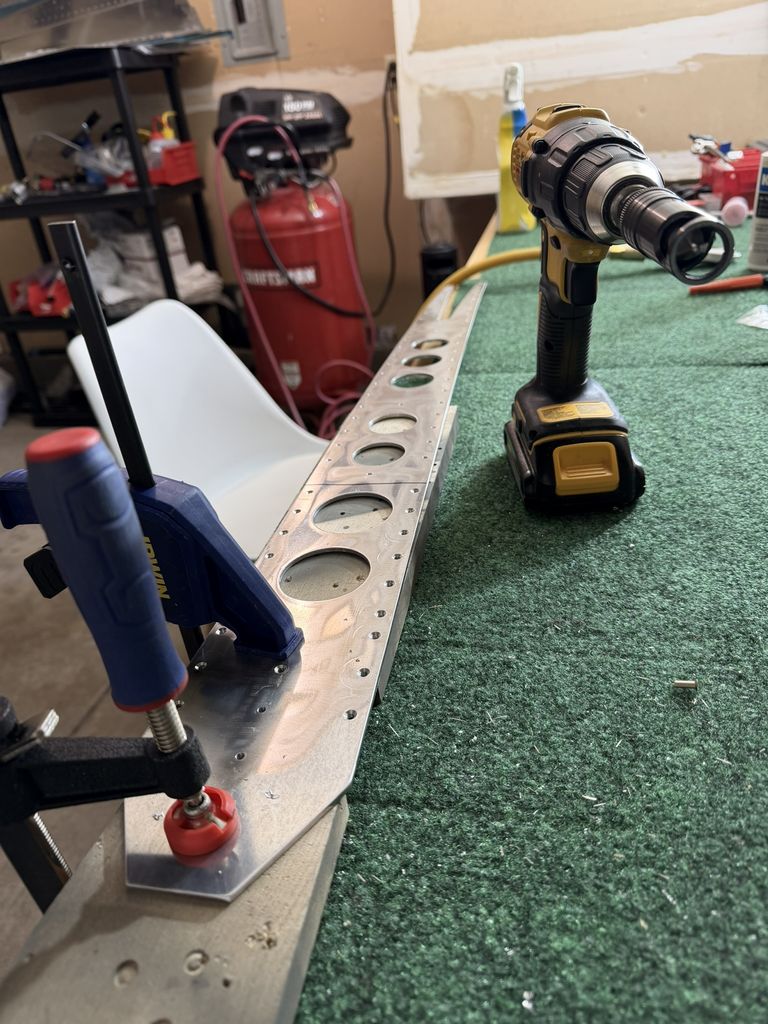
Countersinking the VS spar. The lower rear spar needs flush rivets for the fuselage bulkhead mating surface.
Done
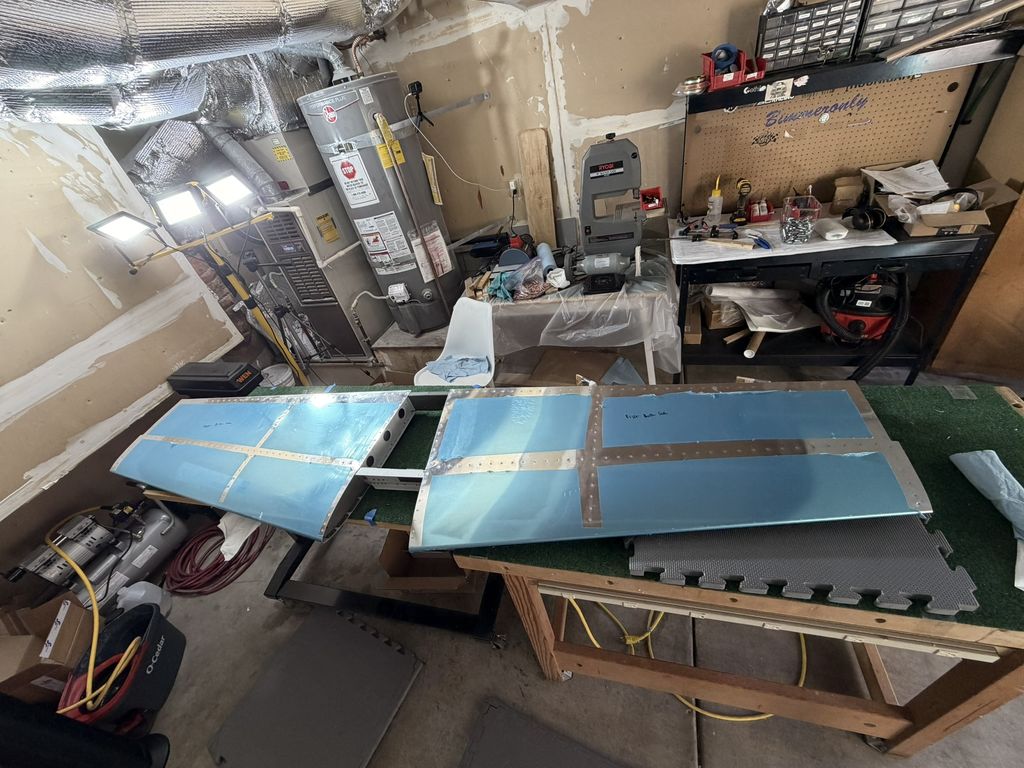
Horizontal stabilizer complete. July 26, 2026.
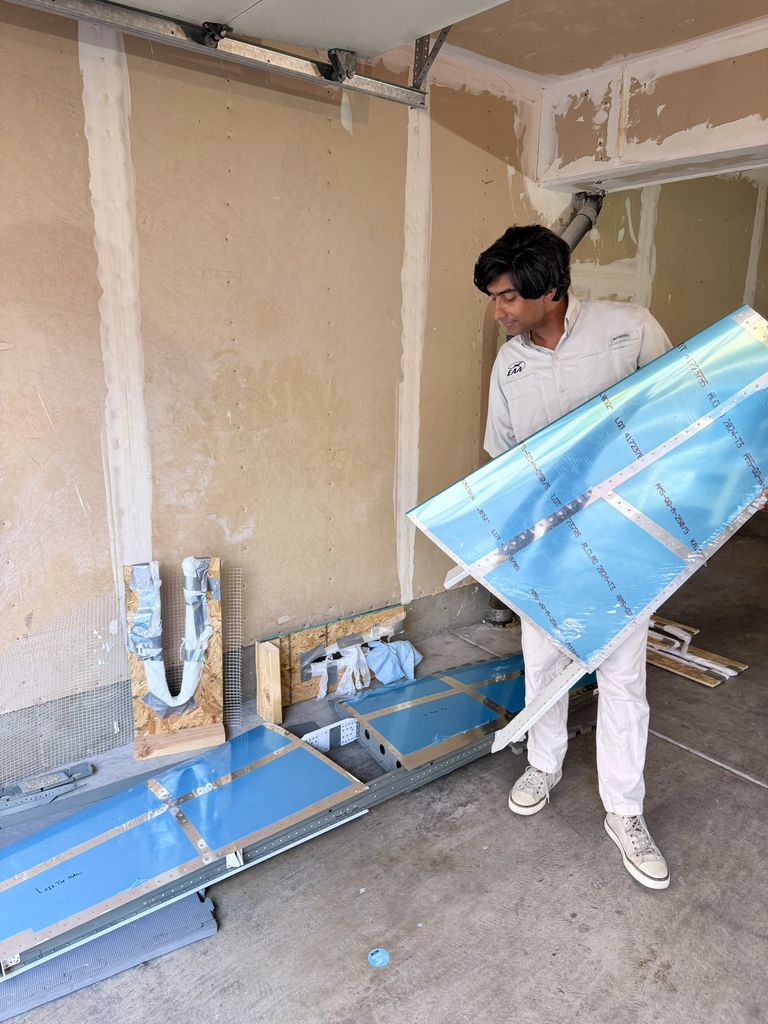
Vertical stabilizer complete. The horizontal stabilizer on the floor behind. July 29, 2026.
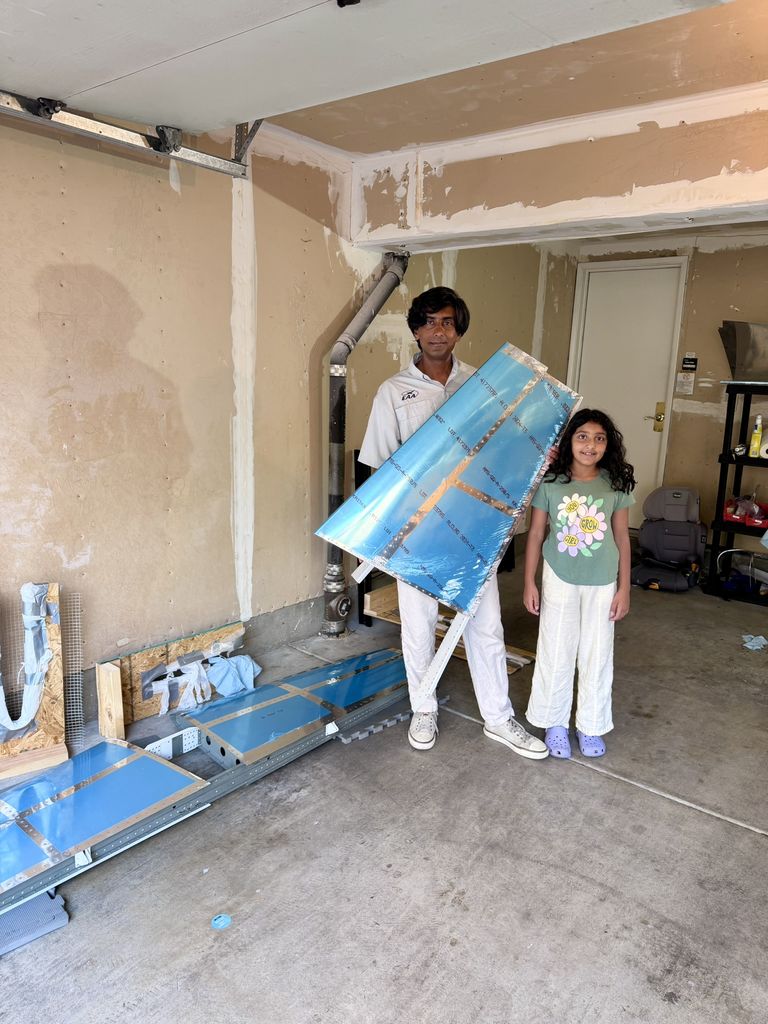
With the little helper. Both the HS and VS complete.
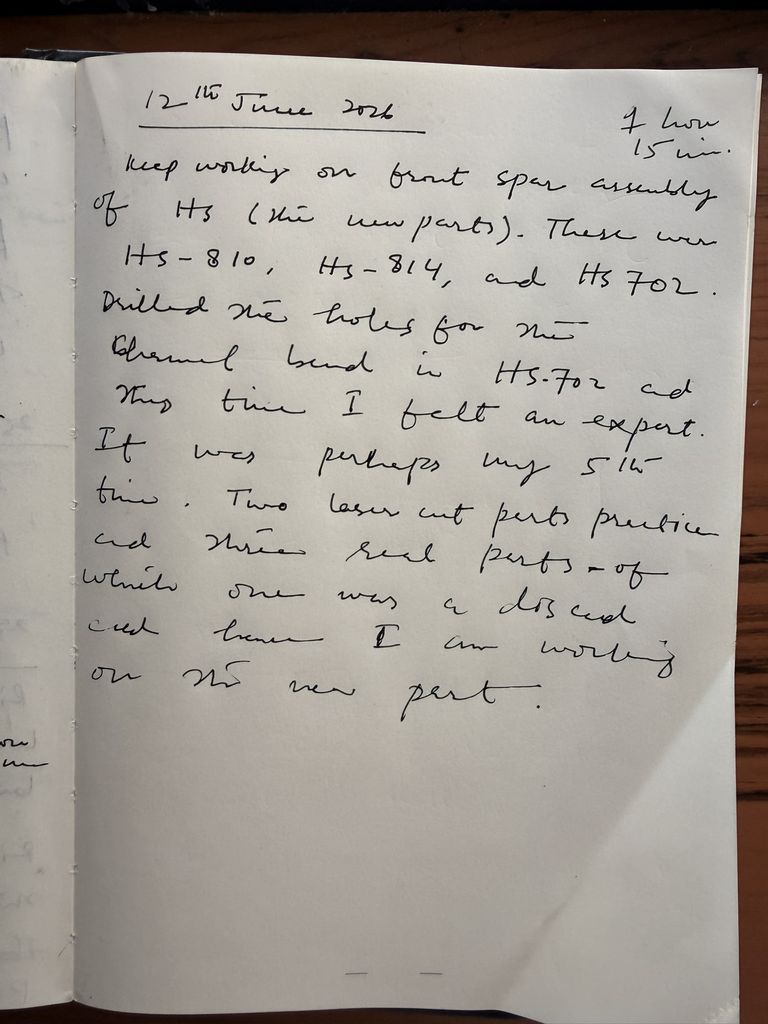
The logbook entry.
Next up: the rudder and elevators.