
Included work from 4th December 2021 to 17th March 2022.
I finished my first major component: the horizontal stabilizer. There were many unknowns and tricky situations that at times created setbacks and I had to reorder parts (that I ruined) or just had to sit back and think how to proceed.
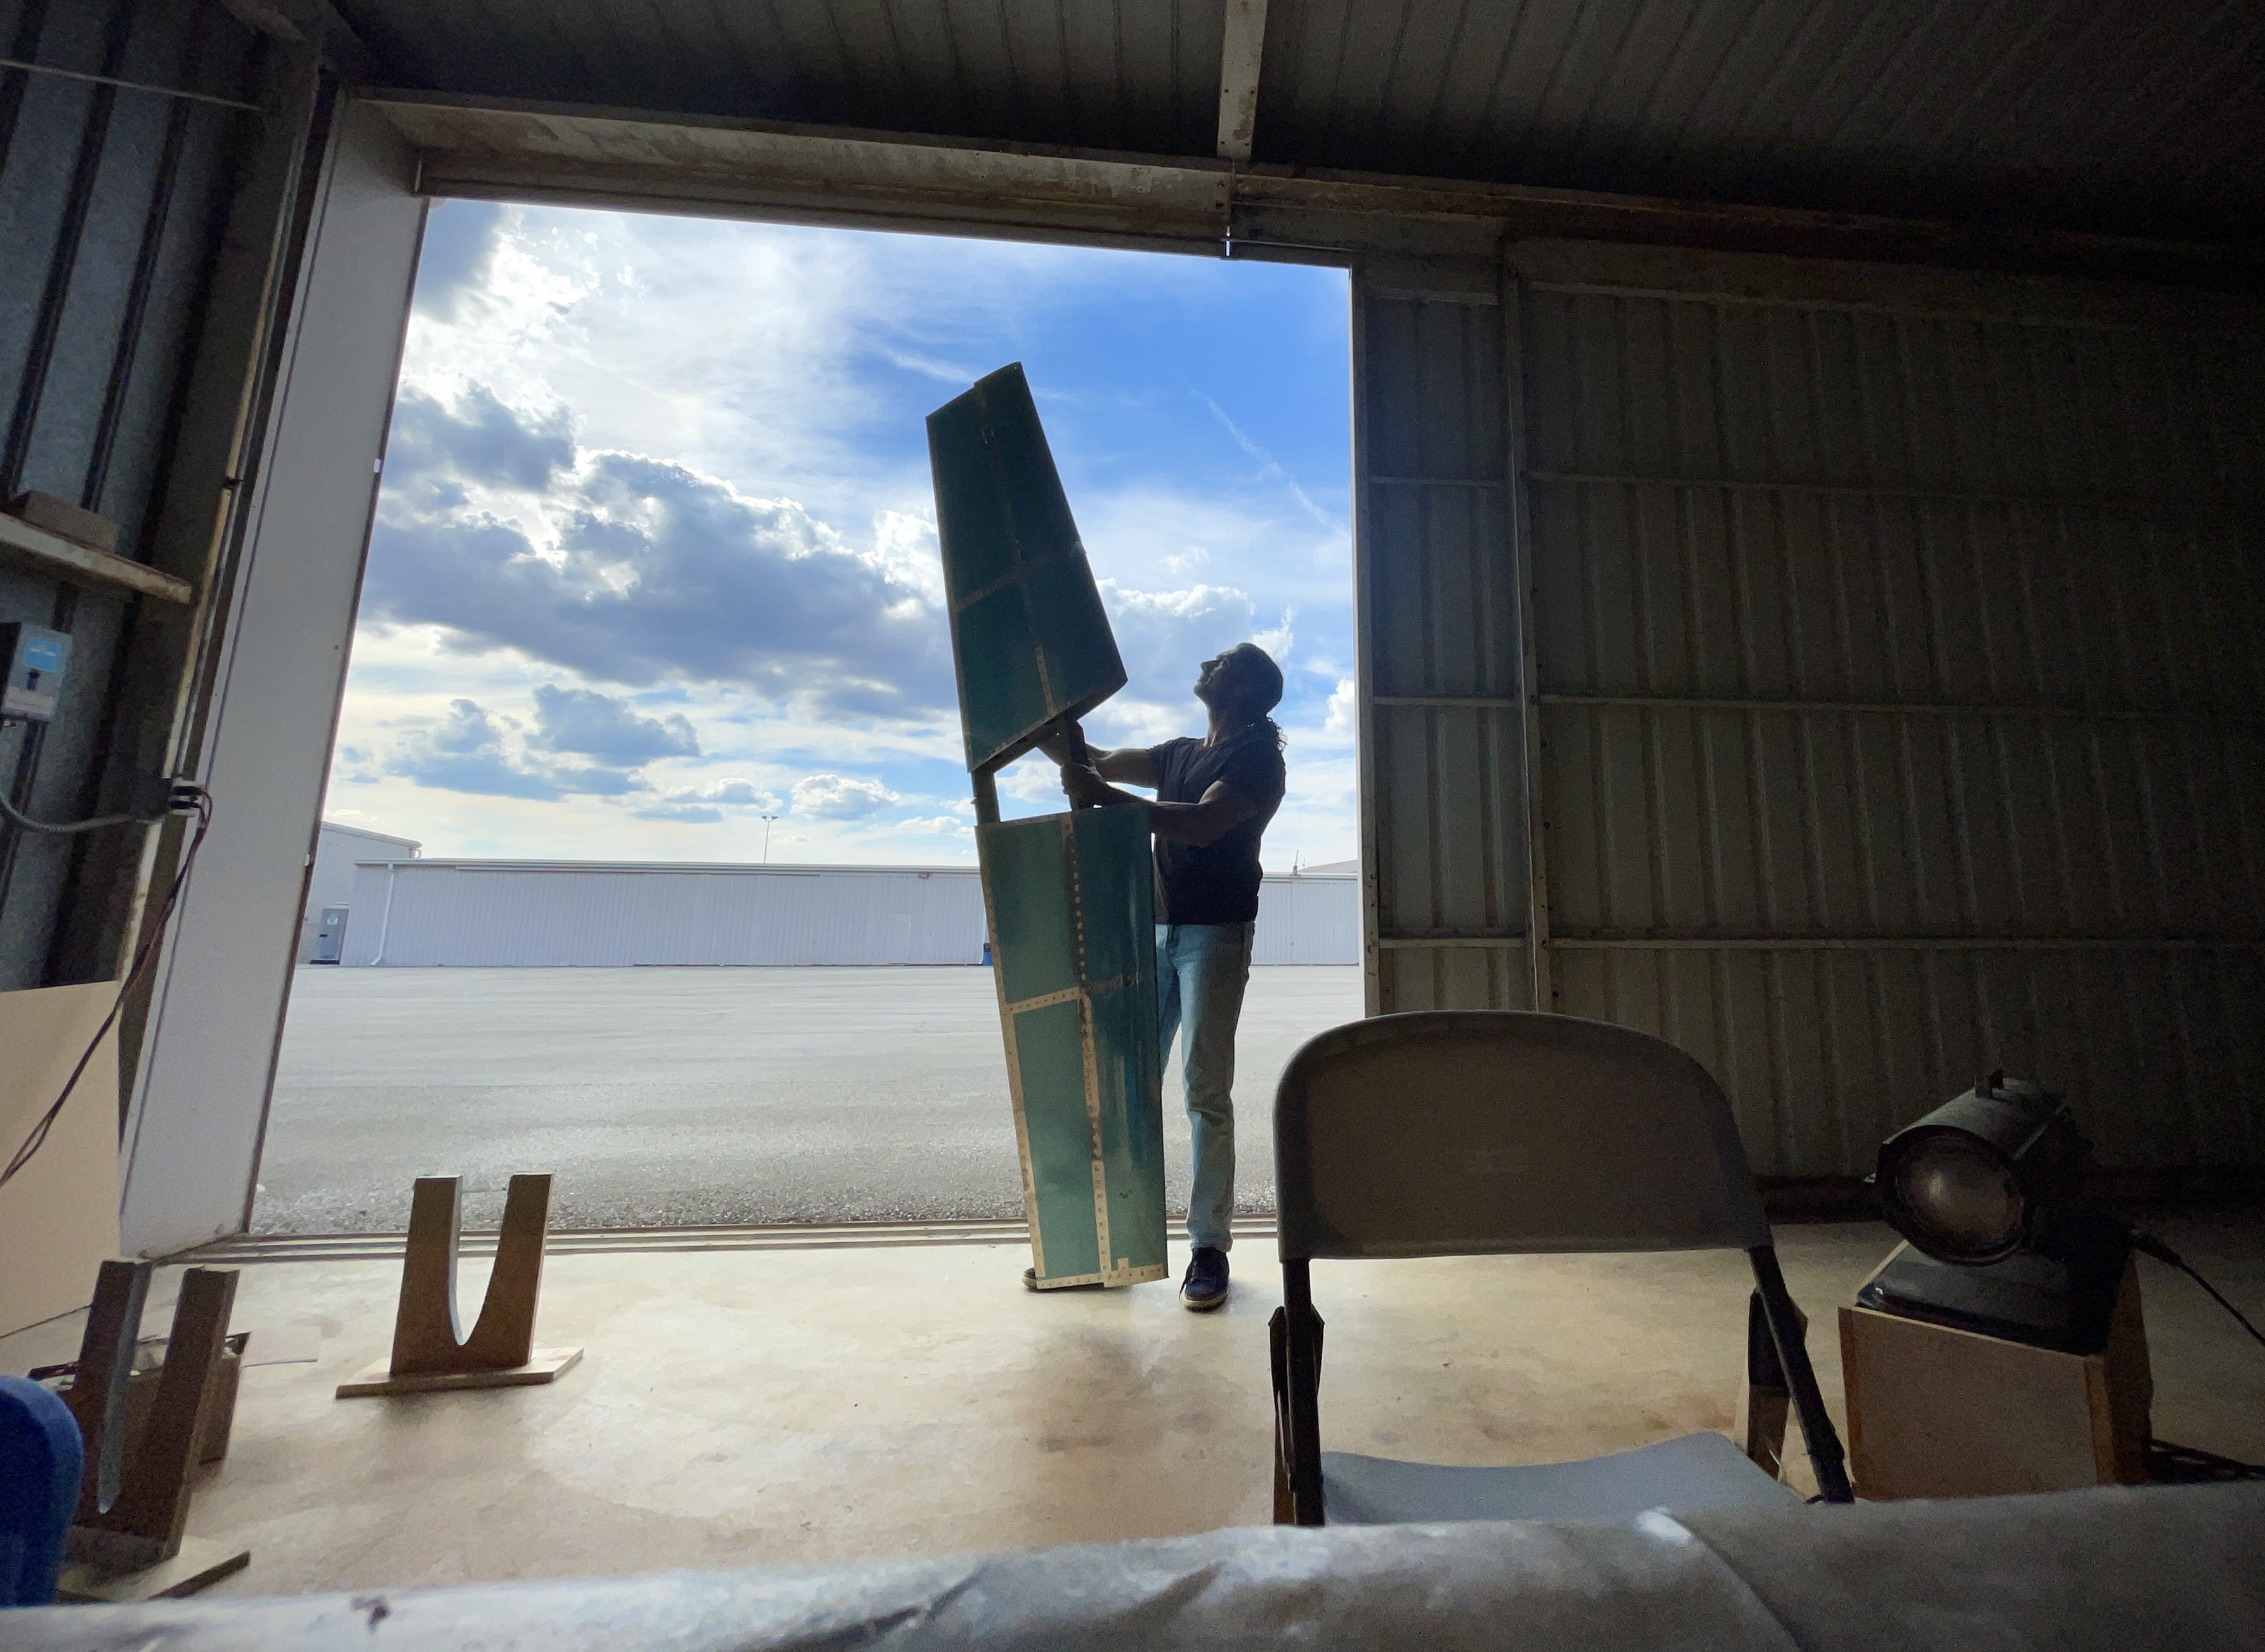
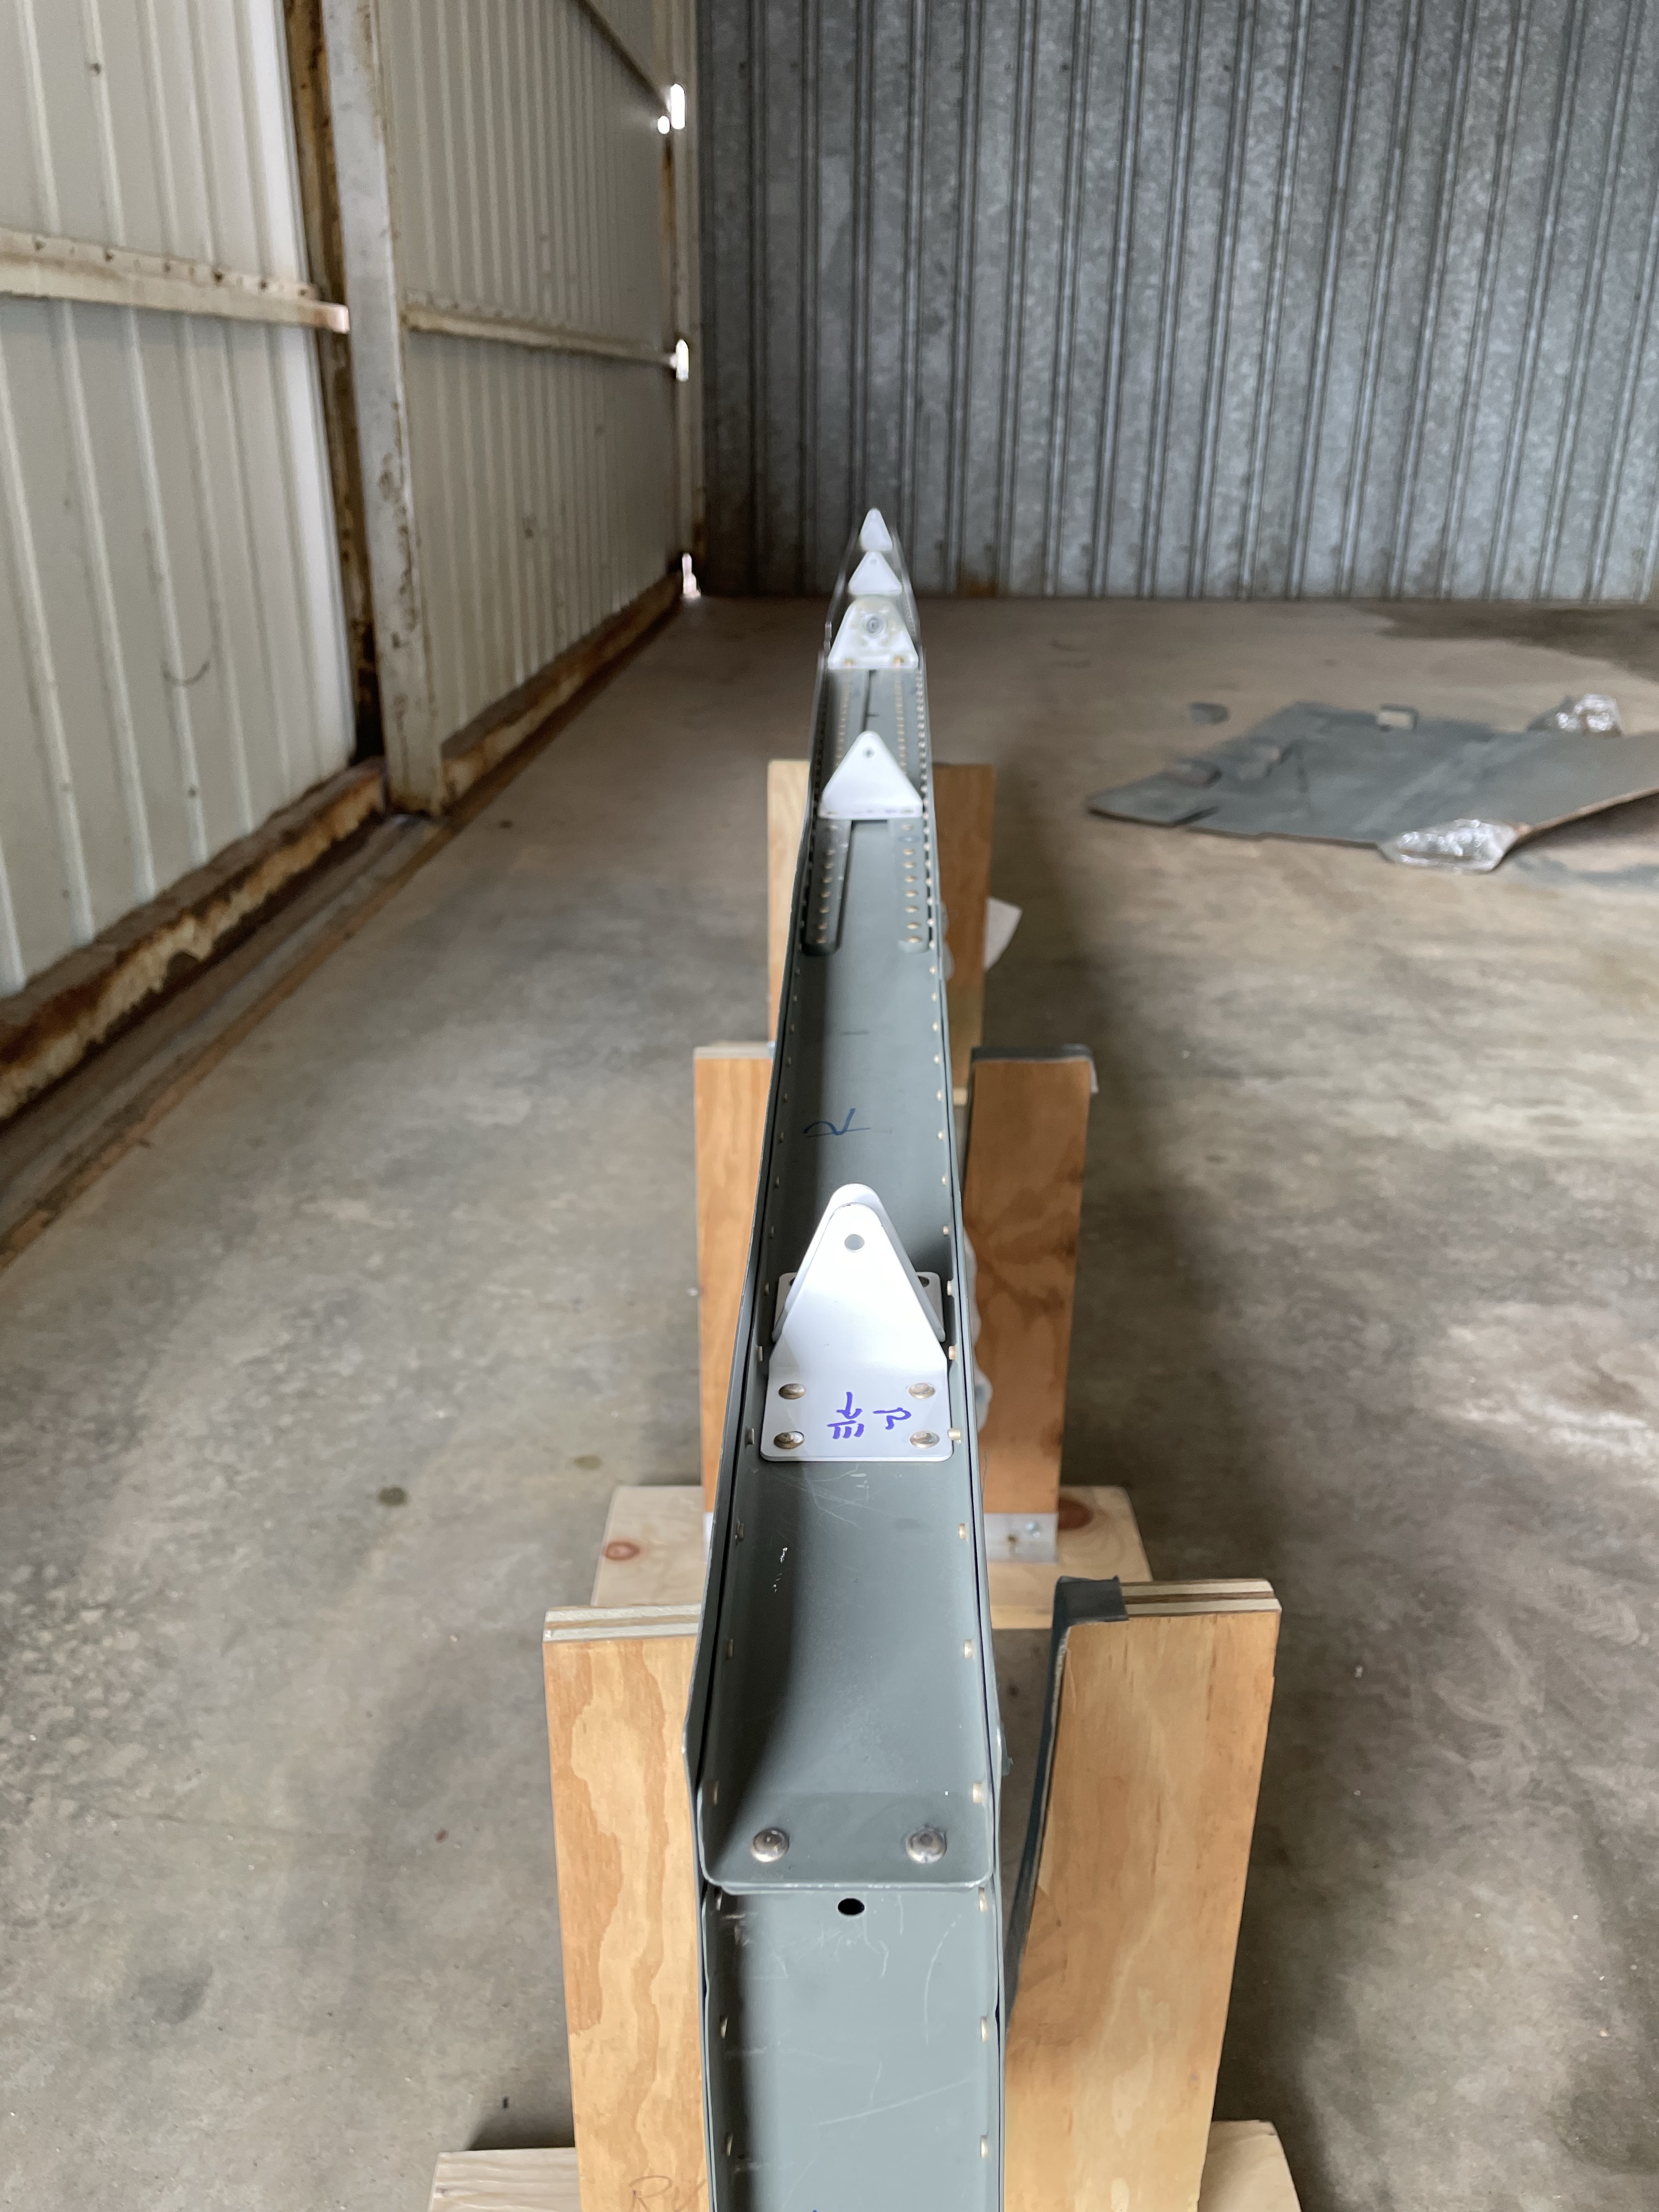
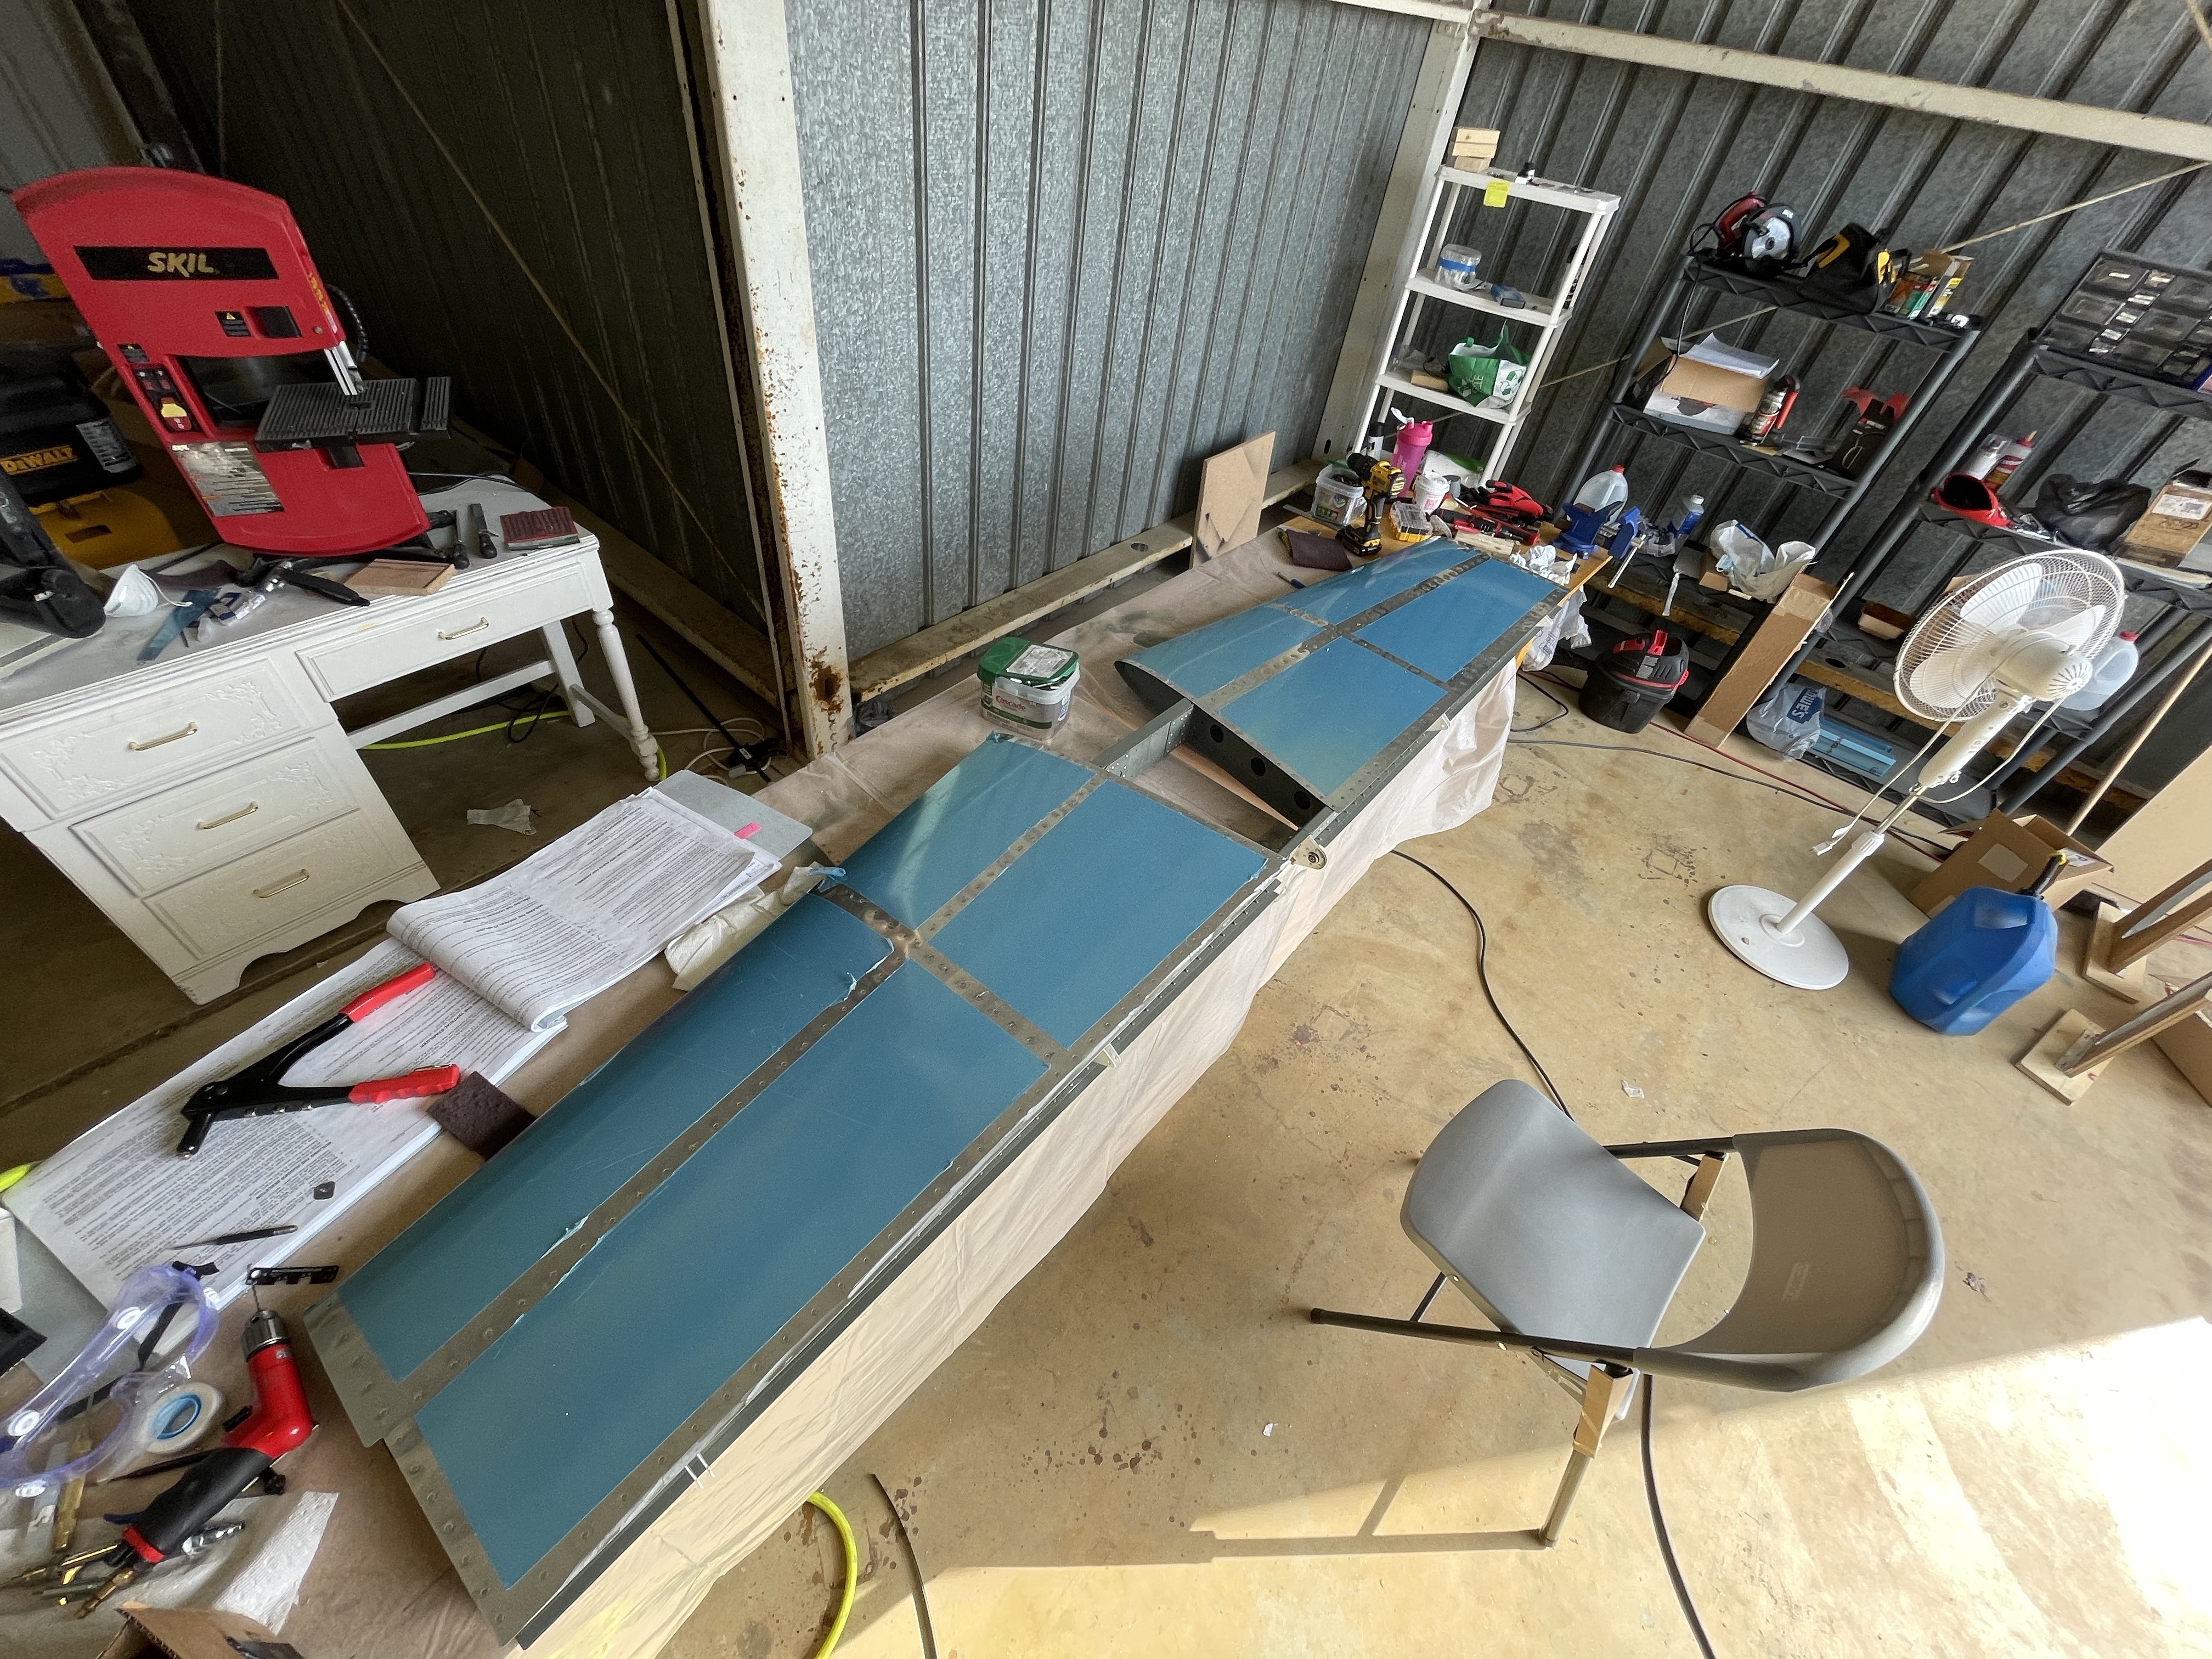
Horizontal Stabilizer complete.
Horizontal Stabilizer complete.
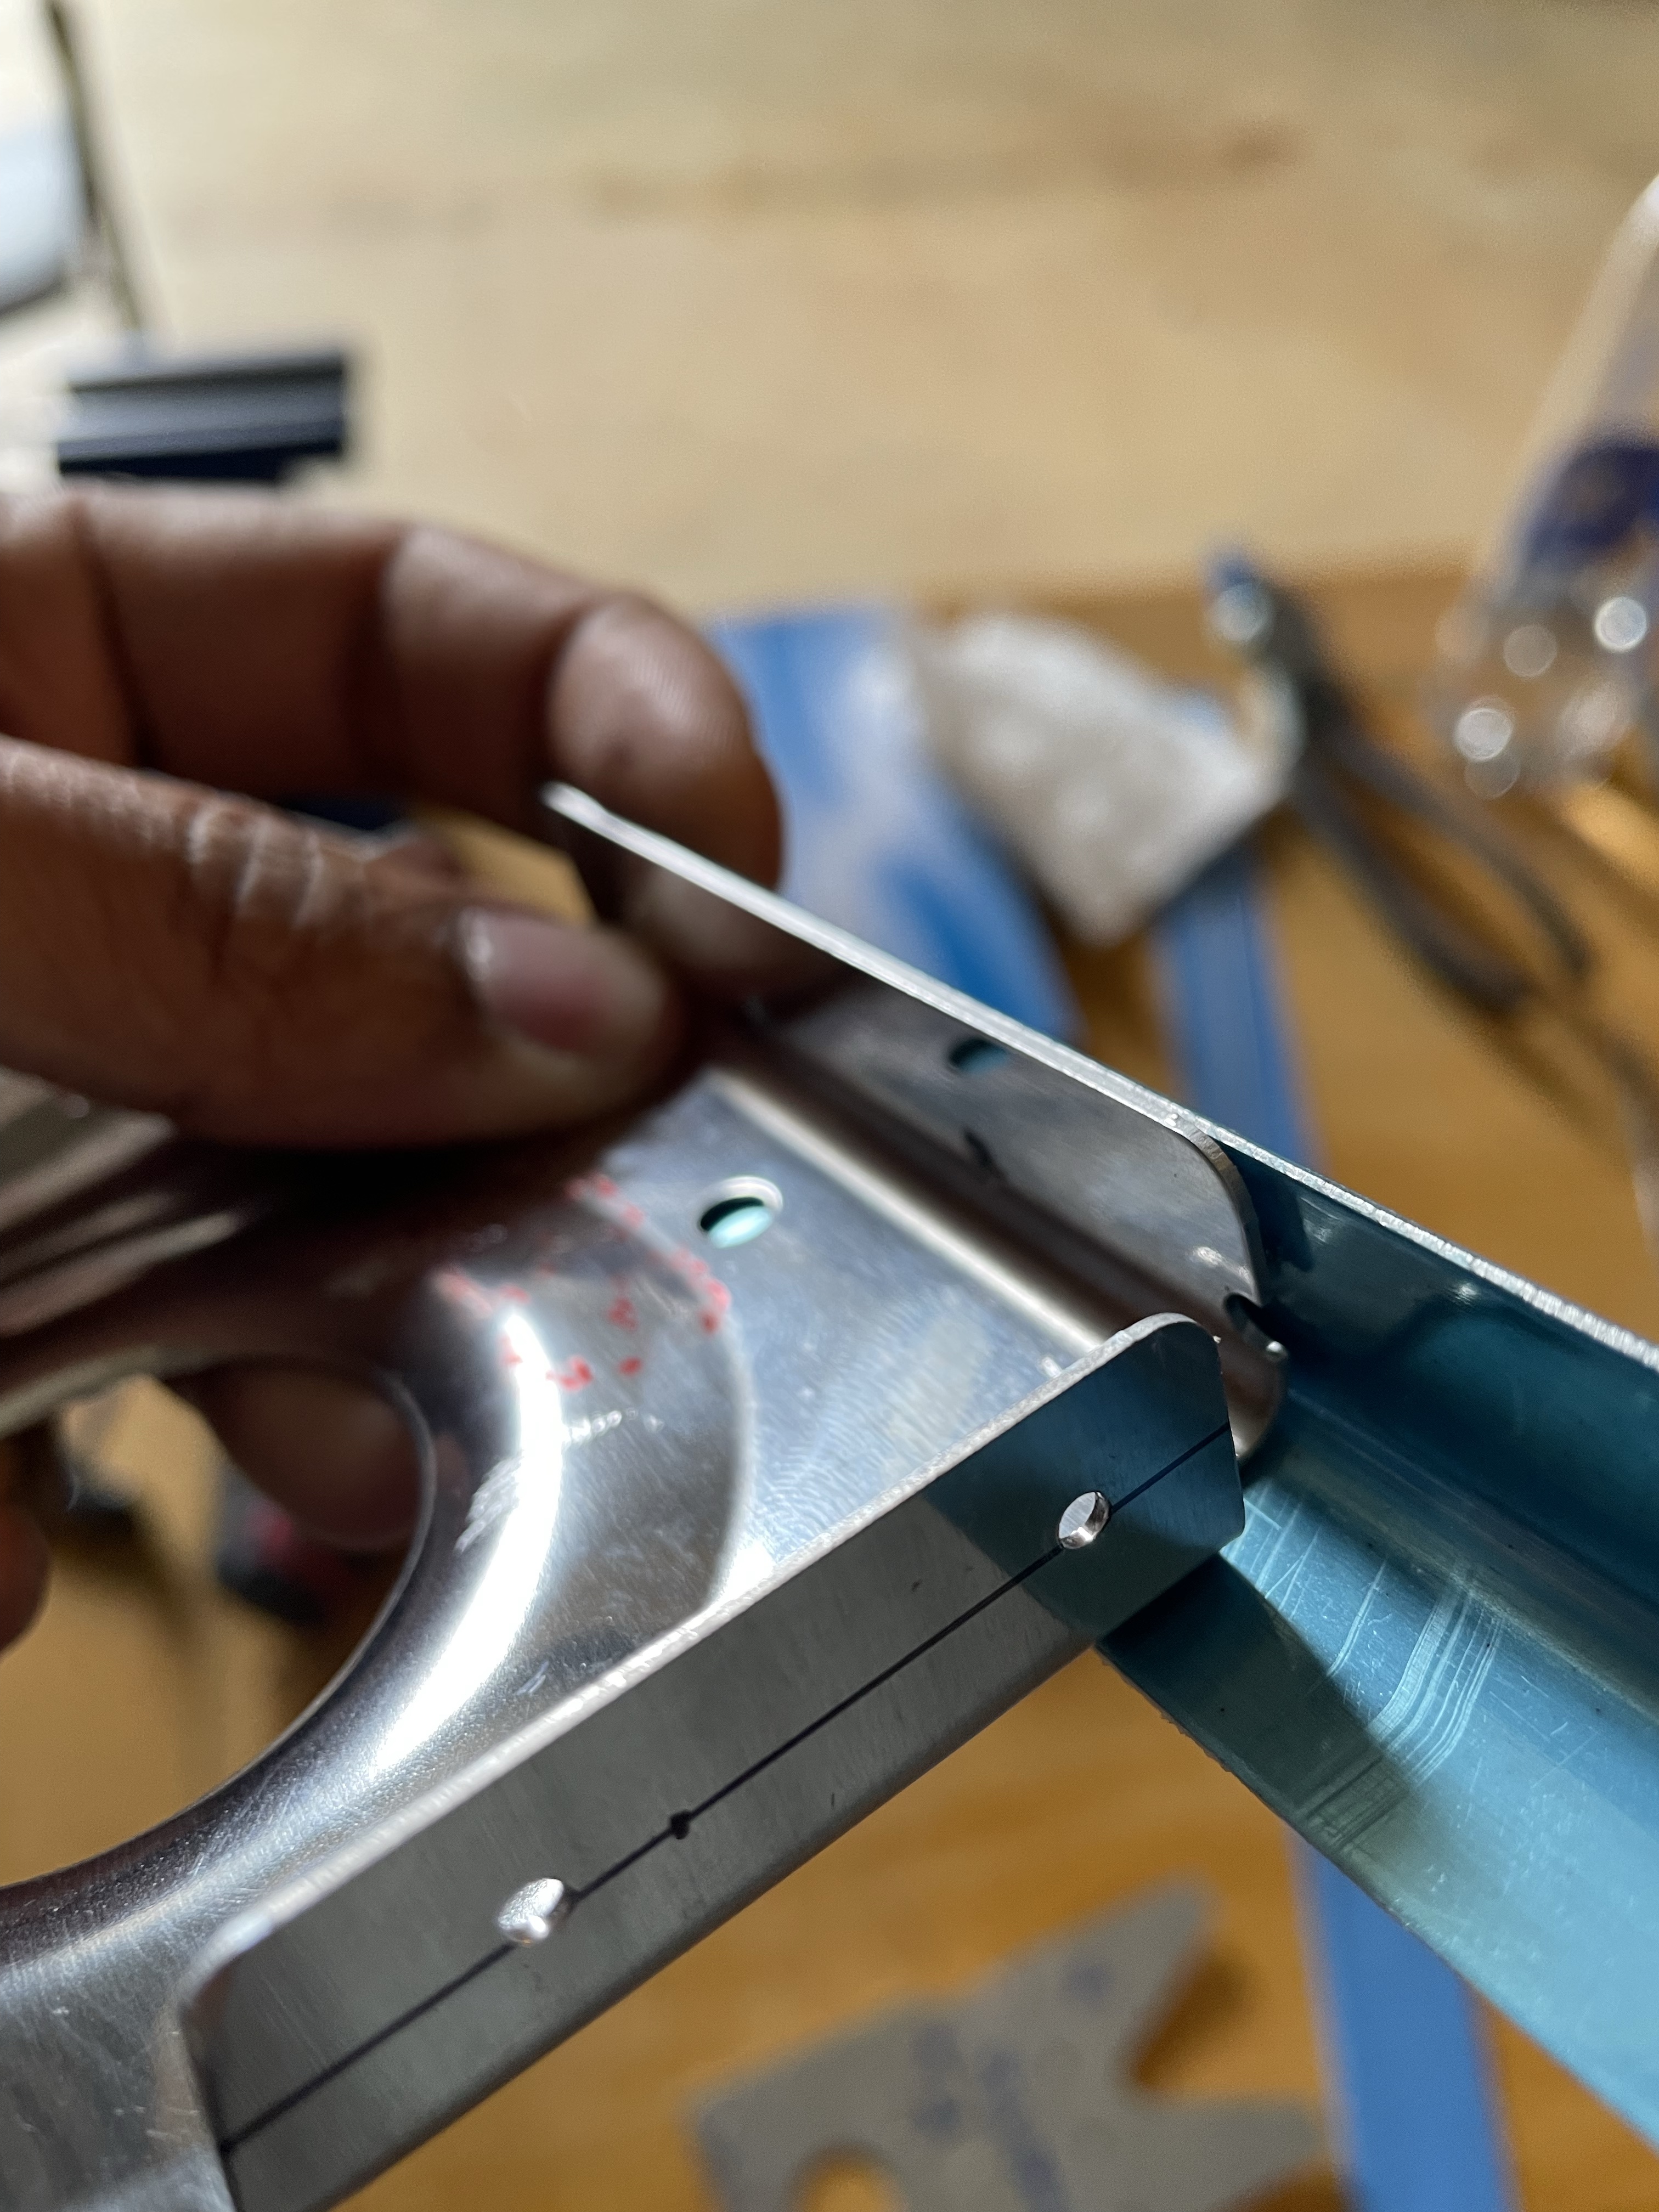
Edge Clearance Issues
One of these tricky situations is the front spar assembly and the edge clearance issue, especially with HS-00005 ribs. Since the holes are not drilled on the flanges, one has to align all the parts and then drill the holes from there. This often creates edge clearance issues if care is not taken. I was new and didn't even know such a problem could exist. I ruined those ribs and had to order new ones. But since these holes are drilled all along other parts — such as the doublers (HS-00001) and the angles (HS-710 and HS-714) — it didn't make much difference and I again ended up with edge clearance issues (not that severe though). So I went ahead and fixed that by installing a doubler on the HS-00005 ribs themselves, which provided the necessary edge distances.

A ruined rib.
A ruined rib.
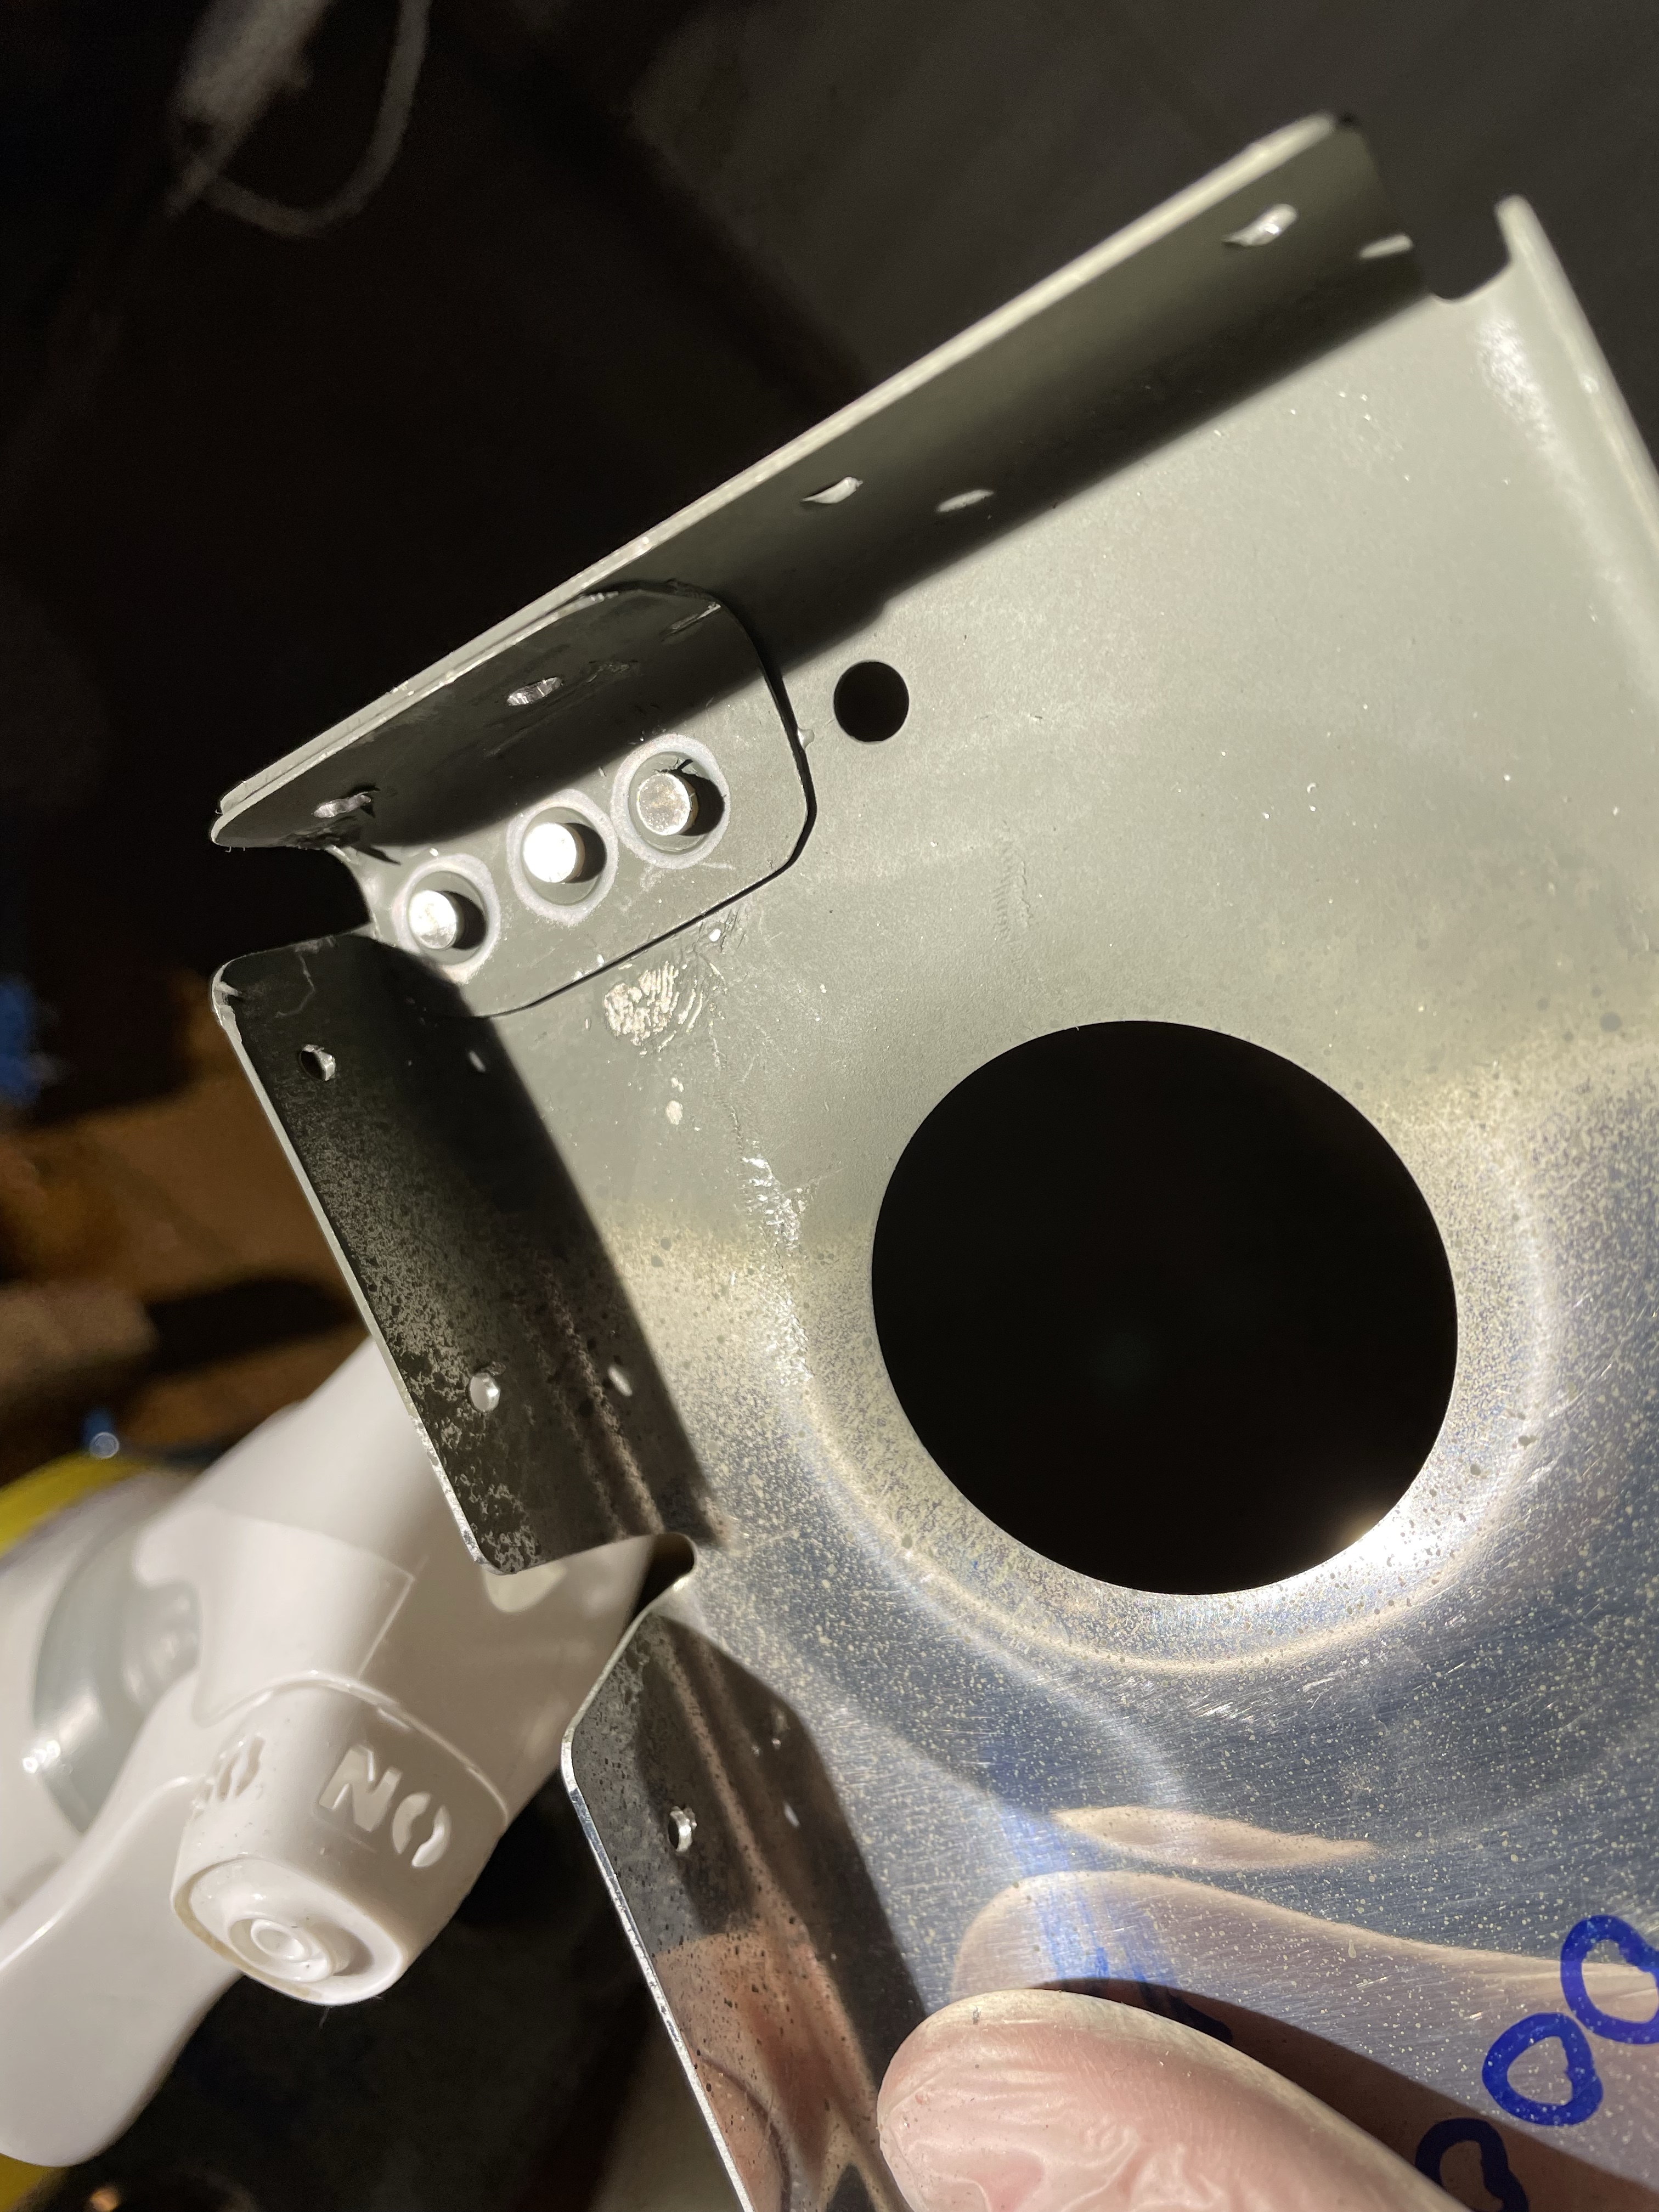
The doubler to fix edge clearance.
The doubler to fix edge clearance.
Dimpling Mistake
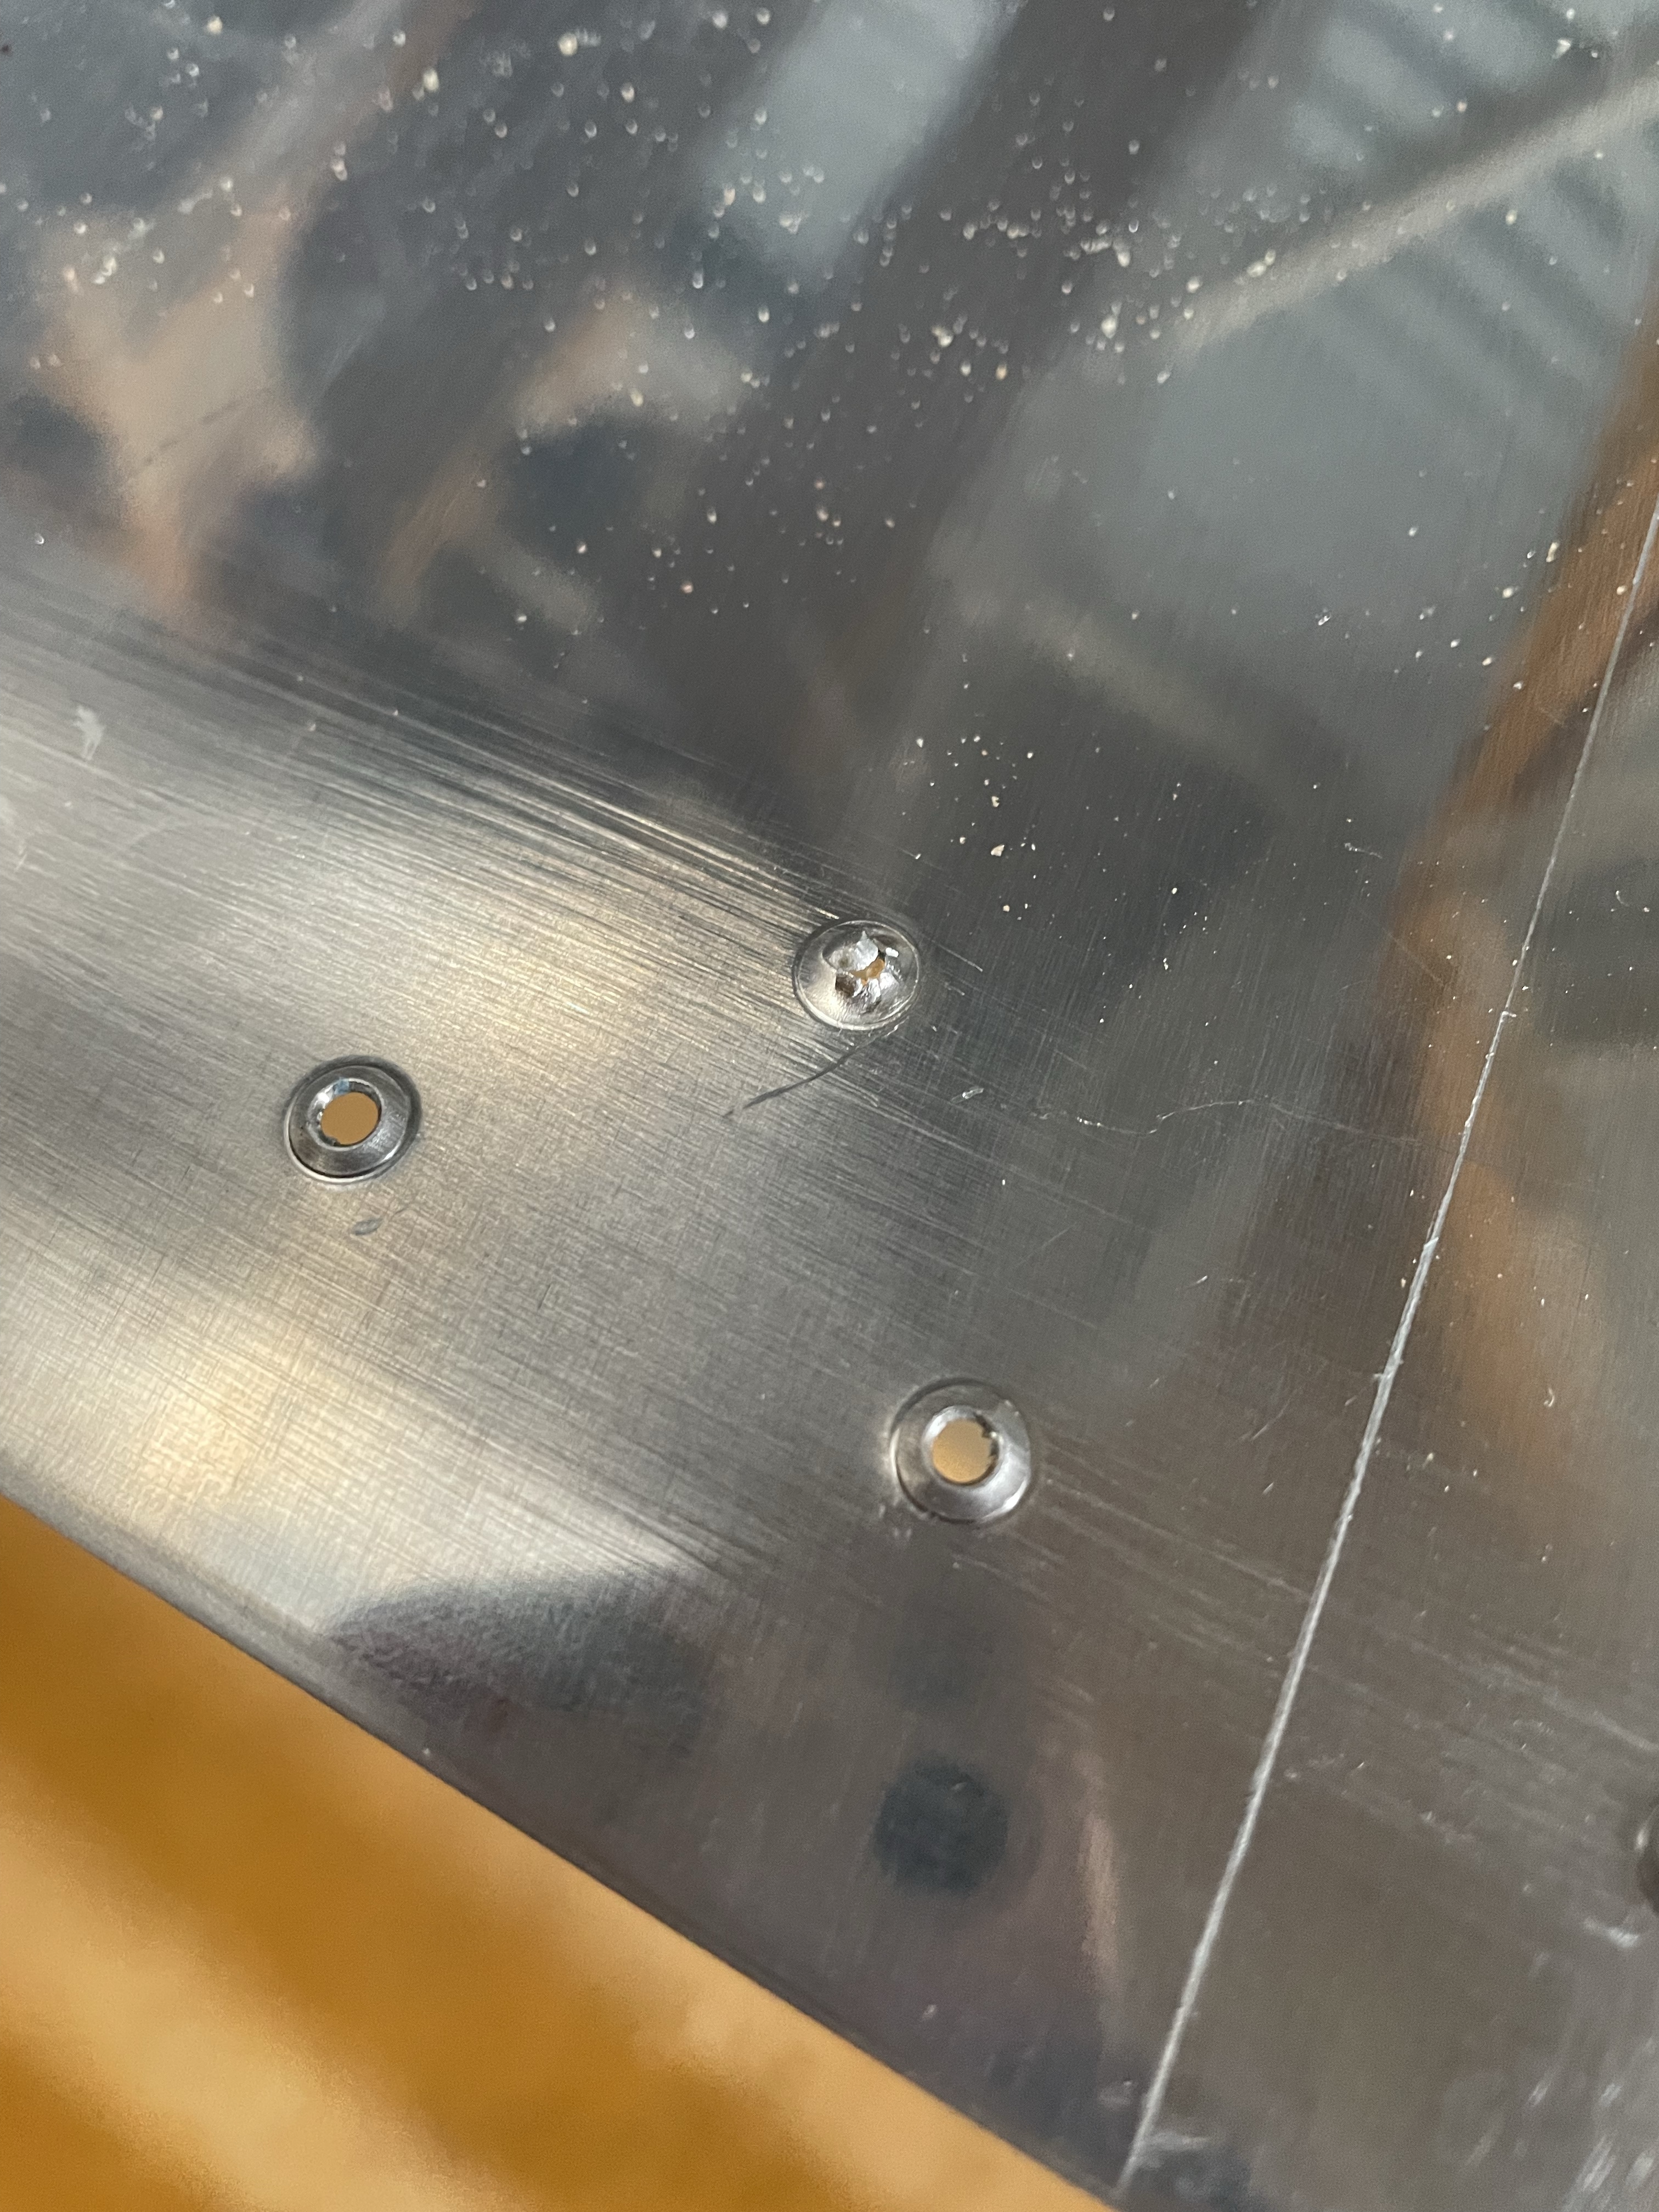
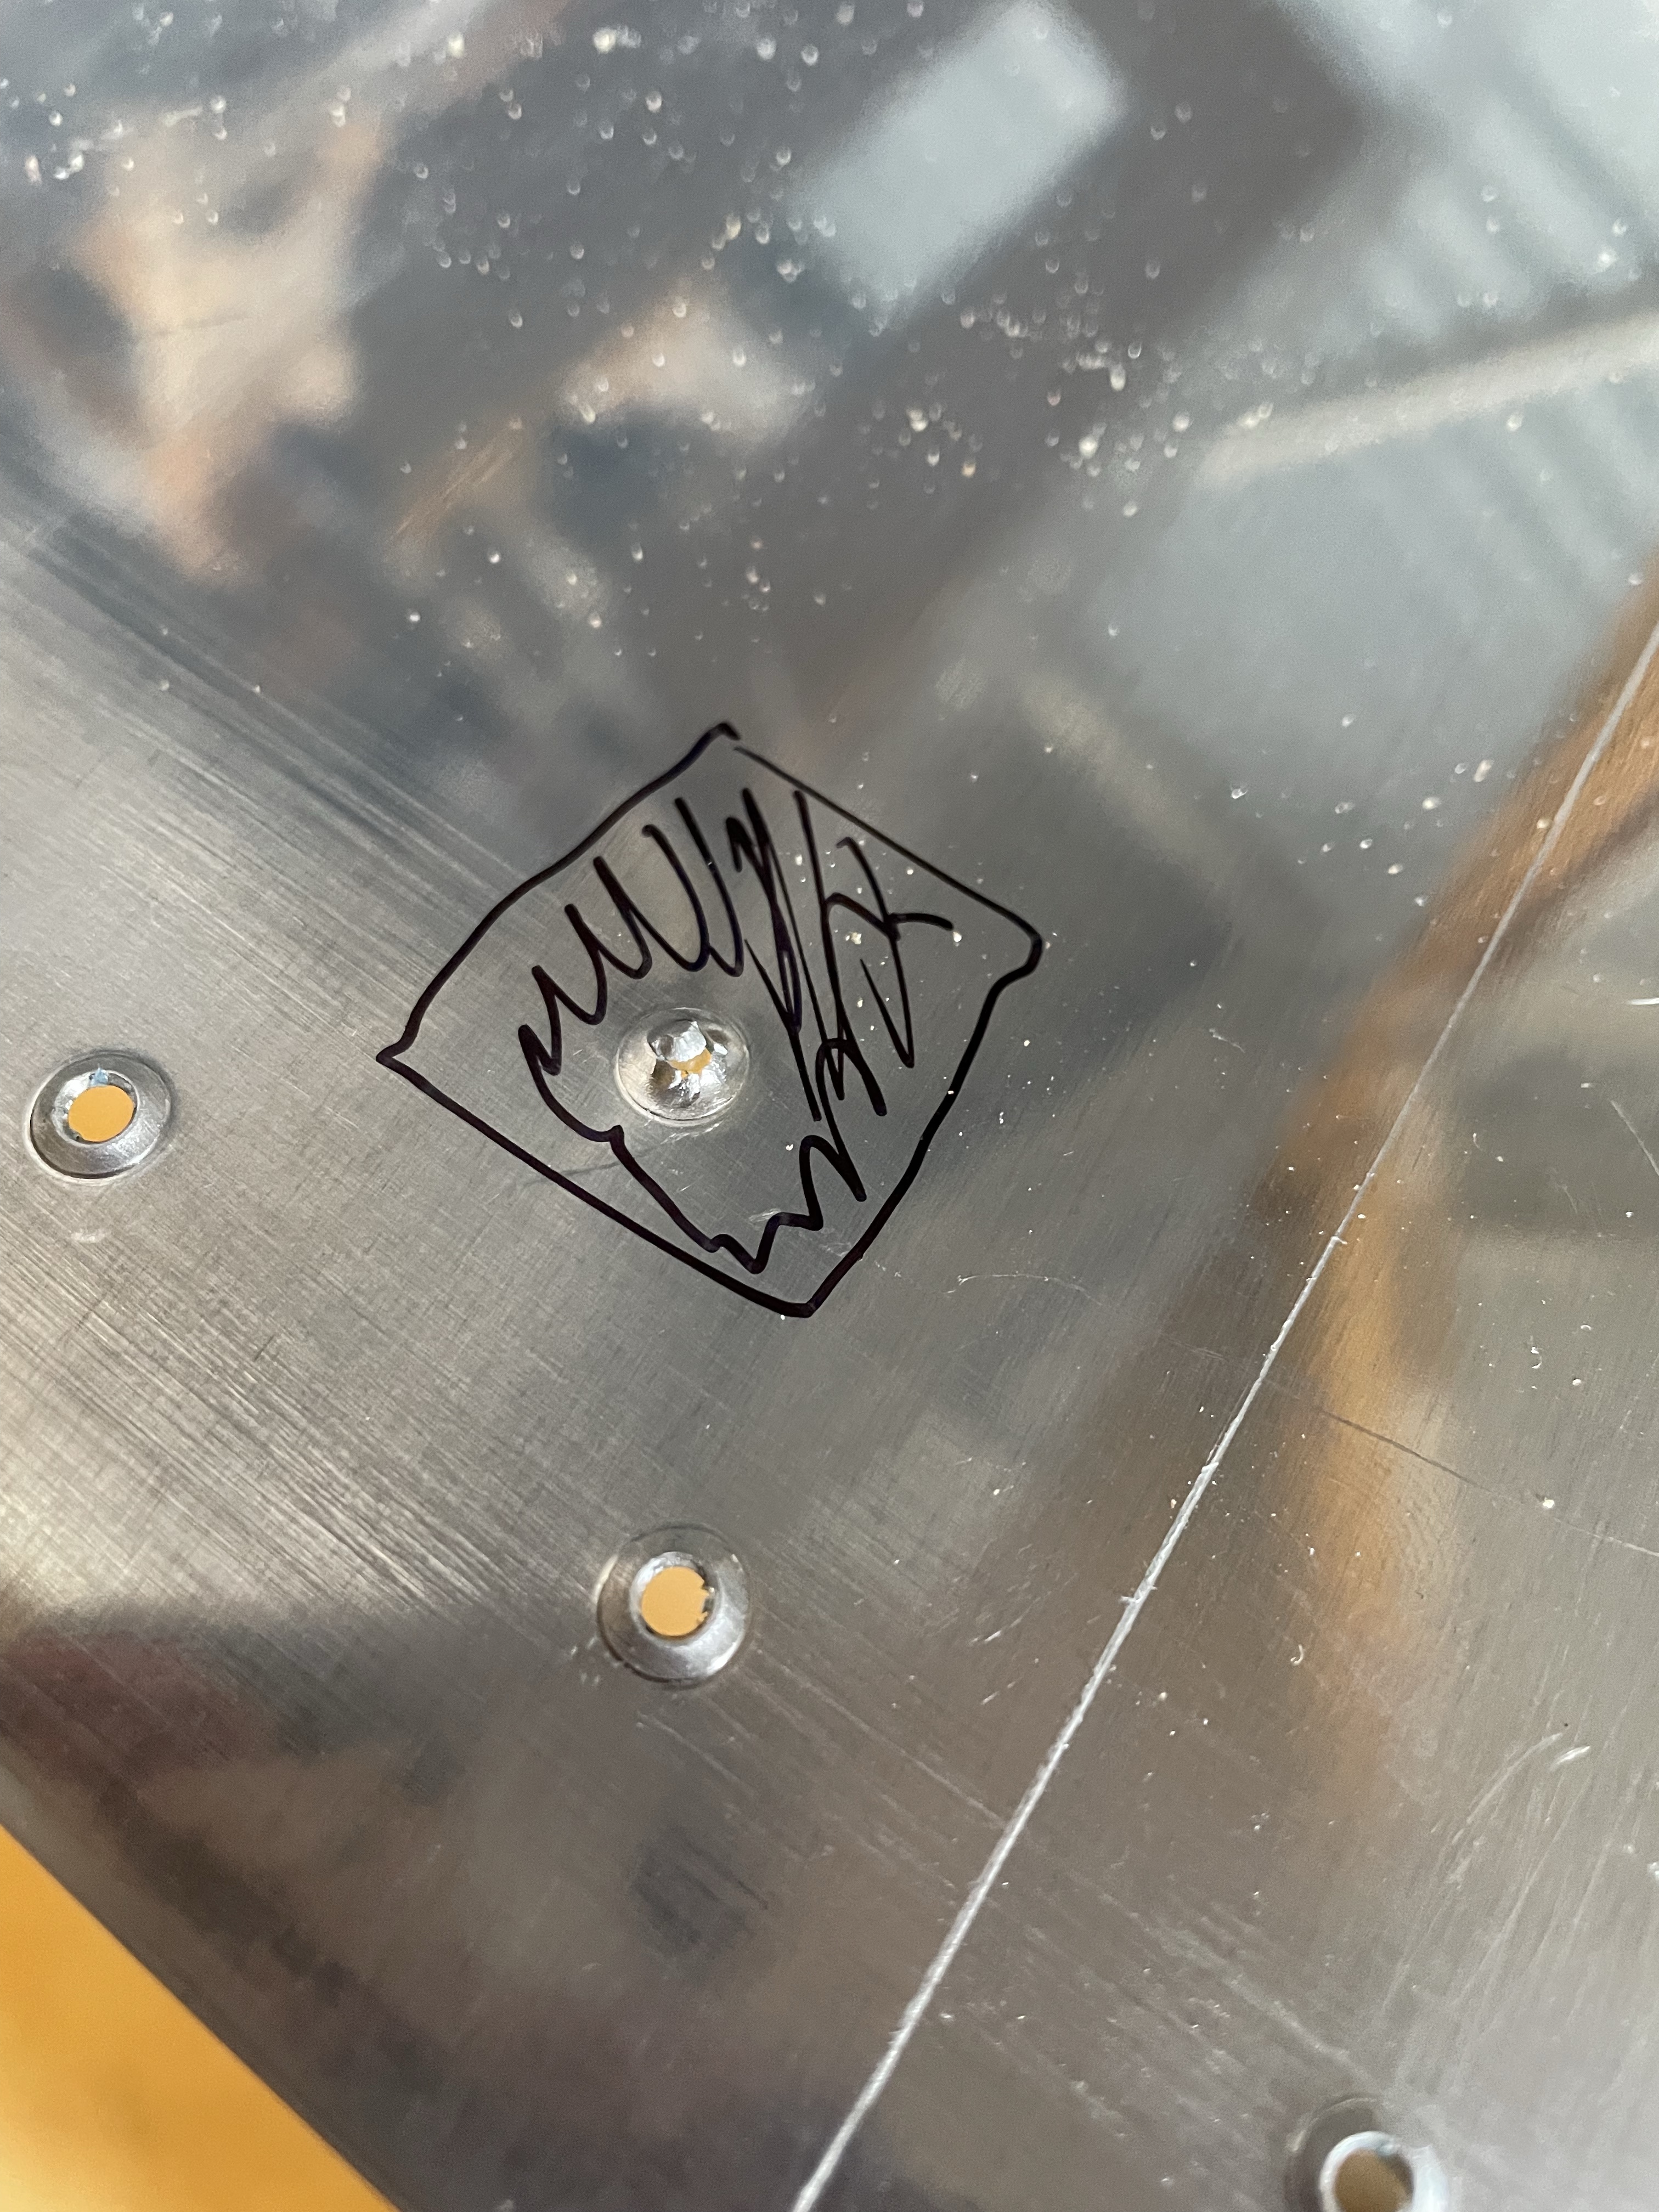
Once that was taken care of, I deburred and prepared the parts. This involved the necessary dimpling on the skins and ribs and also priming. While dimpling one of the skins (HS-601PP) I accidentally created a dimple hole. I asked Richard at our EAA 650 chapter and he suggested tapping it closed with a hammer and then applying JB Weld. The painter will fix any cosmetic irregularities.
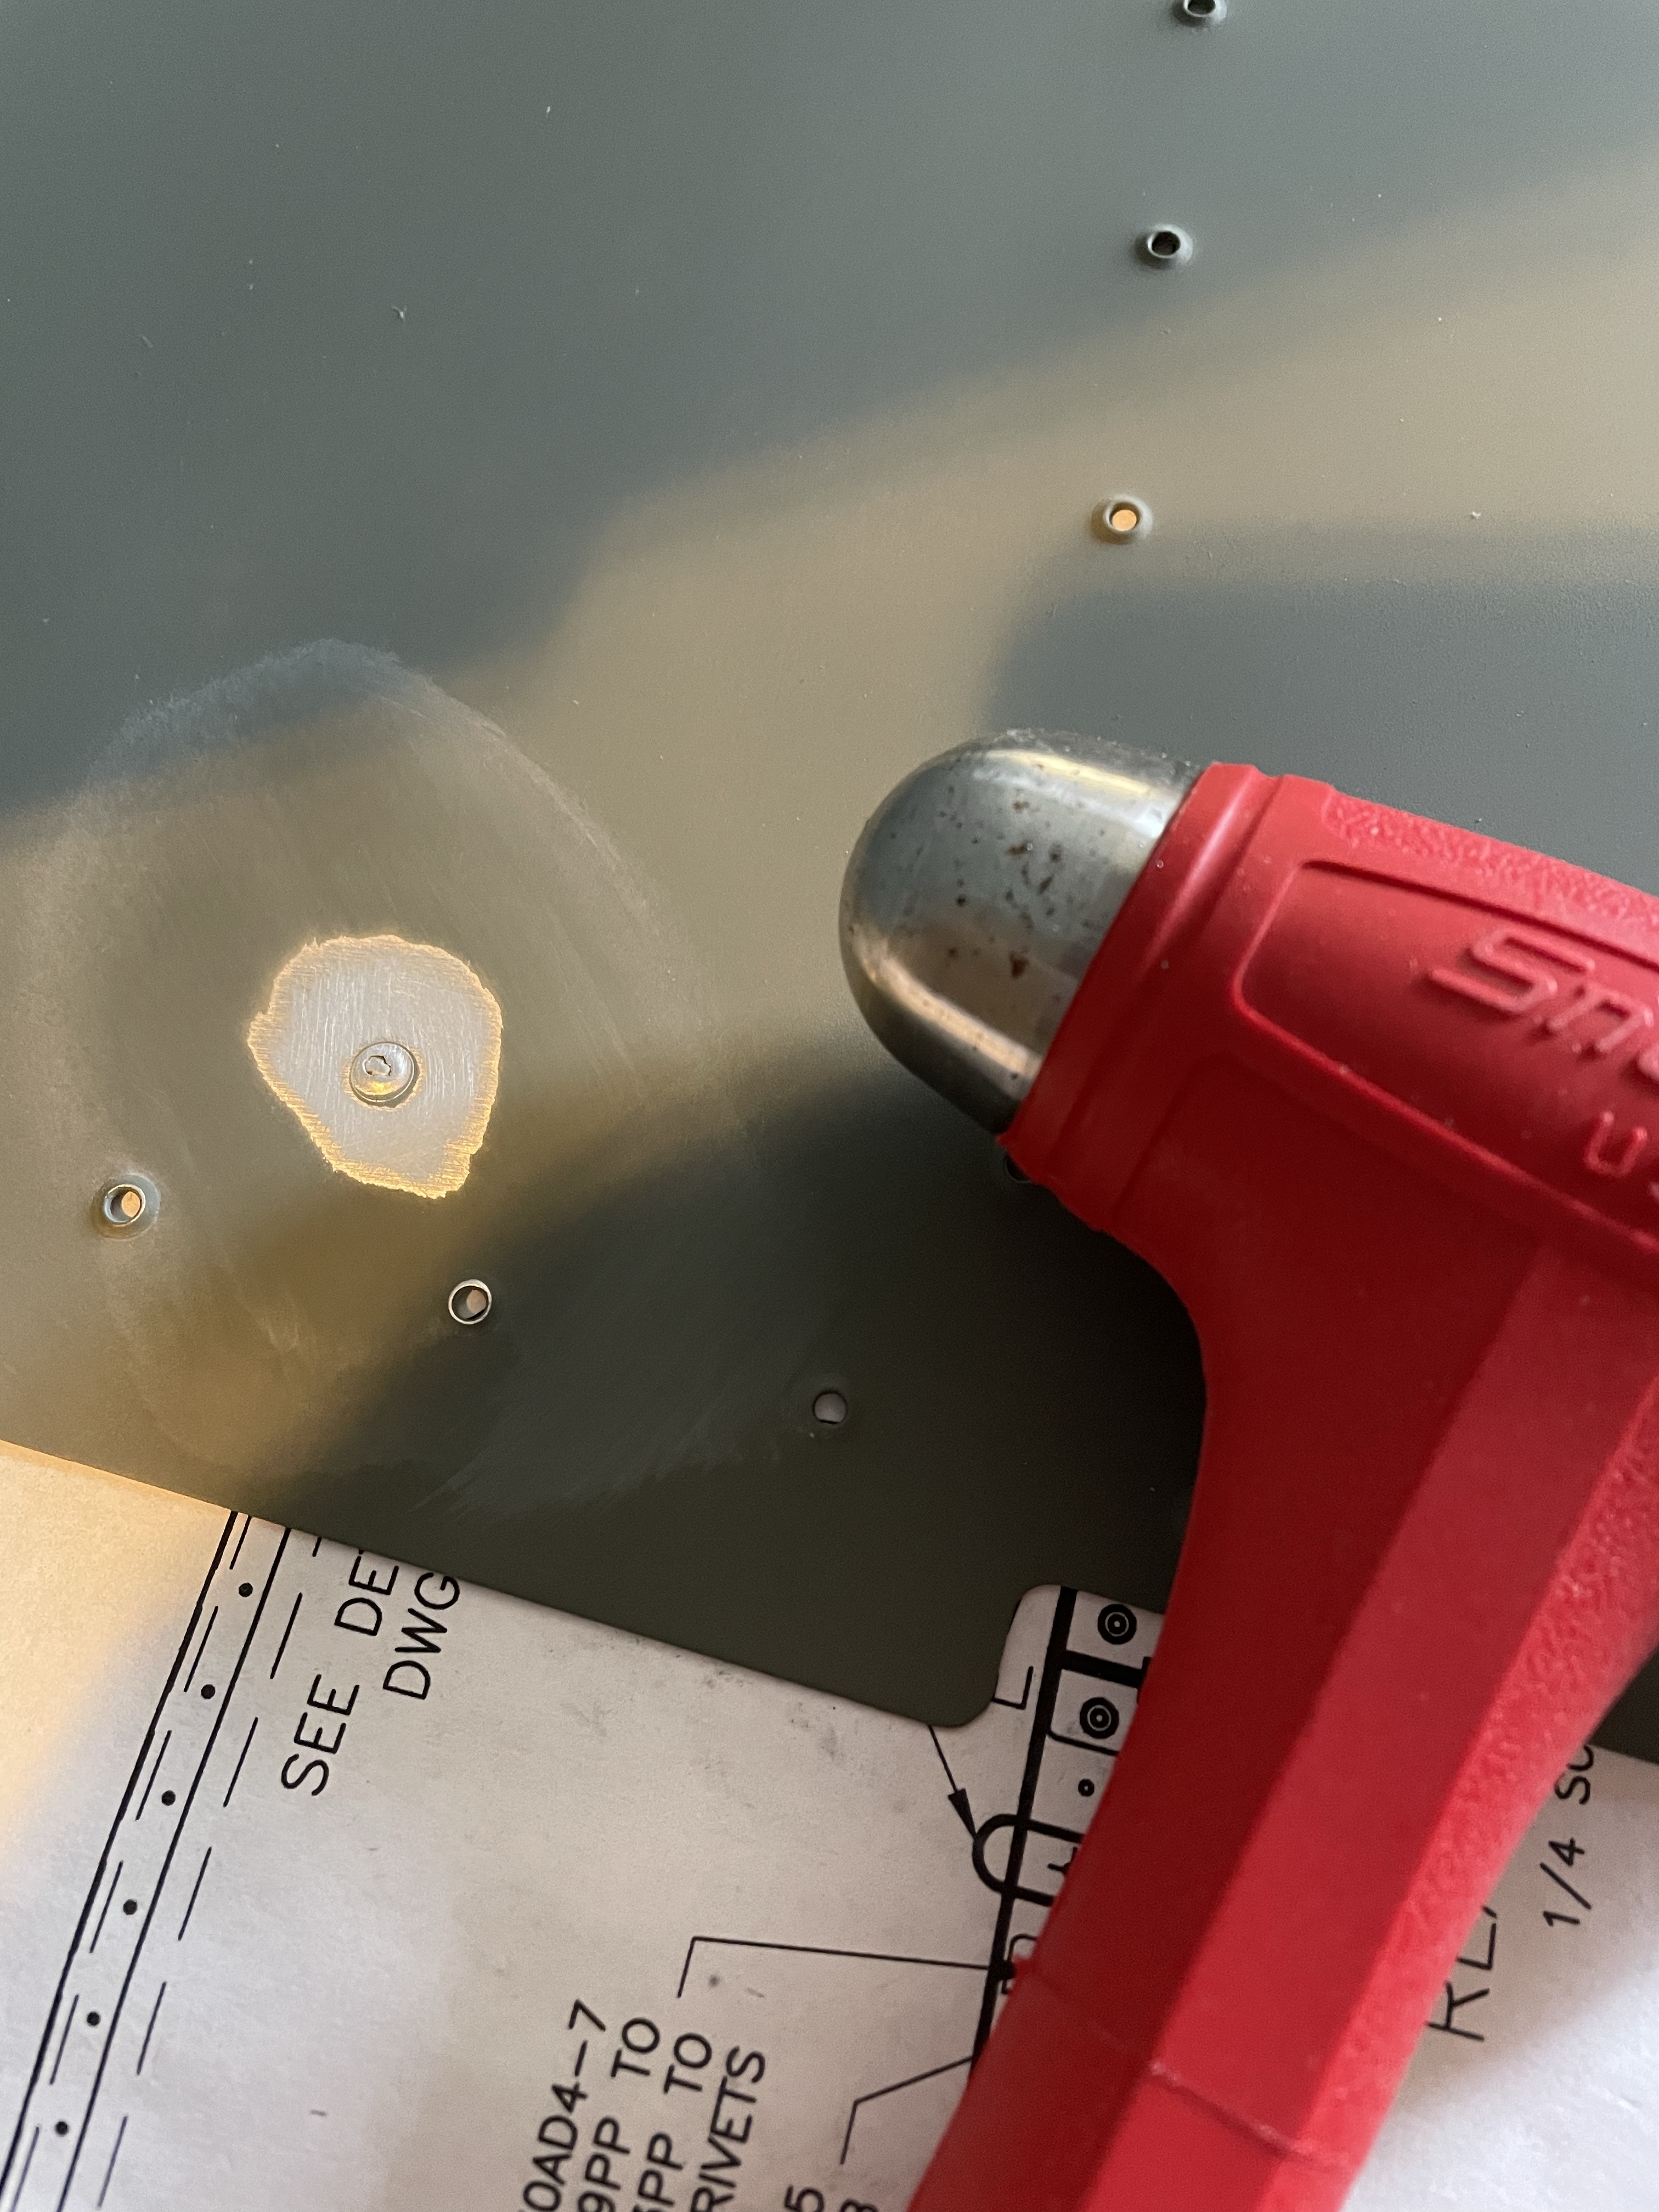
Fixing the hole caused by the dimpling mistake.
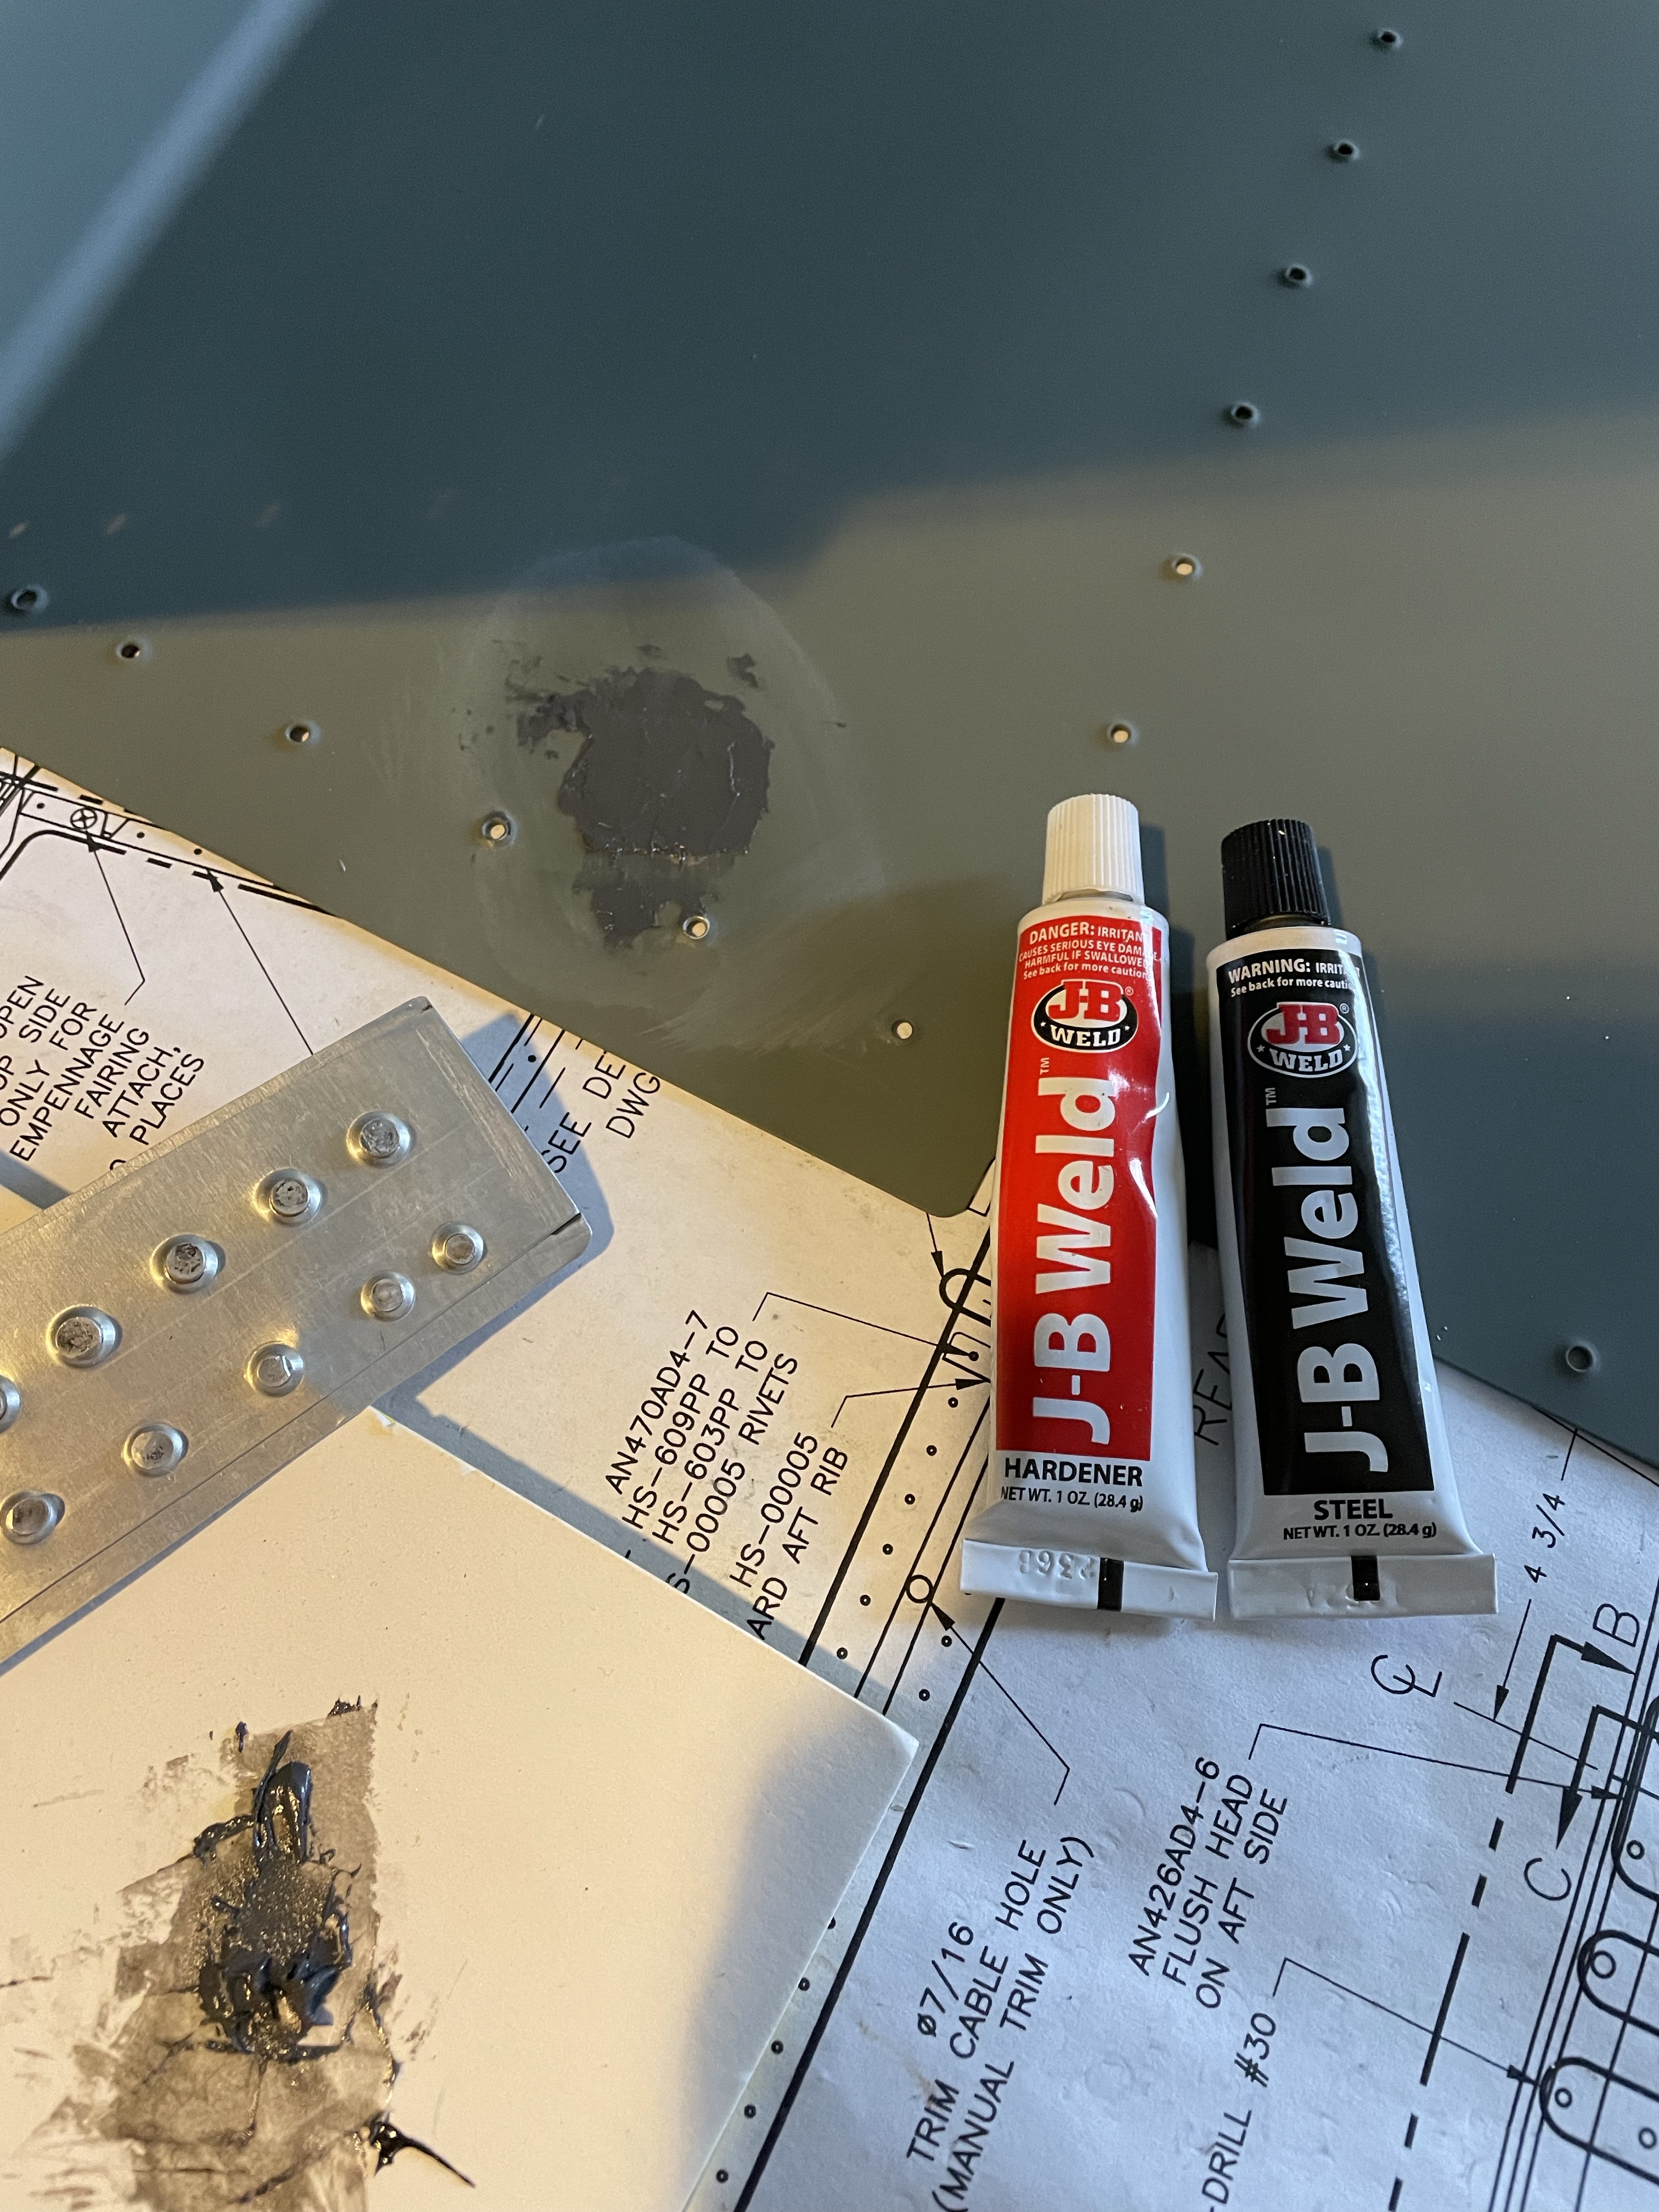
Fixing the hole caused by the dimpling mistake.
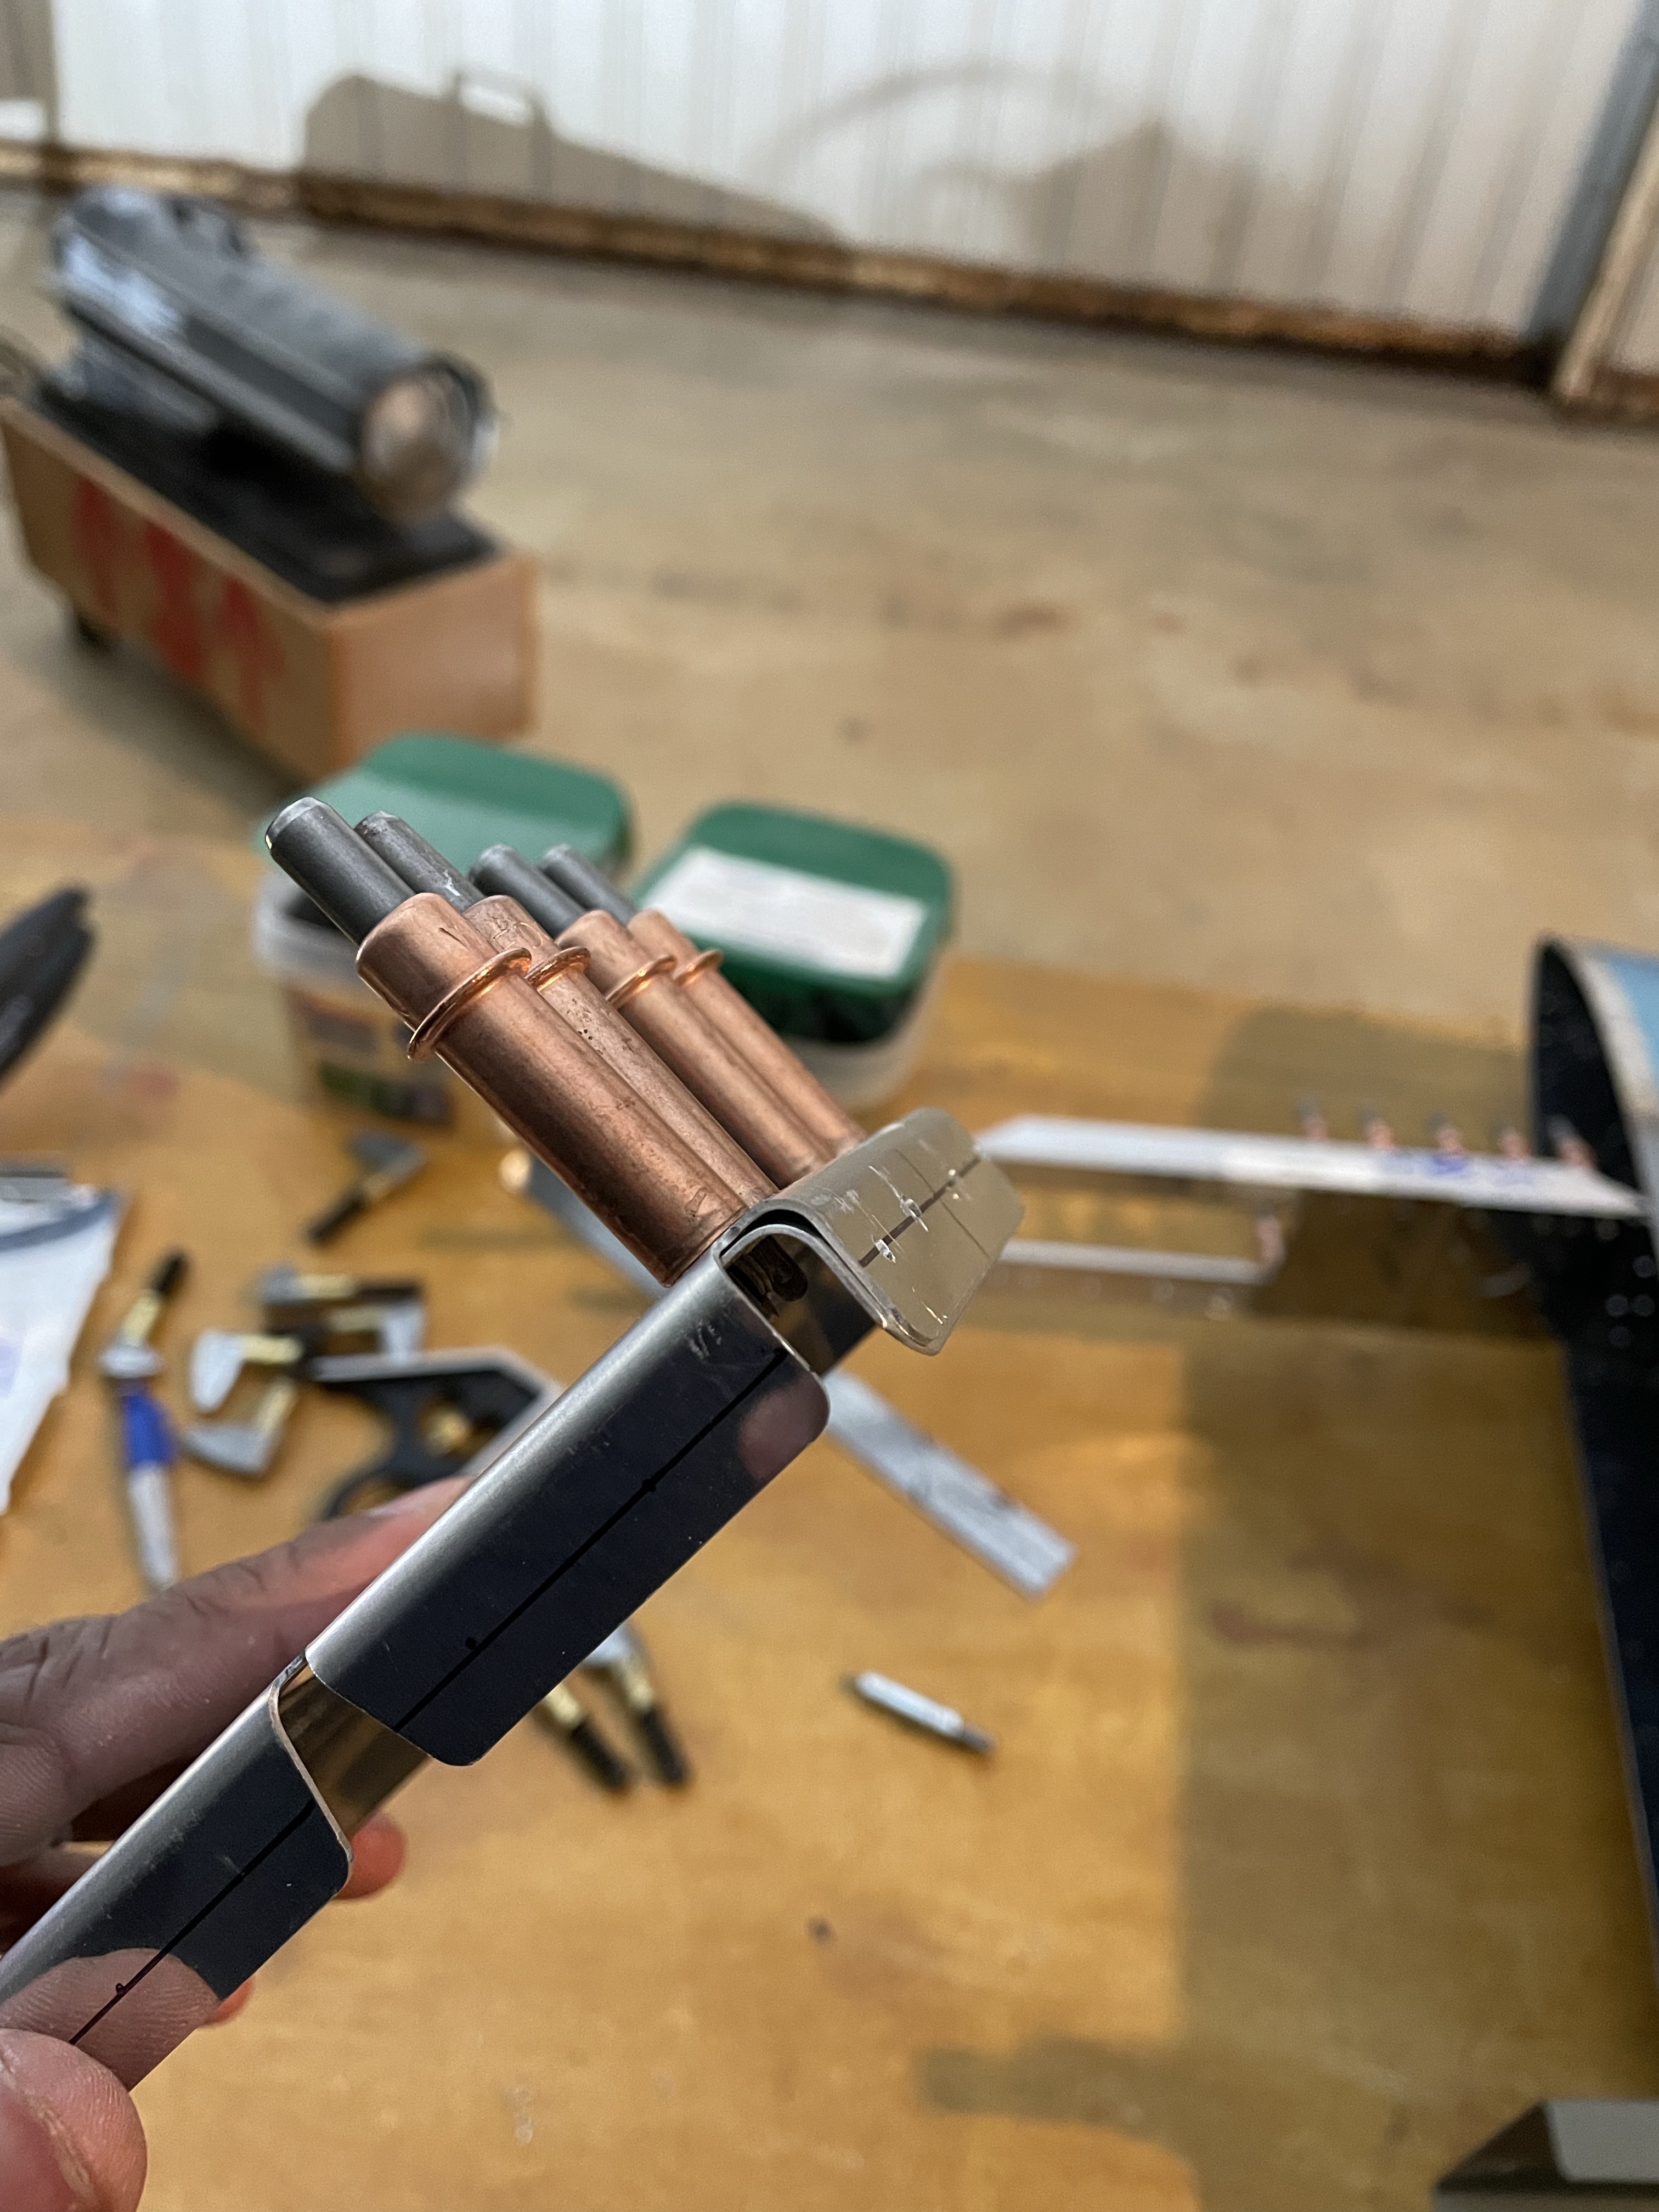
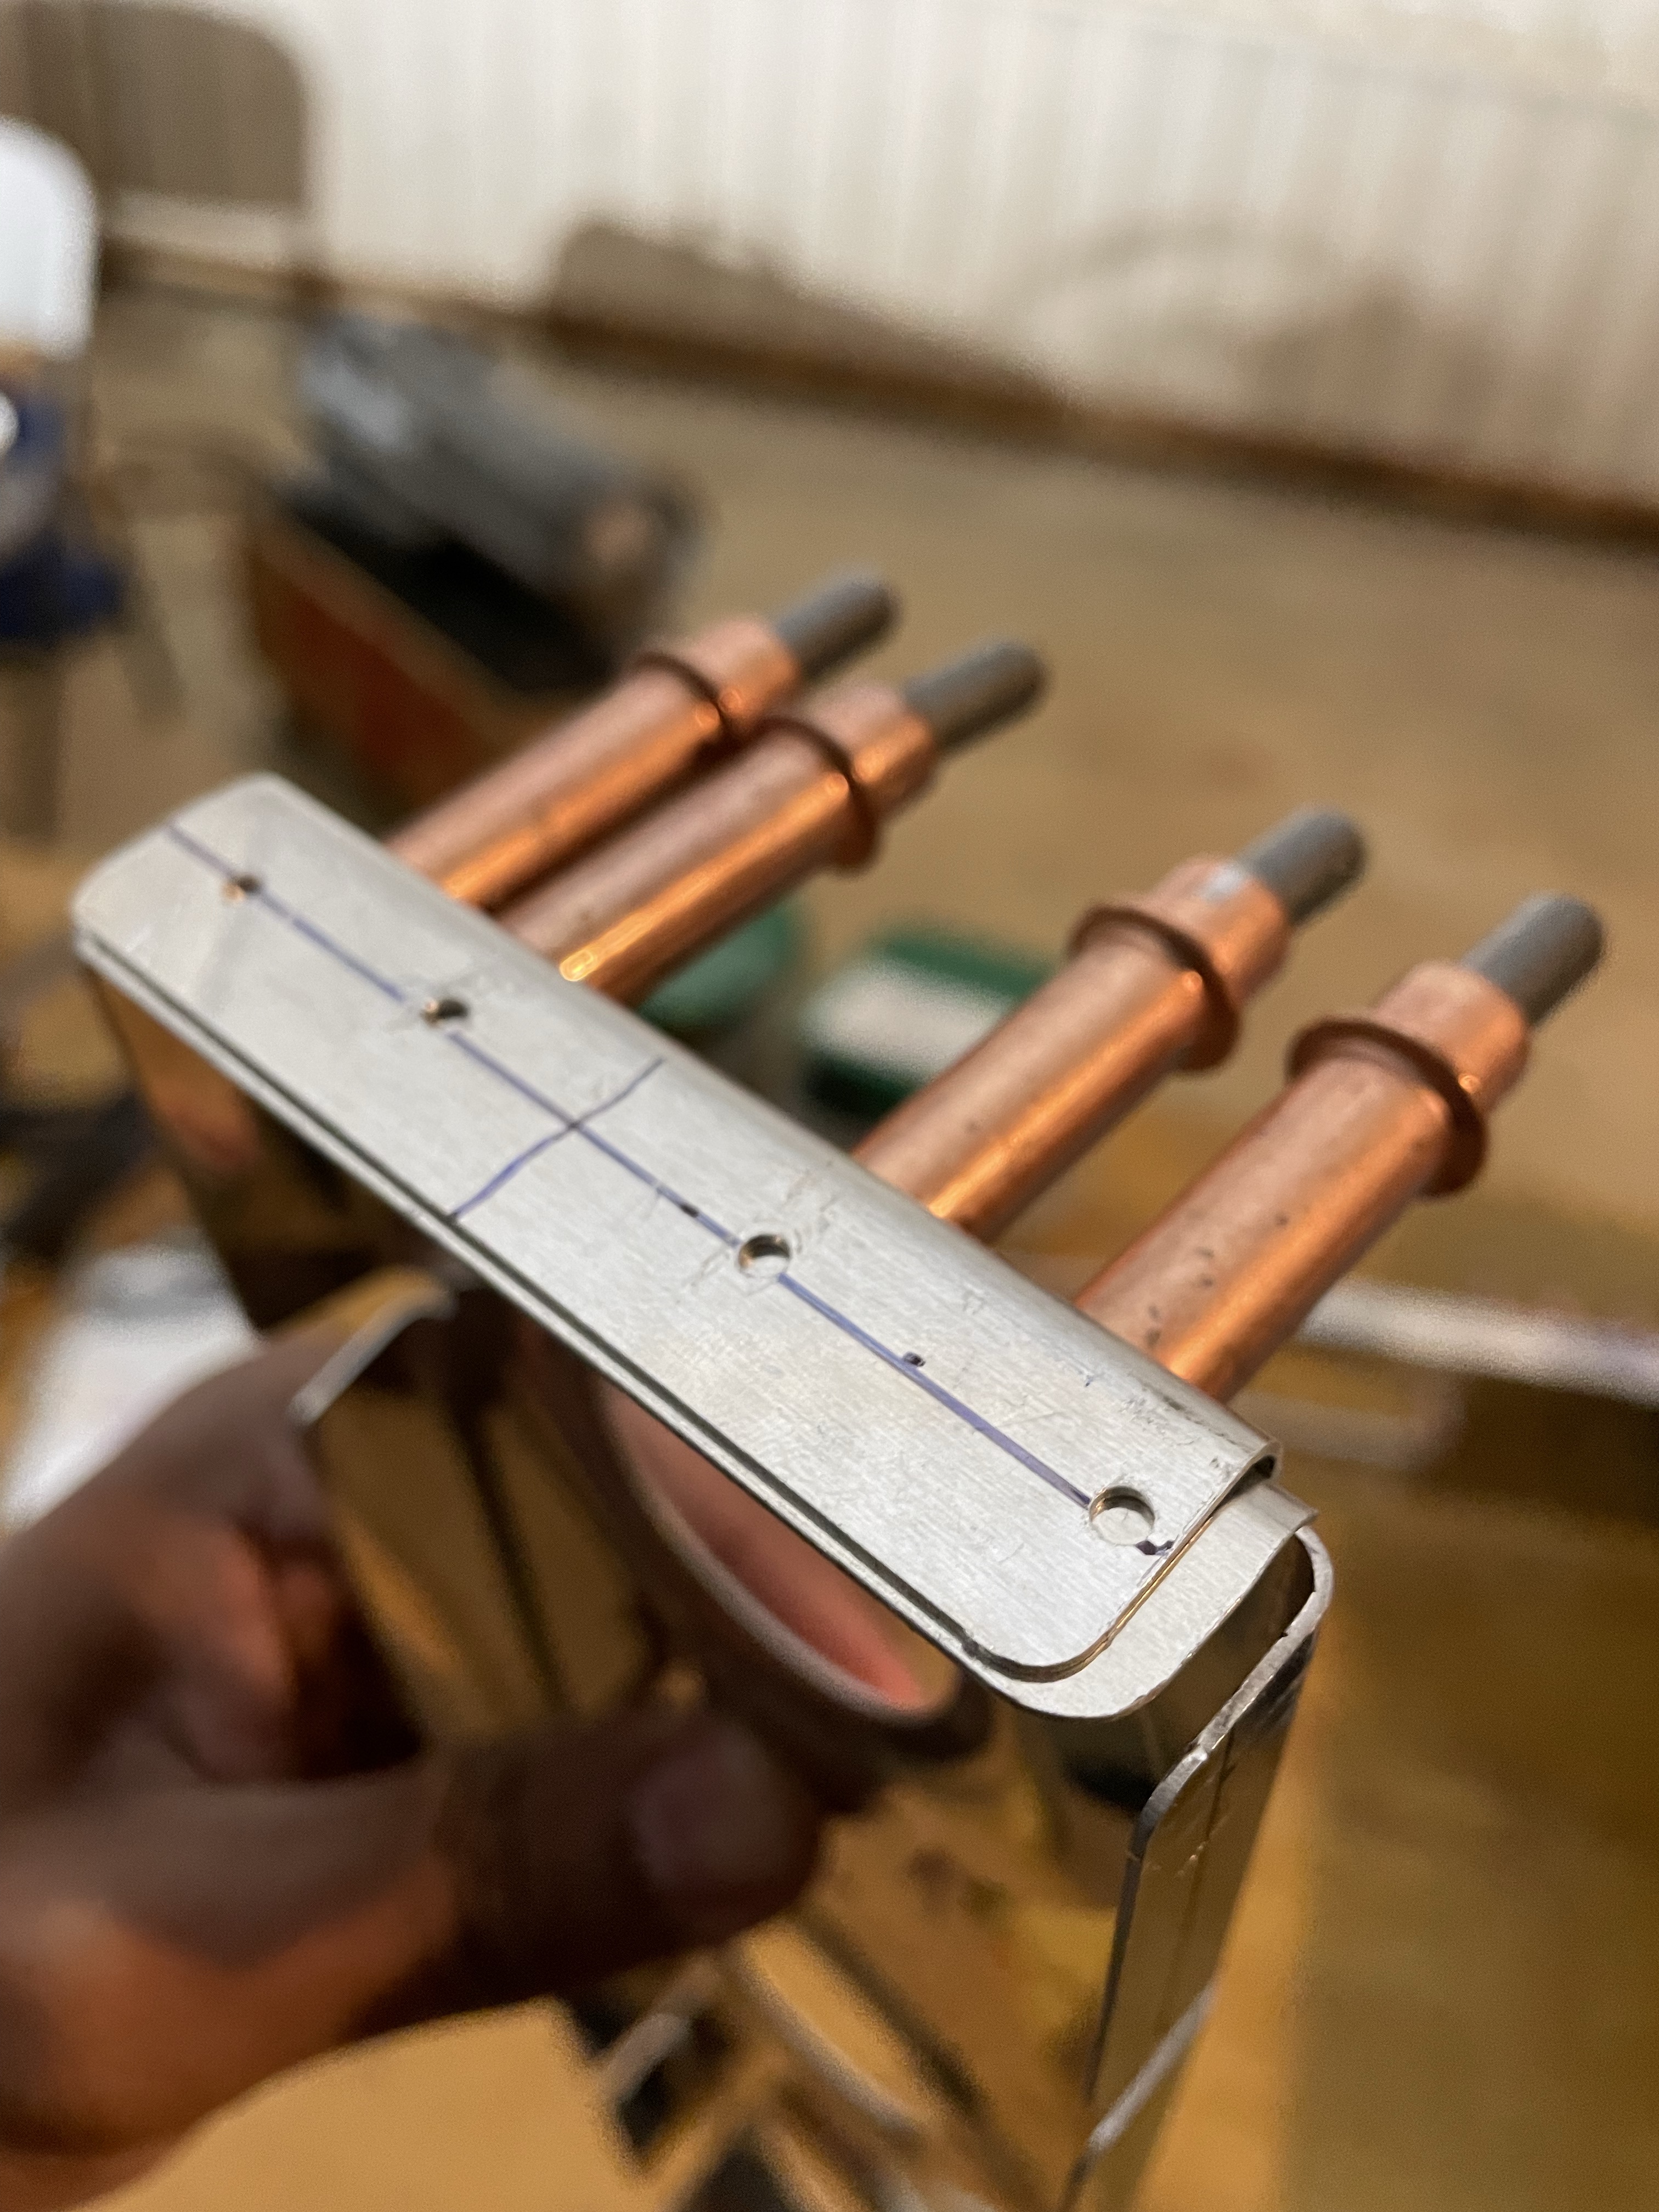
Wrong Rivet Size
While riveting I made the mistake of not using the right sized rivets in the front spar assembly. I later got myself a rivet gauge and took the guesswork out. I had put AN470AD4-6 instead of -7. I drilled the wrong rivets out and installed the correct -7 size. Lesson learned: get your rivet gauge well before starting any rivets.
HS-707 Rib Issue
There was one other issue with riveting the HS-707 rib to the skin. It had to do with me not fluting the leading edge of the rib. One side of the rib was protruding out and was not properly sandwiched onto the skin. I eventually enlarged the hole to #30 and put in a bigger diameter, longer rivet. It helped, but I wish I had oops rivets. Now when I look back, a better solution would have been to just take out the rivets on that side where it protruded, then flute it. After that it would have settled properly. I fluted the other side and there was no issue.
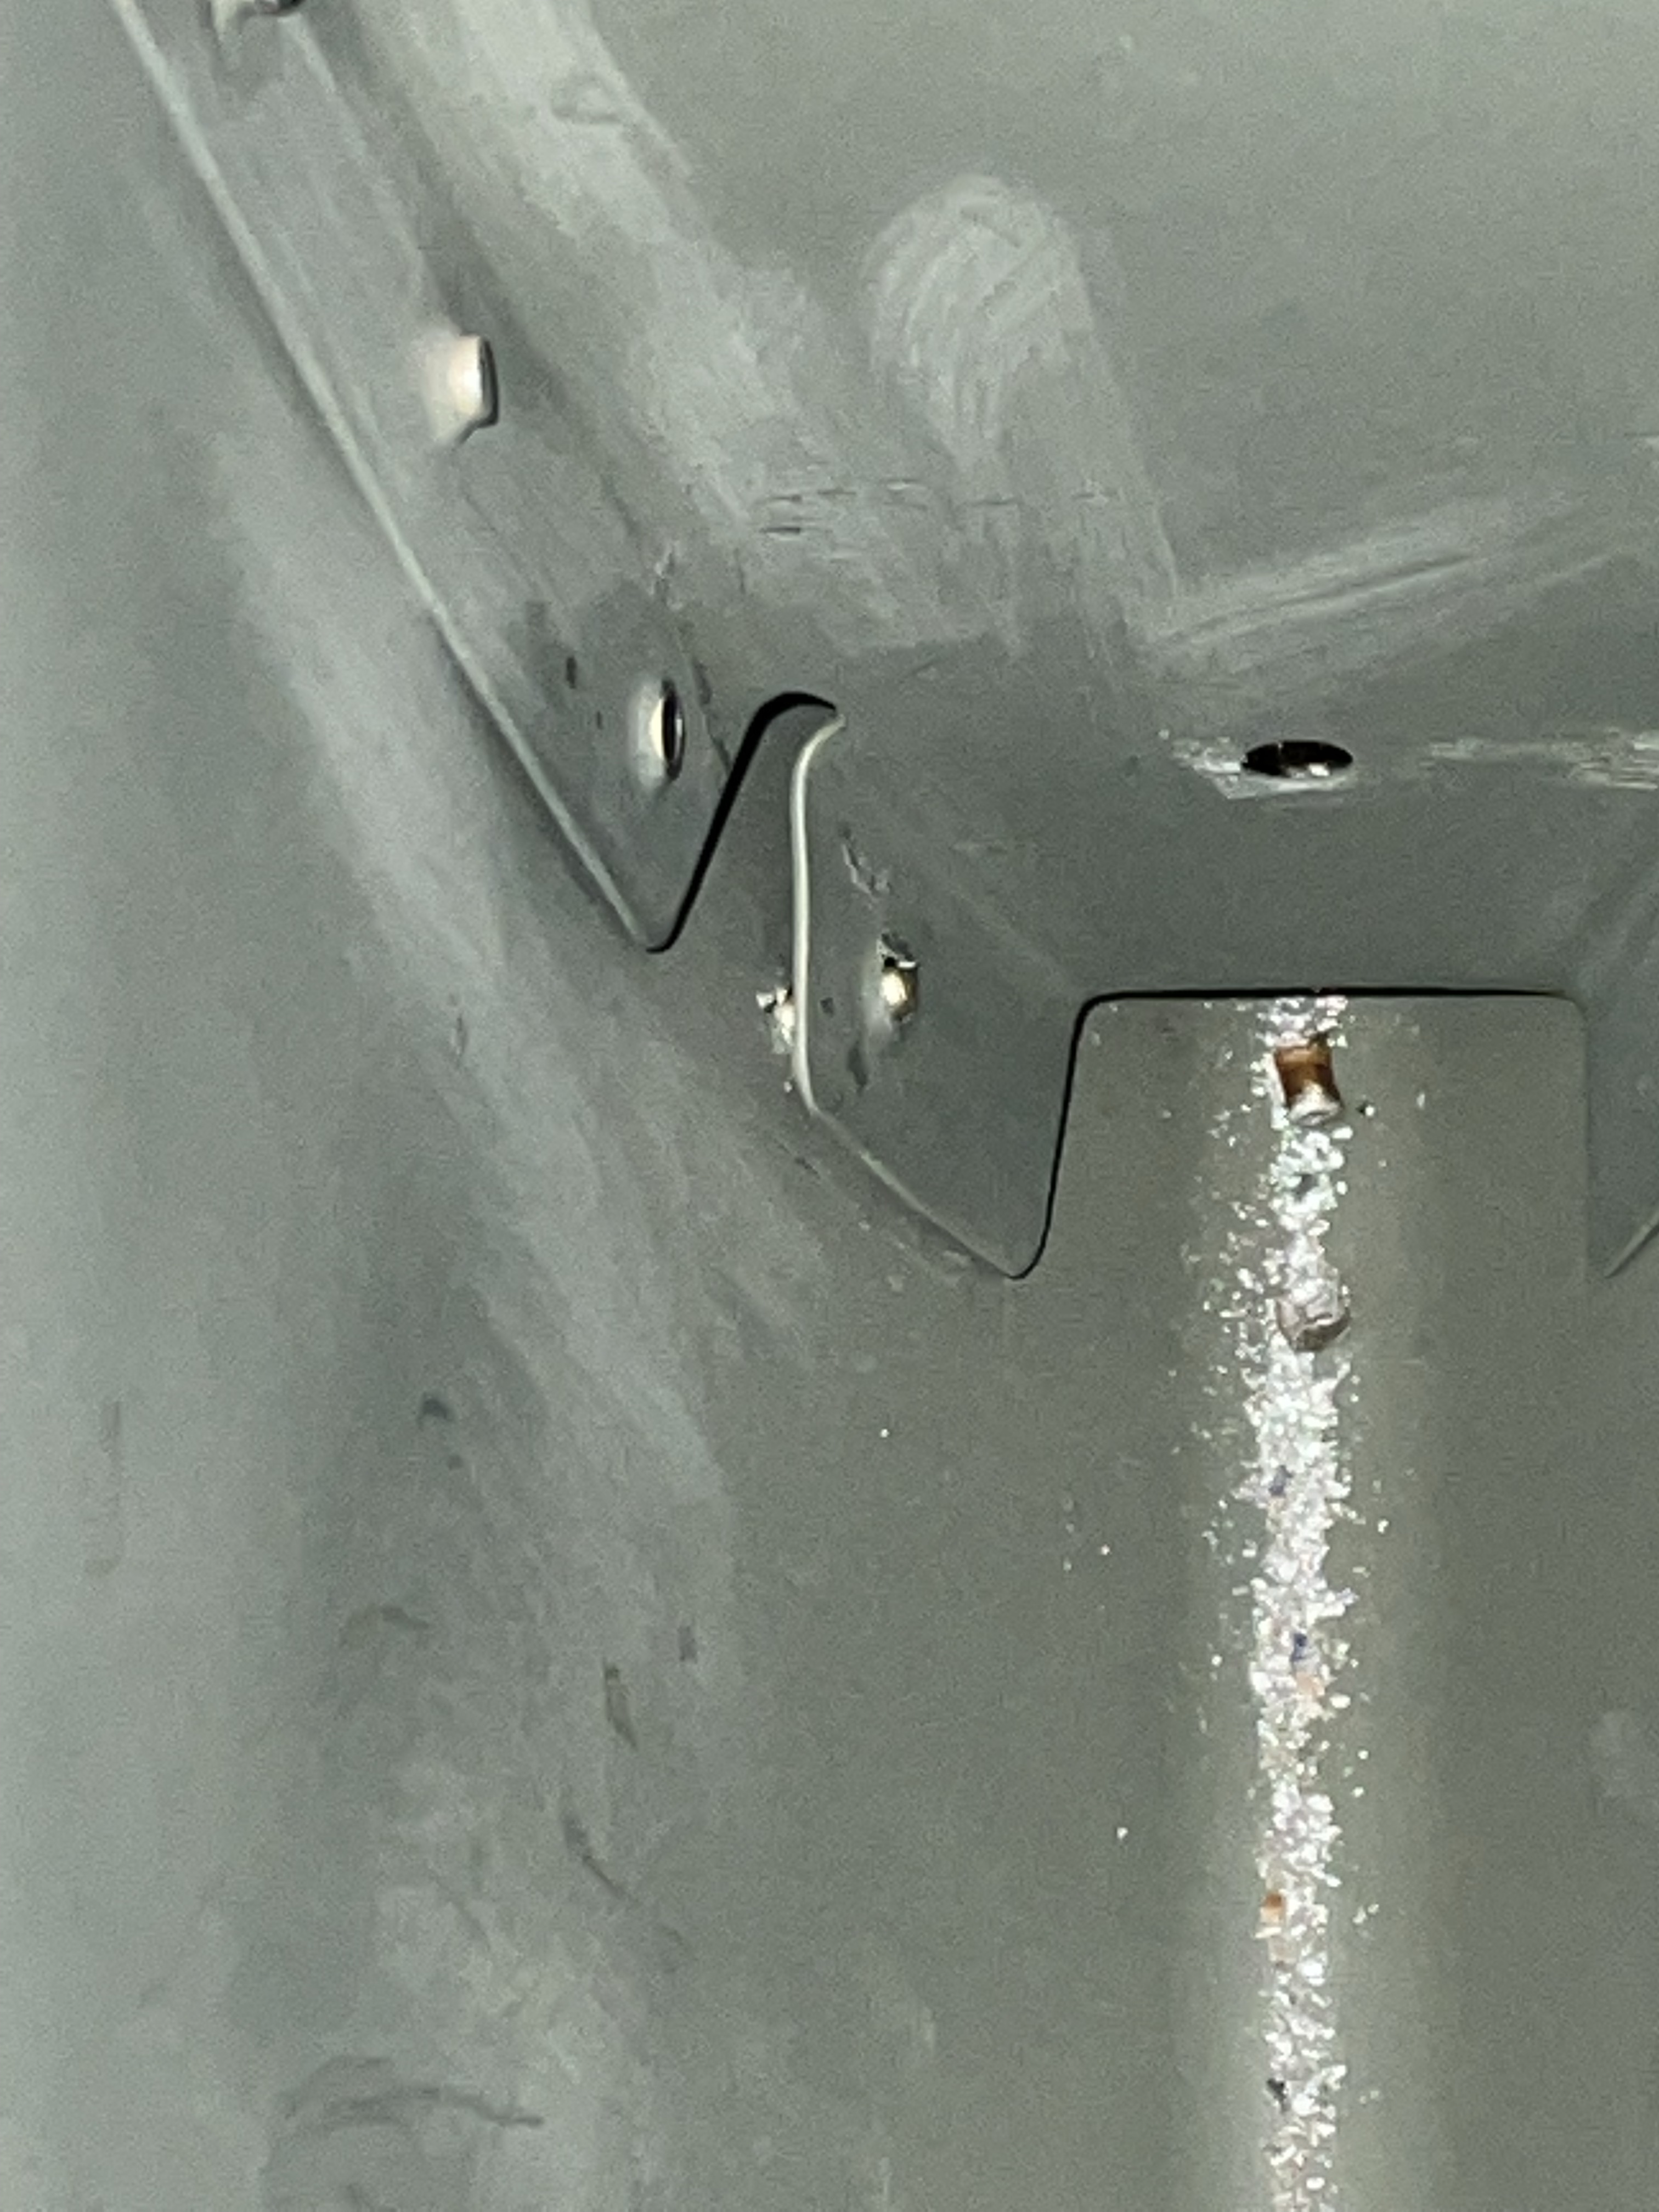
The leading edge of HS-707 protruding.
The leading edge of HS-707 protruding.
Rear Spar Misalignment
At the end, when I riveted the skins and it was time to rivet the rear spar assembly, I found that the rear spar wouldn't align on one side of the horizontal stabilizer. I sought help at the Facebook Van's builders group and someone suggested fixing the 6-degree angle at the front spar, which might cause it to align itself. I did exactly that the next day — the solution is to stretch the front assembly a little bit.

Rear spar misalignment.
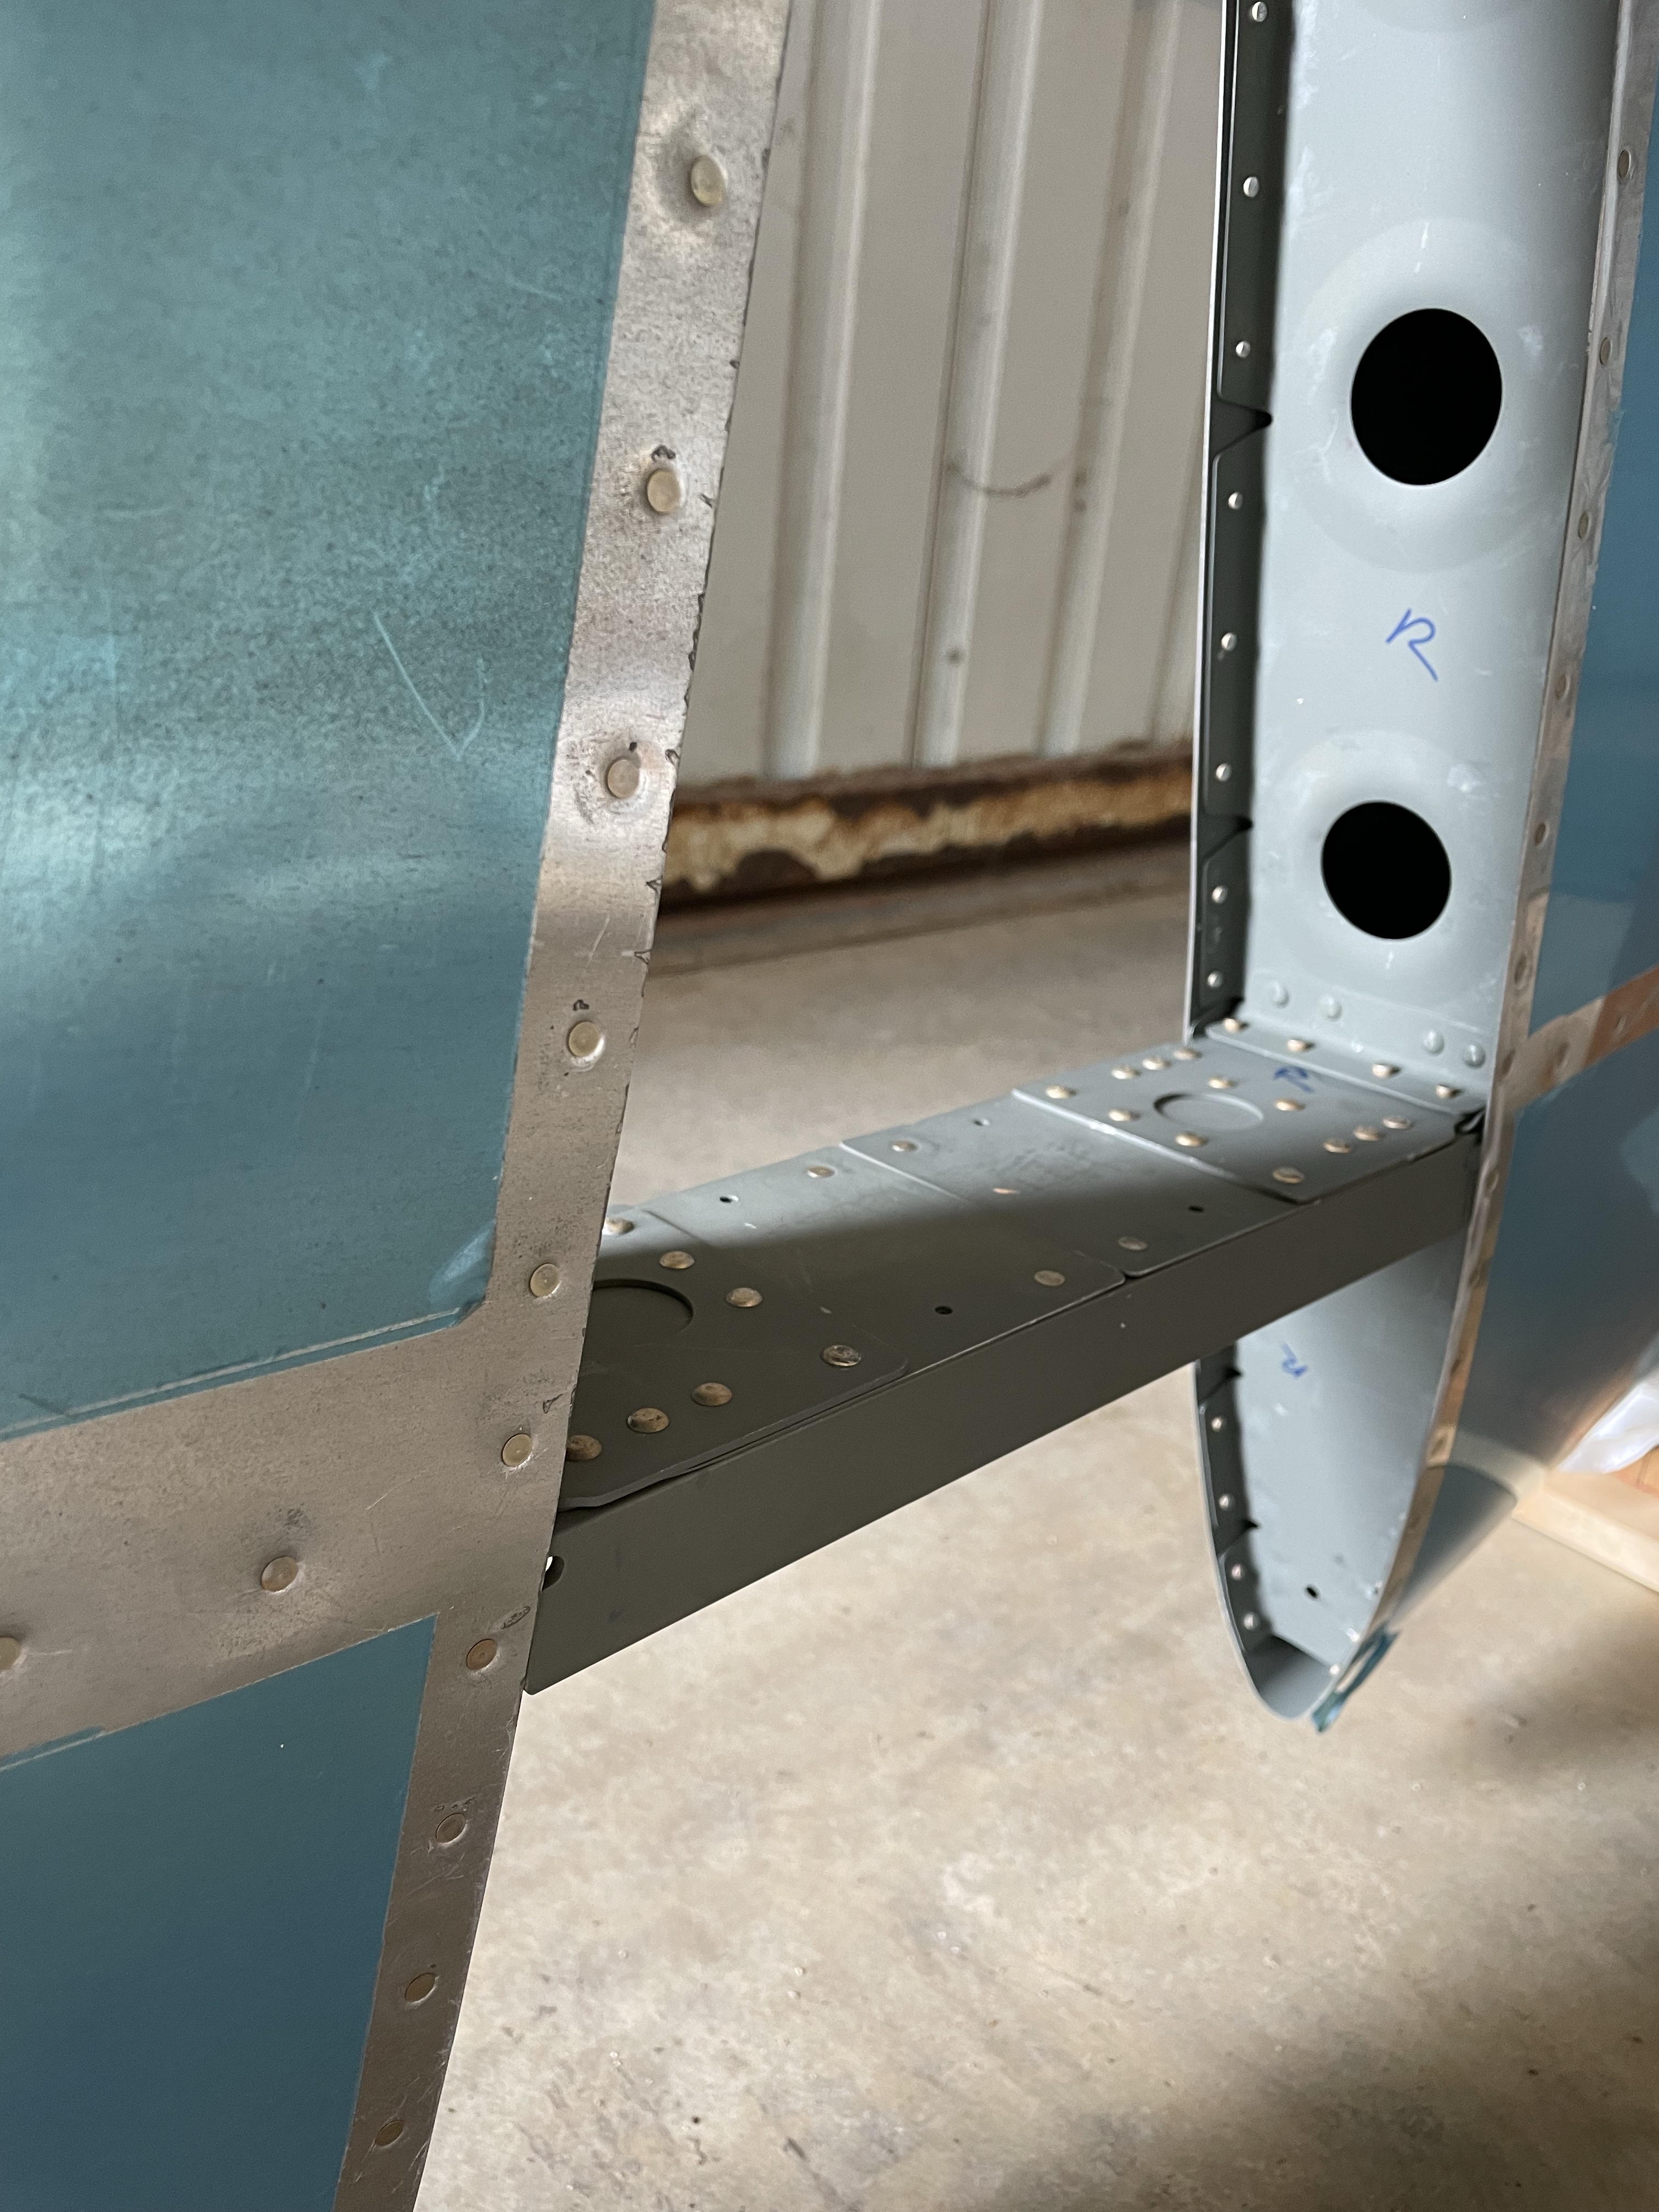
Rear spar misalignment.
Fixing misalignment by stretching.
Fixing misalignment by stretching.
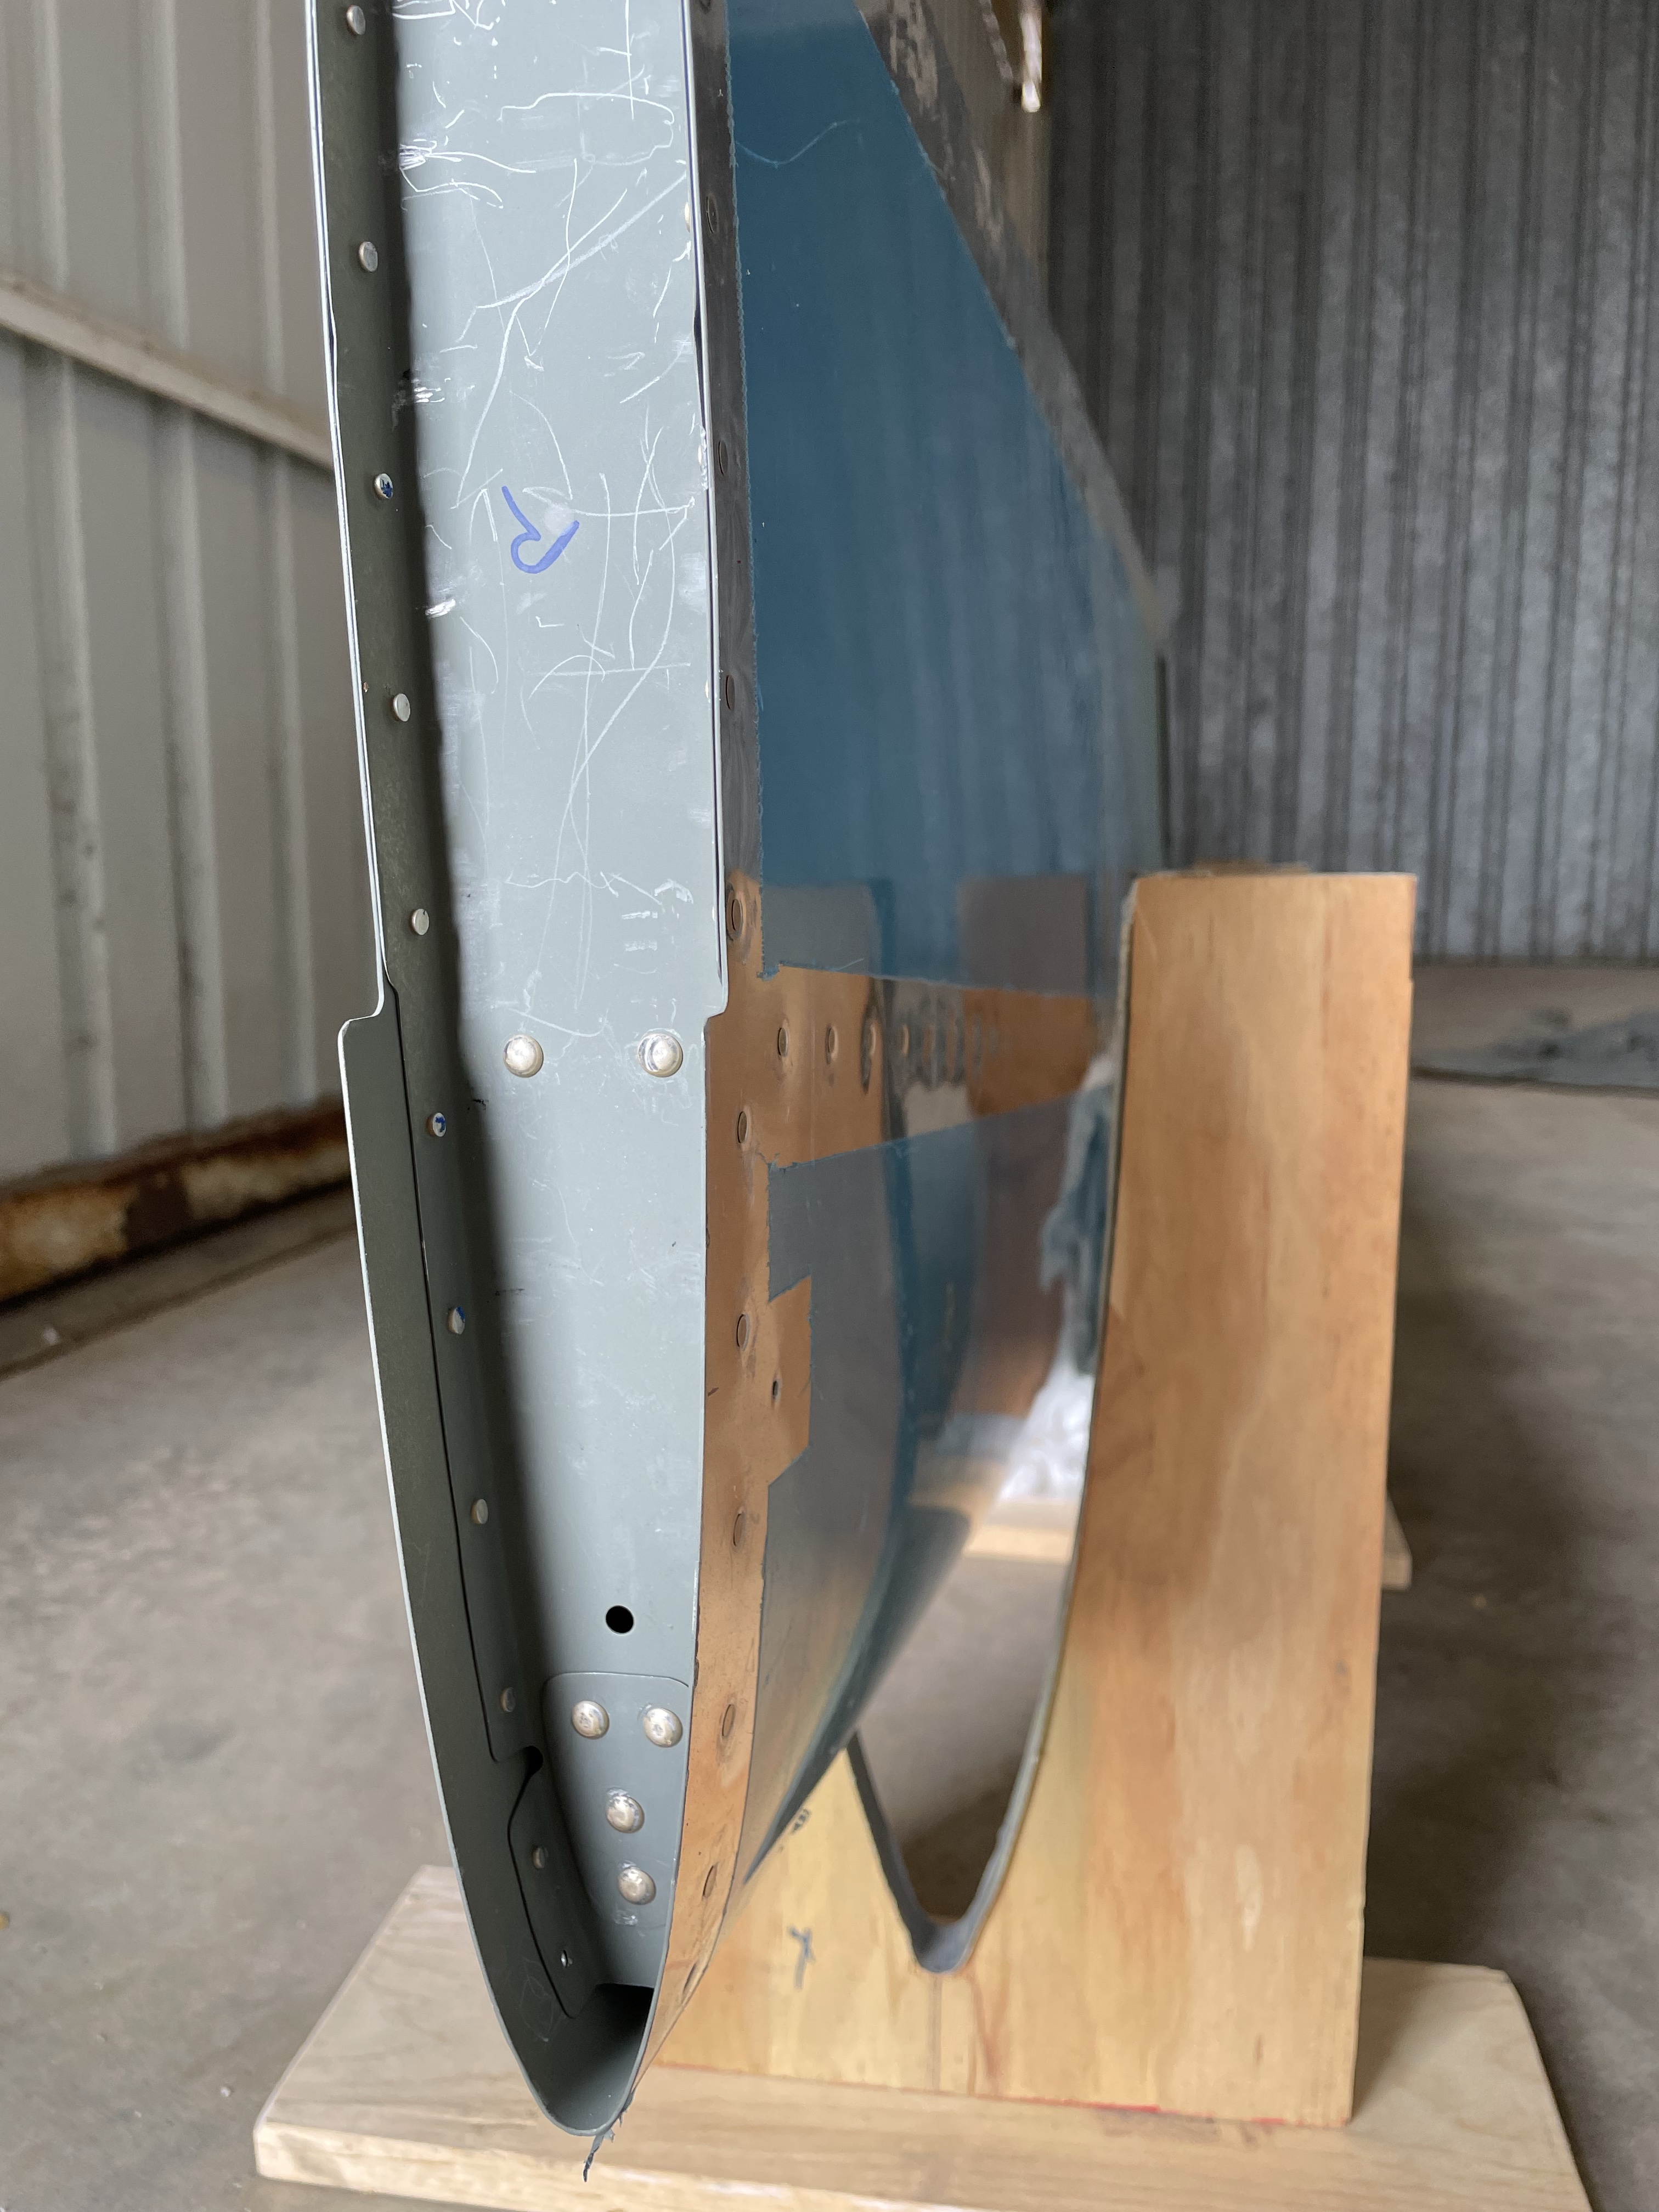
The rear spar installation was quite simple and with that I completed the horizontal stabilizer. Now on to the vertical stabilizer.

The completed horizontal stabilizer.
The completed horizontal stabilizer.